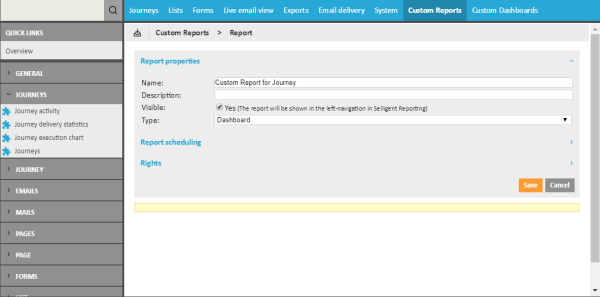
A report is composed of a series of components. These components are listed in the navigator on the left. The components available for selection depend entirely on the selected type of report. Only the corresponding folder is accessible. Dashboards are an exception to this rule. All components are available for this particular type.
1. To add the component to the report drag and drop it onto the report.
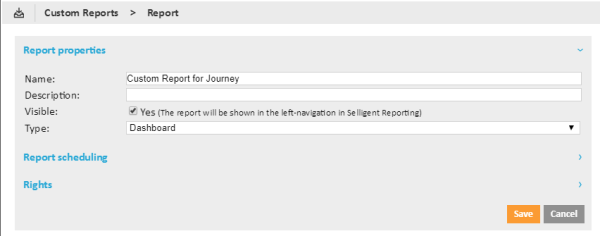
2. Click the 'Edit' button to make the report editable.
The tree on the left now holds all components available for selection and grouped per scope.
3. Add components through drag and drop. Hover a component to get a preview of the content and description.
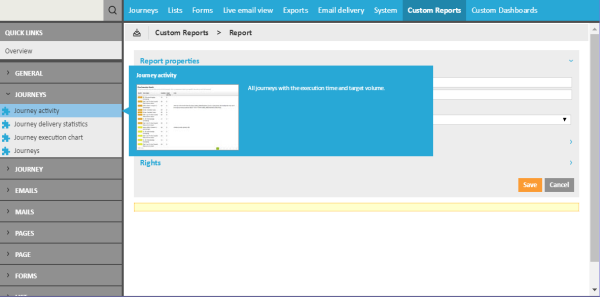
4. Drop the component onto the yellow section. A preview is immediately provided.
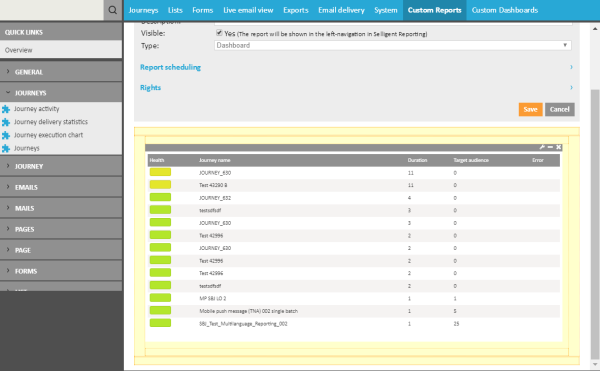
The report component contains a number of icons to minimize, maximize, or remove the component and to access the properties.
For report type 'Dashboard', an extra icon is available: Edit Data. This is used to define the journey, list, or message on which the report should be based.

Data only needs to be selected when the component is placed onto a Dashboard. Dashboards are displayed outside the context of a specific journey, list, or form. They are available from the Home page and therefore must be configured up front.
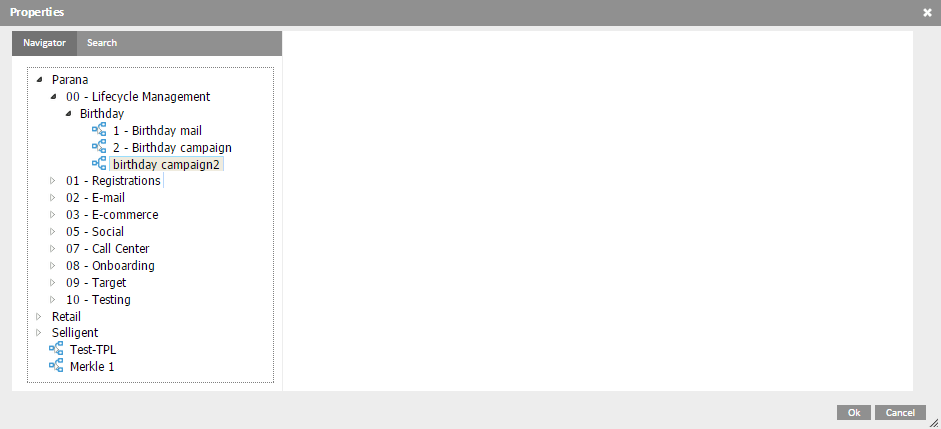
5. Select Data on the left by dragging it onto the white canvas on the right. Entire folders can be dragged if required (note that to drop a folder, the folder should first be expanded). For single record reports (e.g., a single journey), only one element can be selected. The user is alerted if too many elements have been selected.
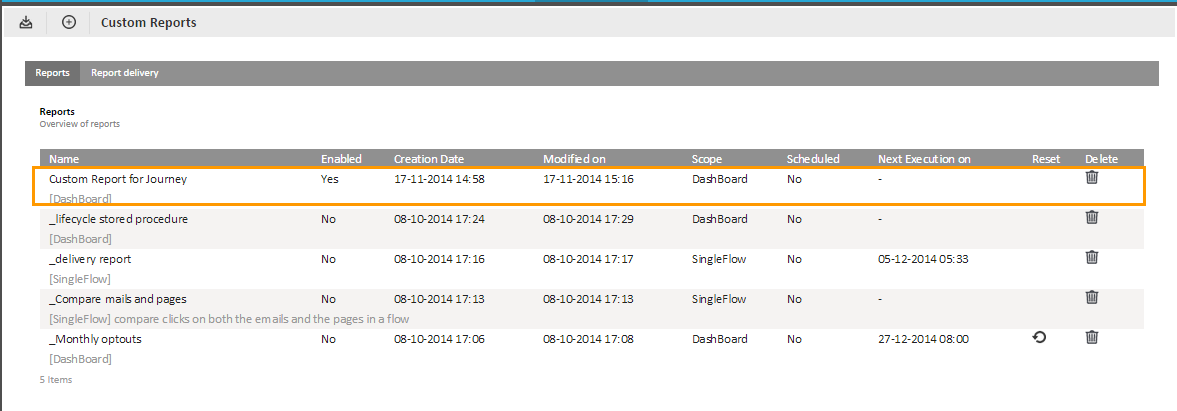
6. Press 'Save' when all components are added to the report. The custom report is now added to the list of reports.