The Dynamic "Hero" Image
The top hero image should be editable. Let's replace it with a Dynamic Image component. For a Dynamic Image component, the Express user must select an image, fill out a tool tip (alt. text) and a hyperlink. But instead of using a fixed hyperlink, we will create a sensor for the hyperlink that Express user fill out. This way, the clicks on the hero image can be measured.
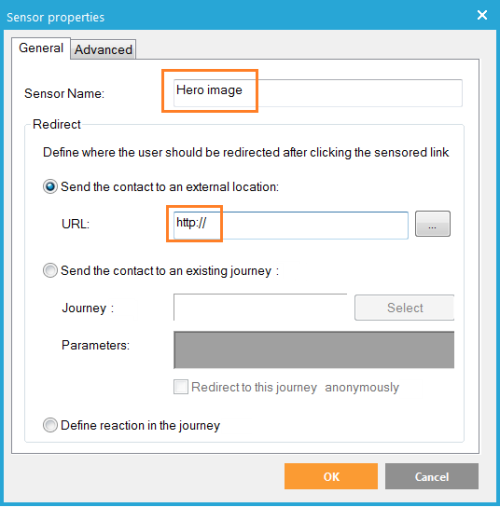
1. On the sensors tab create a new sensor an name it "Hero Image". This is the name used in the reporting. Select the first option "Send the contact to an external location " and enter "http://". The Express user can fill out the remaining hyperlink.
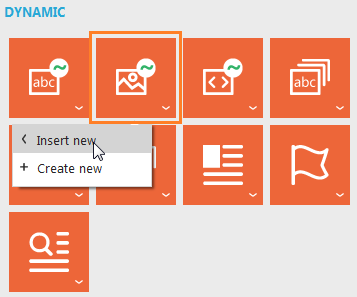
2. Select the example "Springsales" hero image and click backspace. Leave the cursor where it is. Go to the Components tab, under 'Dynamic' click the Dynamic Image component and select 'Insert new'.
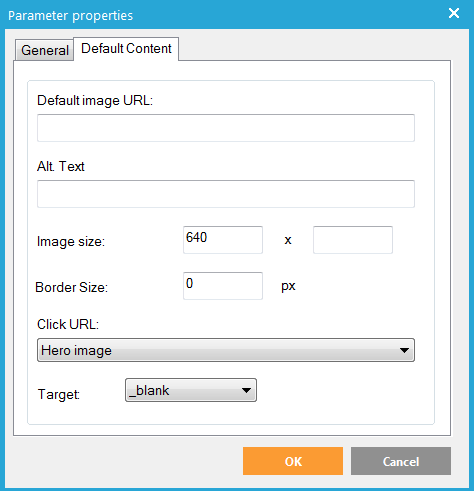
3. Give the component the name "HERO_IMAGE". As alias use "Hero image". This alias will be used in Express.
4. On the 'Default content' tab you can specify a default image URL if you wish. The image will be added by default with each newsletter created in Express. We will leave this field blank. Same goes for the Alt. Text field.
5. As Image size only enter 640 in the first field, leave the second field blank. The image will always be resized to 640px width. The height can be anything.
7. Set the Site to "_blank". This is the standard way of defining hyperlinks in emails. When the email is viewed in the browser, it will open a new window when clicking this link. This way the email remains open in the original window in the browser.
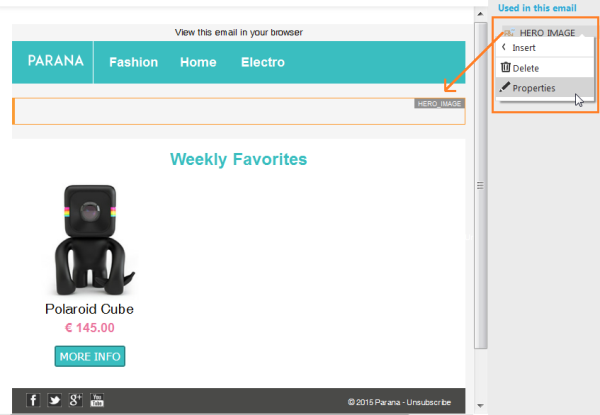
8. Click 'OK'. The Dynamic Image component is added to the email as a Dynamic section and is listed under 'Used in this email' on the components tab. You can always right-click the Dynamic Image component under 'Used in this email' and select 'Properties to change its settings. Save your email.
The Dynamic Text and Dynamic HTML components are similar. In Express the user can enter a simple line of text or a complete block of html. The content of a Dynamic text component can also be used elsewhere in the message with the DYNCONTENT scope (only for Dynamic text component). E.g. ~DYNCONTENT.MYTEXT~. This can also be used as a constraint for another Dynamic section.
The inserted source code is <div id="MASECTION" macontenteditable="FALSE" maconstraint="" maparameter="HERO_IMAGE" matype="" mahidediv="true"</div>
Tip: For responsive design the example image, and now the inserted Dynamic Image section, is within a div with id imgContainer. The image within the div is styled between style tags at the top of the email:
<style type="text/css">
div#imgContainer img { border: none; display: inline-block; }
@media only screen and (max-width: 480px) { div#imgContainer img { width: 100% !important; height: auto !important; } }
</style>
<div id="imgContainer">
<div id="MASECTION" macontenteditable="FALSE" maconstraint="" maparameter="HERO_IMAGE" matype="" mahidediv="true"></div>
</div>
Normally the style would directly be applied on the image, but because the image is replaced by the Dynamic section, also its styling is replaced. In the eventual sent email, this section is again replaced with a new a-tag and image-tag based on the content the Express user provided.
