Layout
1. When everything is setup in the email's html version, extract the text version from the top 'Actions...' drop-down menu.
2. Like any other email, extracting the text version will remove all html tags, except the sections. We need to adapt it so it is a clear message for the contact and insert the sensors: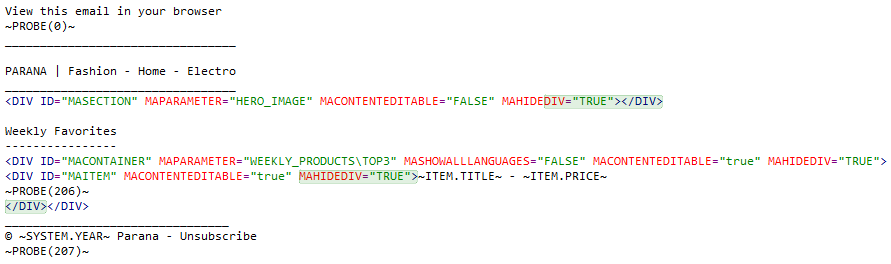
- Remove the web version DIV tags, but not the content in between the DIV tags. Add the web version sensor on a new line below the text "View this email in your browser".
- Add the unsubscribe sensor at the bottom of the text version.
- The styling attributes (MATABLE_TDCLASS, MATABLE_TDSTYLE, MATABLE_VALIGN, MATABLE_CLASS, MATABLE_COLCOUNT, MATABLE_STYLE) can be removed from the article container div. Do not remove the div itself.
- Make sure MAHIDEDIV="TRUE" is an attribute of each div.
- The MAHEADER, MAFOOTER and MANOMATCH divs can be removed, they do not have any content. Leave the MAITEM div and its content.
- Add the article sensor within MAITEM.
Text instead of images or html
We cannot use the HERO_IMAGE section in the text version because it will render html to display an image. We would not see an image in the sent email, but its html code as plain text (i.e. text version). Instead of simply leaving it out, we still want to show the contact information on the current offer. But it has to be text. So we will add a Dynamic Text component the Express user can fill out and use it in the text version.
This also applies to the Dynamic HTML component and any article field where the 'Usage' is set to 'HTML formatted content'
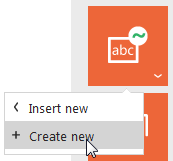
3. In the Components panel click the Dynamic Text component and select 'Create'
4. Give the component the name "HERO_TEXT". As alias use "Hero text version". This alias will be used in Express. On the 'Content' tab you can specify default text if you wish. The text will be added by default with each newsletter created in Express. We will leave this field blank. Click 'OK' when done. The Dynamic Text component is listed under 'Used in this email' on the components tab.
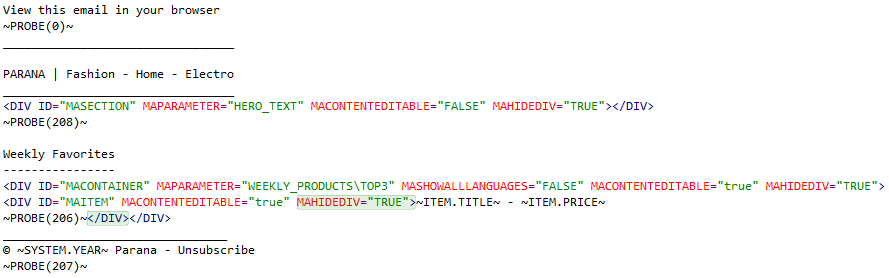
5. Simply change the MAPARAMETER value in of the Dynamic Image section in the text version from "HERO_IMAGE" to "HERO_TEXT"
Alternatively you can use ~DYNCONTENT.HERO_TEXT~ instead of the section (div). This only works for Dynamic Text components.
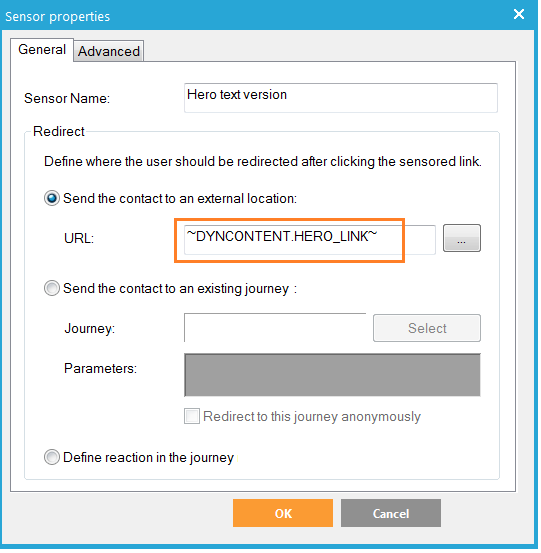
6. Let's do the same for the Hero click sensor. Create a second Dynamic Text component, name it "HERO_LINK" and alias "Hero link".
7. Create a new sensor in the Sensors panel and name it "Hero text version". This is the name used in the reporting. Select the first option "Send the contact to an external location " and enter ~DYNCONTENT.HERO_LINK~.
8. Add the sensor just below the Dynamic Text section in the text version. The final text version looks like this:
Express user defined settings
In Express the user cannot see or edit the text version itself. But we need a way to let the Express user define the content for the "HERO_TEXT" and "HERO_LINK" Dynamic Text components. We will add a Dynamic section to the html version of the email only Express users will see. This section will not be added to the eventual sent newsletters. Here, the Express user can edit the content for the "HERO_TEXT" and "HERO_LINK" Dynamic Text components.
9. From the Components panel, drag and drop a Dynamic Section in front of all content in the email.
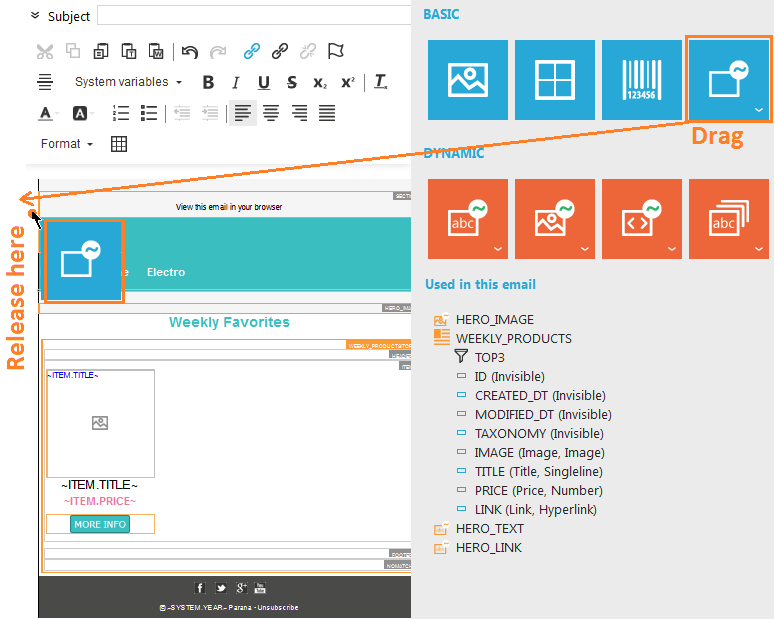
10. You should now have a Dynamic section at the top of the email. Hover the Dynamic section in the email, when the 3 small editing icons pop-up, hover the middle arrow icon. Select 'Properties' from the drop-down menu.
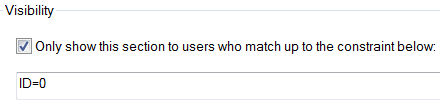
11. Enter a visibility constraint "ID=0". This determines the section can only be seen by Express users. This section will not be added to the eventual sent newsletters.
For the eventual sent newsletters all contacts will have an ID>0. An Express user does not have an ID field (ID=0). A Dynamic section with this constraint at the top of the template allows Express users to have a 'settings' box where they can enter values for Dynamic Text components that are used throughout the email. E.g. a certain background-color the Express user can fill out. The value can be used in the source of the template as ~DYNCONTENT.BGCOLOR~ where BGCOLOR is the Dynamic Text component's name. The scope DYNCONTENT only works for Dynamic Text values.
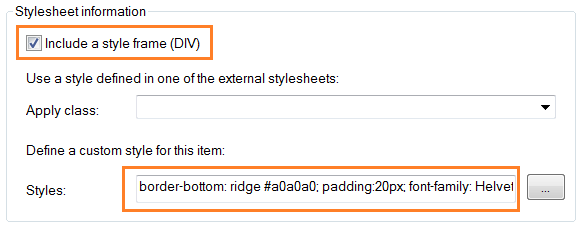
12. On the 'Style' tab check 'Include a style frame (DIV)' and enter a custom style "border-bottom: ridge #a0a0a0; padding:20px; font-family: Helvetica, Arial, sans-serif; font-size:13px;". We want to show this in Express as a block level element, with a nice grey border
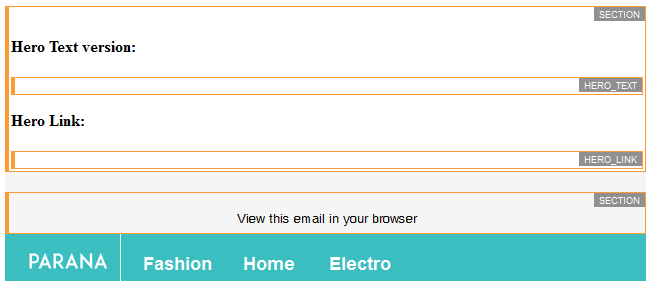
13. Lastly, place the cursor inside the Dynamic section, type the text "Hero Text version:" and "Hero Link:". Drag and drop the "HERO_TEXT" and "HERO_LINK" Dynamic Text components from the Components panel inside this Dynamic section behind each line of text. This way, Express users can edit the values for both Dynamic Text components. The Dynamic section now looks like this at the top of the template:
Back to example: A template, step be step
