For Facebook, the application can be created anywhere, using any account. Later, for social publish, this application will be given the right by a specific Facebook user account to post messages on a Facebook page. The Facebook user must therefore have the necessary rights on the page to be able to manage this.
When creating an application in Facebook, make sure the App domain field contains the URL of the domain in which the application must run.
1. Go to the developer website: https://developers.facebook.com/
2. Click the 'Apps' menu to access the application management area. (You must log in first to have access)

3. Next, click the '+Add a new app' option (existing applications are listed below the option)
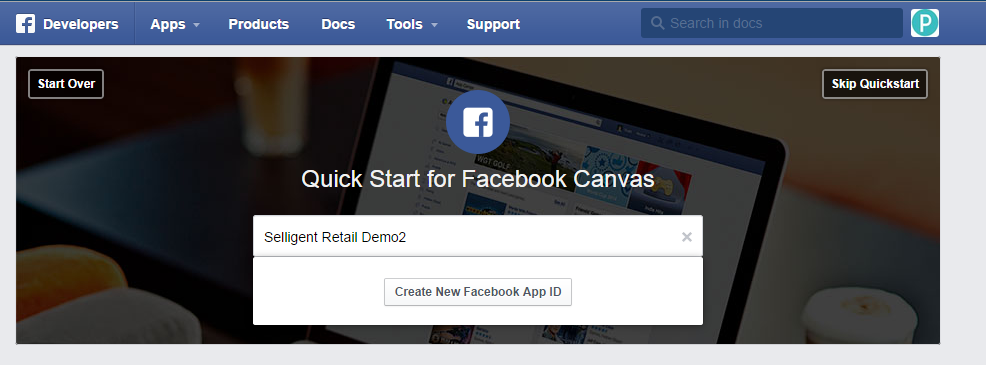
4. Specify the application name, and click 'Create New Facebook app ID'.
5. When the application is created, select the 'Settings' entry.
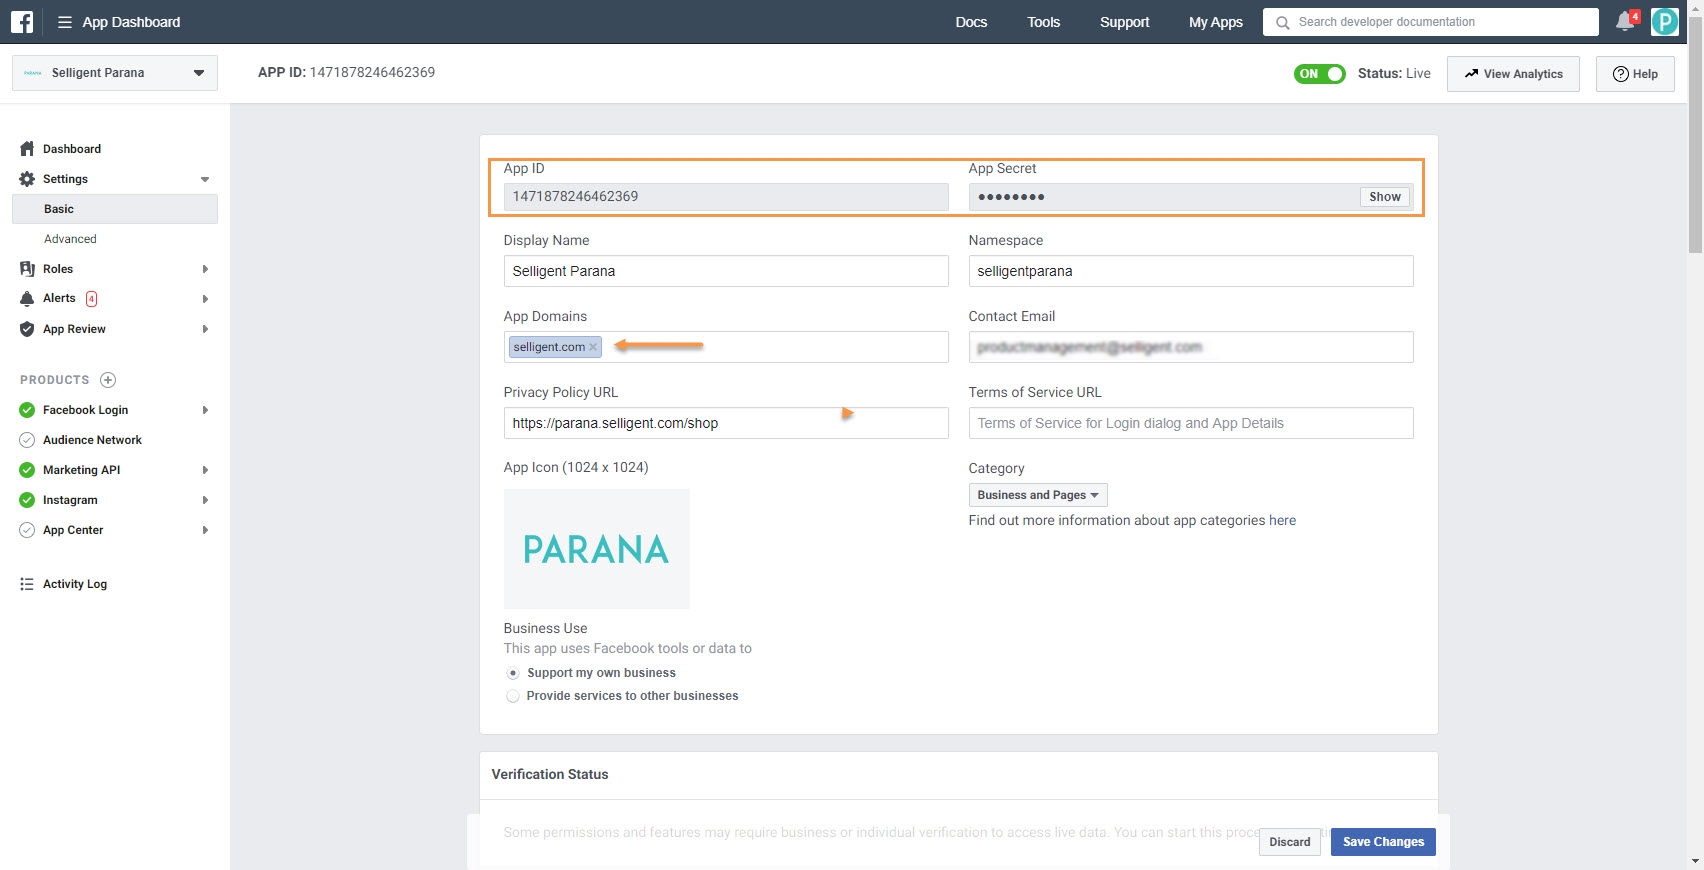
A series of configuration fields is generated and the most important one are 'AppID' and 'App Secret'. Write them down as they will be used to configure the social app in Selligent.
Set the 'App domains' field to the domain from where you want to enable authentication. (For SAAS clients this would be emsecure.net, for other clients, this corresponds to the domain on which the installation is located.)
Make sure the 'Website with Facebook login' contains the URL of the website with which a connection to Facebook will be made. This is needed for the Feed dialog that on its turn will contain this URL.
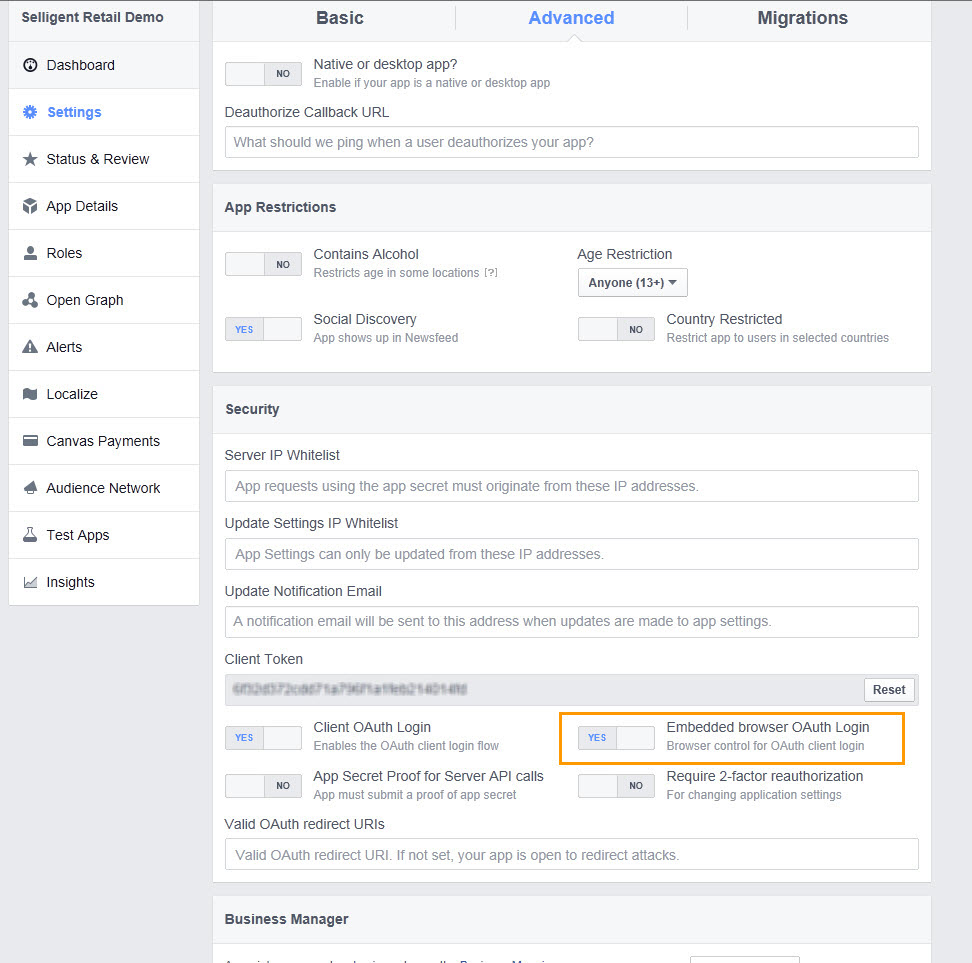
On the 'Advanced' settings tab, make sure to enable the option 'Embedded browser OAuth login'.
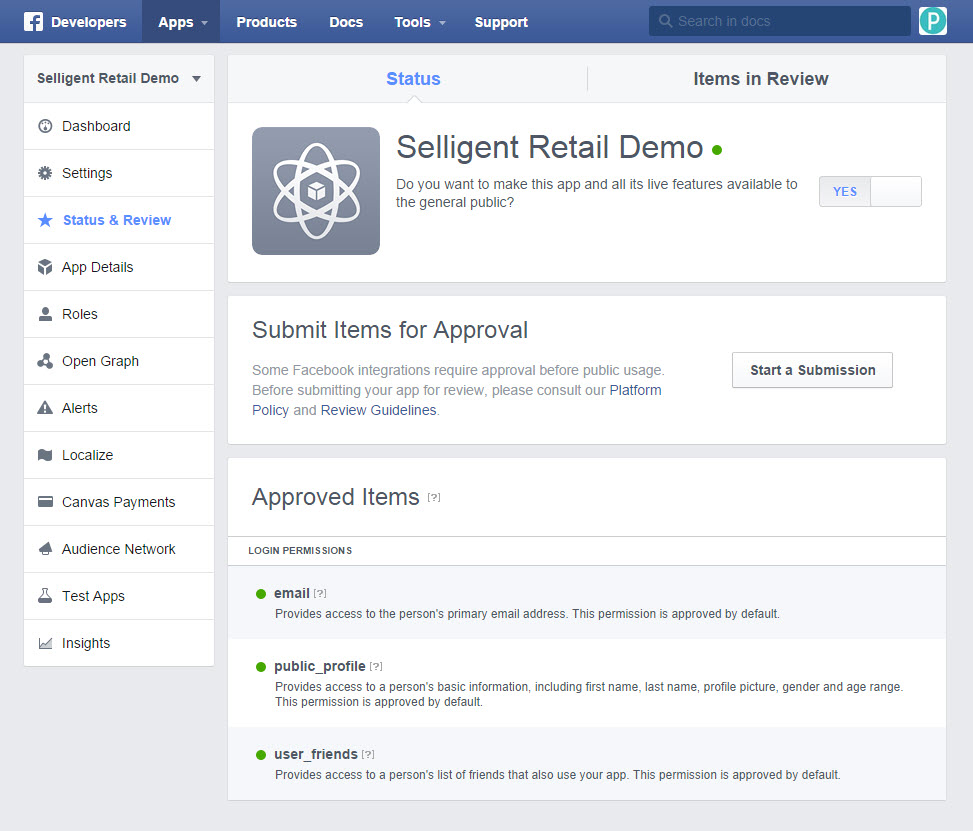
In the 'Status and Review' section, ensure the app is set public:
'X' (formerly Twitter)
In the case of 'X' (formerly Twitter), the application is created with any 'X' (formerly Twitter) account and the 'App ID' and 'Secret' is used to create the social app. The social app must then be given the right to publish through the 'X' (formerly Twitter) account on which messages are tweeted. Multiple apps can be granted access by the same 'X' (formerly Twitter) account.
1. Go to the developer website https://dev.twitter.com/ and sign in.
2. When login is completed, go to the bottom of the page and selection the option 'Manage your apps'.
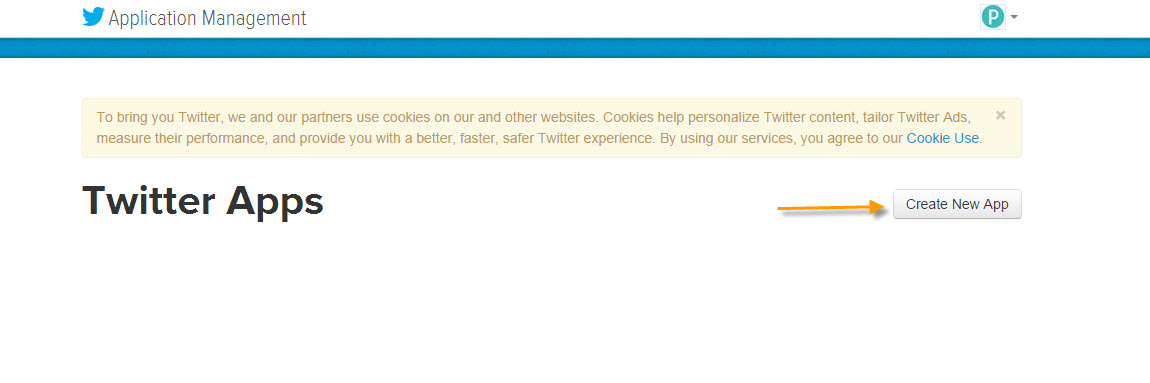
3. In the application section, click the 'Create New App' button. Existing applications are listed on the left.
4. A form is displayed to fill out the parameters for the application. Enter the following values:
- Application name: name of the application used to interconnect Selligent and 'X' (formerly Twitter)
- Description: your application description which will be shown in user-facing authorization screens
- Web site: url of the publicly accessible web site used on the authorization screens.
- Call-back url: is mandatory. The url will not be used for callbacks but if left blank, no callbacks will be possible. Anything can be filled in.
5. Save. A summary is displayed.
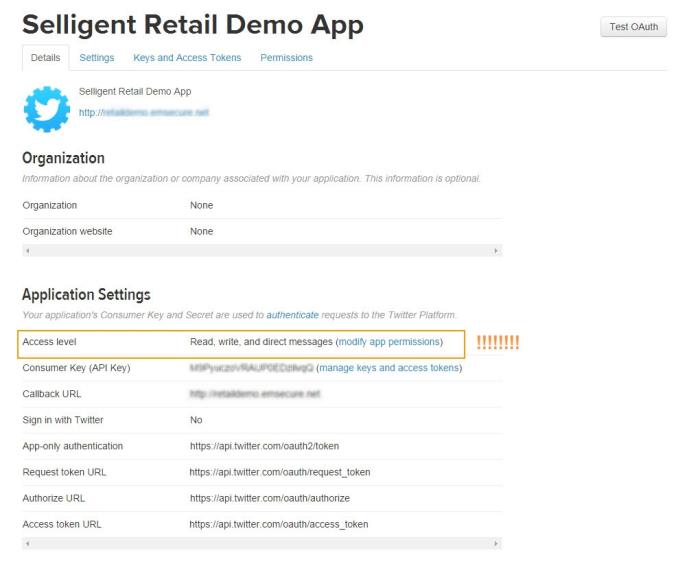
NOTE: Make sure the Access level is 'Read and write'.
On the 'Keys and Access tokens' tab, create an access token:

A series of technical fields is generated but the ones to remember are 'API key' and 'API secret'. These parameters will be used to configure the integration between Selligent and 'X' (formerly Twitter).

Janrain
Regarding Janrain, the application providing the 'App ID' and 'secret' for the social app, is created automatically in the Janrain account. However, you still need to configure the different social networks that must be made available. (Check out http://developers.janrain.com/how-to/ for all the details on how to create and configure Janrain apps)
1. Go to http://janrain.com and click the 'Dashboard' menu.
2. Create an account by entering an email address and password (or use your existing account if you have one.)
3. Next, on the Dashboard, select 'New Property'.
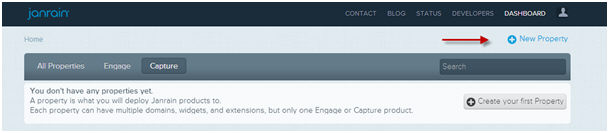
4. A pop-up window appears.
5. Click 'Create an app' (if you click Check pricing, you are taken to a page with a pricing structure. Clicking the Back button takes you back to the pop-up window.)
6. Add a name for your application and click ''Create application'.
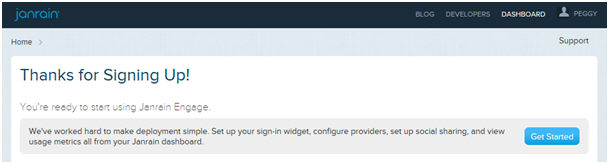
7. Select 'Get started' on the confirmation screen. Depending on the identity provider you choose, additional authorization may be required.
8. Enter the contact name, company, and email to be used in the application and click Next.

9. Choose a name for your application and select 'Create application'.
NOTE: for the basic service level, your name will be appended to the rpxnow domain appearing as yourdomain.rpxnow.com. You can customize this URL at higher service levels.
10. The Janrain servers generate the application. Click the 'Get started' button to continue.
11. The new application is now listed. Click the button 'Manage engage app' to configure the app.
12. On the dashboard, click the 'Edit' button in the Settings on the right.

13. Add the domain, from which Janrain will be used, to the whitelist. (add also the janrain.com to the whitelist. This is required later on when configuring the widgets)
14. Note that the 'App ID' and 'Secret'. It is required when configuring the social app in Selligent.
Now to be able to use the Janrain social login, the different social networks for which it must be made available must be added and configured.
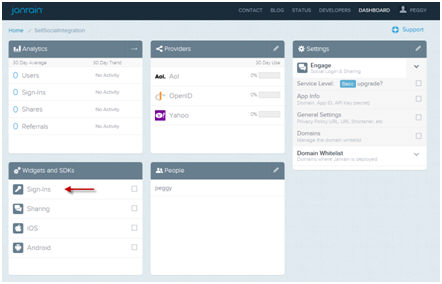
1. From the Janrain dashboard, click 'Sign-ins' in the widget section.
2. In the 'Layout' section you can set the type to 'Embedded' or 'Modal'. To the right, default providers are already made available in the widget. These providers do not require additional configuration.
3. Click the 'Providers' section to add additional providers.
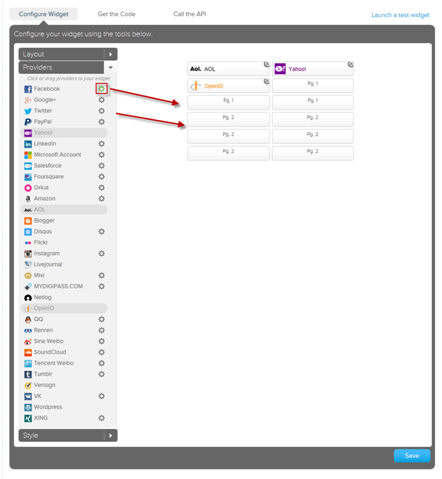
Providers for which additional configuration is required have a gear wheel. If the wheel is green, the configuration is complete. Grey means that it still needs to be configured.
4.Drag and drop providers to the reserved spaces on the right. Janrain guides the user through the different steps and configuration options.
5. Save all changes.
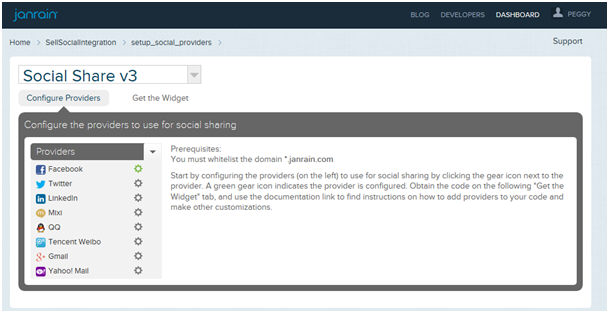
To make Janrain Share available, perform the following steps:
1. On the Janrain dashboard, select the Sharing widget:
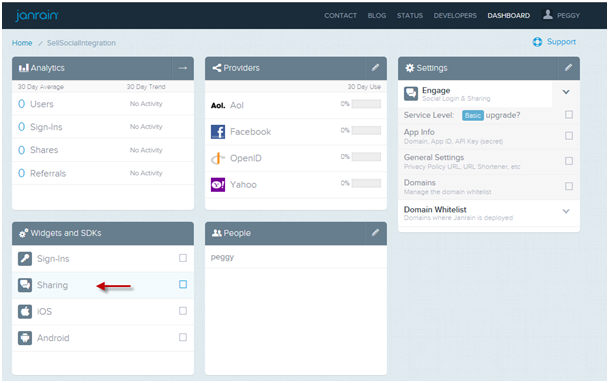
2. Again, providers must be added. If providers have been configured previously for other widgets, the gear wheel is displayed in green. Else, you need to configure them now. Janrain guides the user through the different steps: