Connectors can be drawn between journey components on the canvas by right-clicking the component and selecting the 'Connect' option from the pop-up menu or by selecting the point on the side of the component and dragging the connector to the next component.
The components on the journey canvas are graphically connected with a line, referred to as a connector. A connector always bonds two components to each other in a unidirectional manner. The arrow indicates its direction.
Most journey components can create events that move the contact along to the next component. The topic 'Journey components' elaborates on the different events that can be triggered by each component.
The connector’s function is to transmit the event and link it to an action. The action is defined in and represented by one of the available components.
Actions are triggered immediately by default, but delays can be defined. For negative events (e.g., Not onClick) a delay needs to be set because the targeted audience will not respond and react instantaneously when they receive the message.
Sometimes, multiple connectors can be created towards the same component.
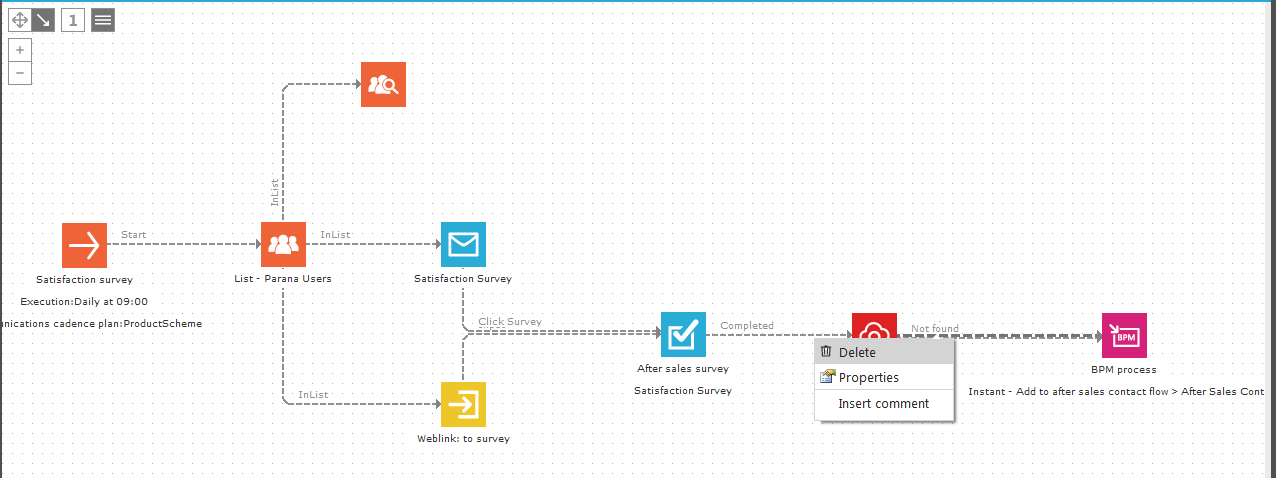
Deleting one of these connectors can be done by clicking the connector group and selecting the 'Delete' option from the contextual menu:
A pop-up dialog is displayed with the list of connectors corresponding to the “group” of connectors.
Choose the desired connector in the drop-down list and click the 'Select' button. Then a confirmation message is displayed to ensure that this connector has to be deleted. Validate by clicking the 'OK' button and the connector is removed from the journey canvas.
