To create a new export procedure press the ‘New export’ button in the toolbar . A dialog pops up in which the export can be configured.
General
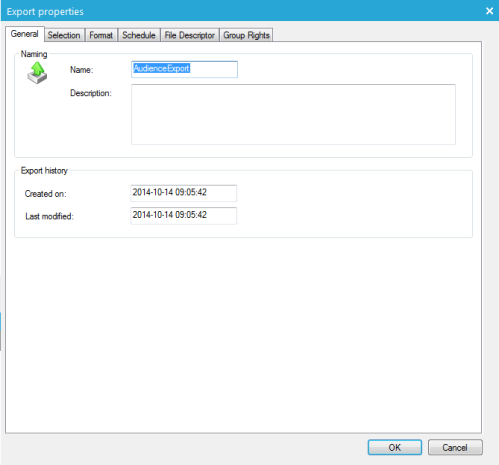
This allows setting basic information
- Name
- Description
- Created on: Date on which the export is created
- Last modified: Date on which the export definition is last modified
Selection
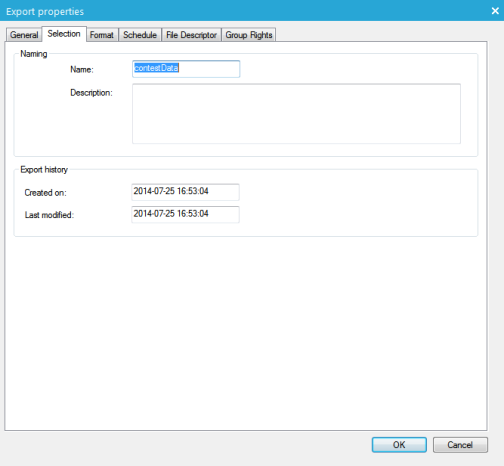
In this panel, it’s possible to define the source list from which data are exported.
The following additional settings are available:
- Include Segments: List segments that are included in the export. Click the ... button to access the dialog where all segments for the selected list are available for inclusion
- Exclude Segments: List segments that are excluded from the export. Click the .. button to access the dialog where all segments for the selected list are available for exclusion
- Custom Filters: Define an additional filter to be applied on the records. The standard Filter designer is used.
- Full Export: Export data without checking duplicate entries
- Differential Export: Only new records added since the last (differential or full) export will be exported, meaning that every record is ONLY exported once, even if the export runs multiple times. Changes to existing records do not count as new information, as that record will already be recorded as being exported.
Format
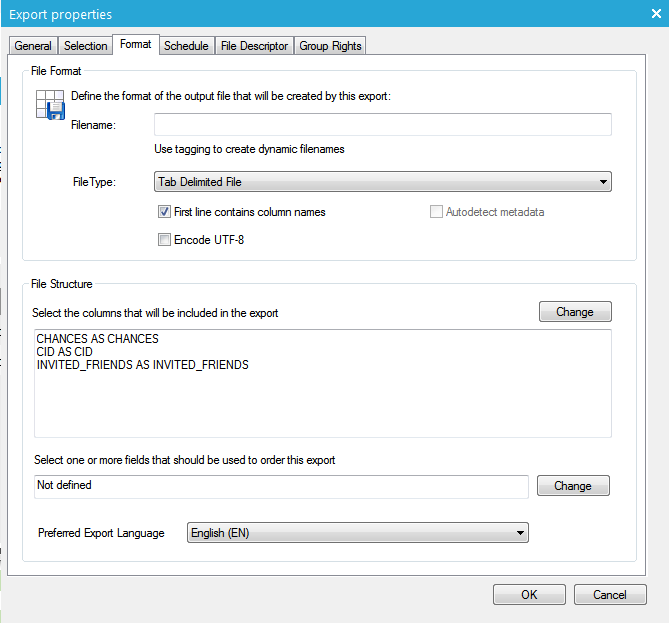
The following options are available:
- Filename: Name of the exported file. It’s possible to include system tags when defining the export name (e.g.: EXPORT.~SYSTEM.YEAR~). Plus, the file extension has to be written manually.
- File Type: Export type which corresponds to the delimiter used
- File Structure: Modify the exported file structure. This means that the columns to be exported from the selected source can be configured and that a sort order can be applied.
1. In order to select the exported columns, click the 'Change' button displayed on the top-right corner of the 'File Structure' group.
2. The 'Dataview Column Configuration' is opened and it is possible to select which column to add to the export.
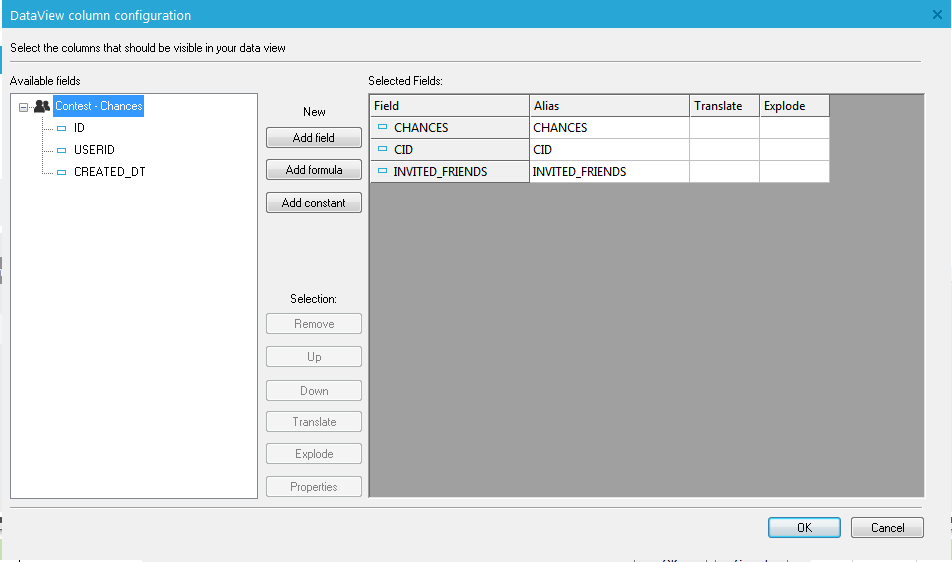
3. Select a column in the navigator on the left and press the 'Add field' button.
Columns can be moved around in the list by using the Up/Down buttons.
When validating the customization, a summary of the file structure is shown in 'File structure' group.
4. It's possible to choose the values that will be used to sort the exported file. Use the 'Change' button on the bottom right corner of the 'file structure' group.

All the available columns are listed in the left part and the selected sorting criteria are listed on the right. Use the << and >> button to add or remove fields. Note that fields from the master list as well as any field from a linked list can be used.
Two more options are available:
- Asc/Desc: ascending or descending sort.
- Up/Down: move up or down a sort field.
Schedule
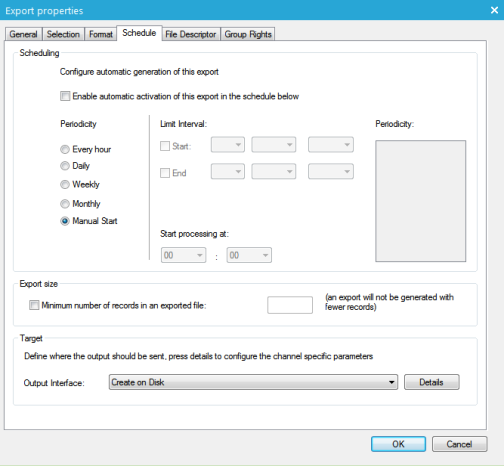
Export can be performed at a scheduled time.
1. First, click the check box to activate the export automatic schedule.
The following settings are available:
- Periodicity: Period of time when the export will be done
- Limit interval: Export schedule validity. These fields are used to define the starting date and ending date between which the export is active.
- Start processing at: time at which the export starts
- Site: Physical export storage.
-
- Create on disk: Save the export to the disk (details will display a folder field)
- Send as attachment: Send the export using an email (details will display information about mail configuration, TLS transfer is supported)
- Uploading using FTP/FTPS: Upload the export on an FTP site (details will allow defining connectivity to this site)
File descriptor
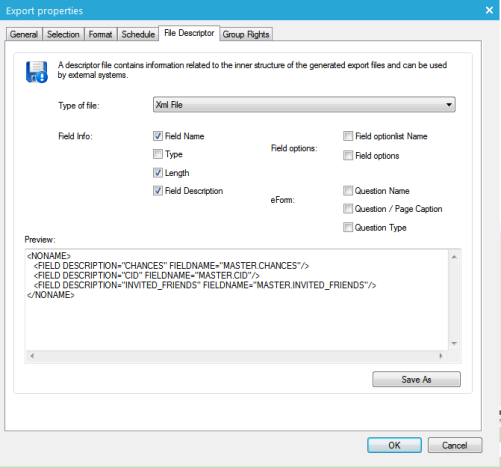
The 'File descriptor' tab provides information about the physical structure of the exported data. This structure can be exported to a file using the 'Save as' button at the bottom of the window. Check boxes allow configuring information about the structure which will be exported.
Depending on the selected file type for the descriptor, the 'Preview' is modified. Above is an example of an XML format.
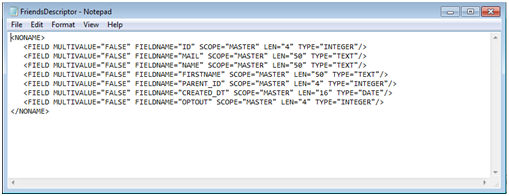
A descriptor file is mainly used when exporting data for use in external systems. This allows reading automatically the structure of the fields and correctly storing them in an external system.
The button 'Save as' allows storing the content of the descriptor file. The result looks like following for the XML.
Group rights
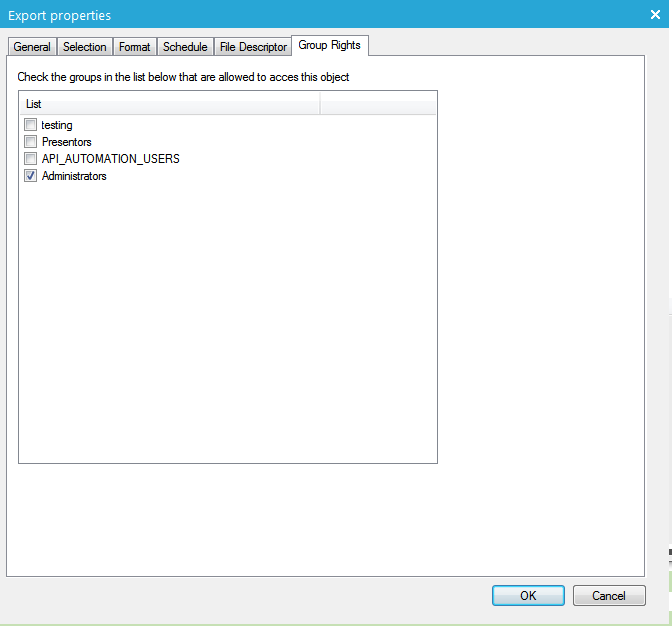
This tab allows defining which user group has access to this particular export.
