With attachments, you can enrich your message with additional information that recipients can download and store. Attachments can be added to email messages and to templates and allow contact cards or appointments to be downloaded from your Message and stored as appointments in an agenda or a contact record.
Contact cards and appointments have a predefined set of information fields that you can fill out. These attachments will be added respectively as *.VCF or *.ICS attachments. The *.VCF file can then be imported for example into online email clients like Gmail. The *.ICS files can be stored in outlook calendars, or Google calendars for web browsers, and even Apple calendars for mobile devices.
In addition,*.PDF and *. TXT files can also be attached to your messages. The file name and path can contain personalization fields. The file path can be a public URL. If the file path contains a file extension different from the supported extensions, a validation error is returned. It is also possible to select the PDF and TXT-files from the Library.
Note: The allowed file types are defined in the settings for the environment. By default this is PDF and TXT but can be extended to other file types as well.
Warning: Attachments in e-mails can affect the deliverability of your e-mails and thus jeopardize your reputation as a sender. Think carefully before using them in your marketing emails.
Create an attachment
1. To create an attachment, click the Attachments link in the toolbar of the Components panel. You are taken to the Attachment panel.

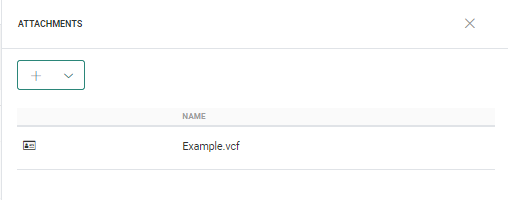
2. All existing attachments are listed and can be deleted or edited from this overview.
3. On the Attachments panel, click the + icon to create a new one. A drop-down list allows you to choose between contact card, appointment or file attachment:
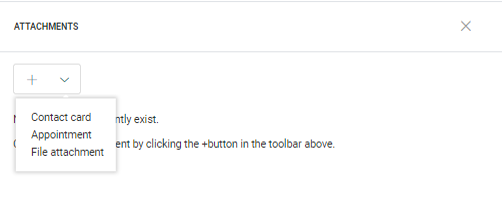
Depending on your choice, the corresponding dialog is displayed:
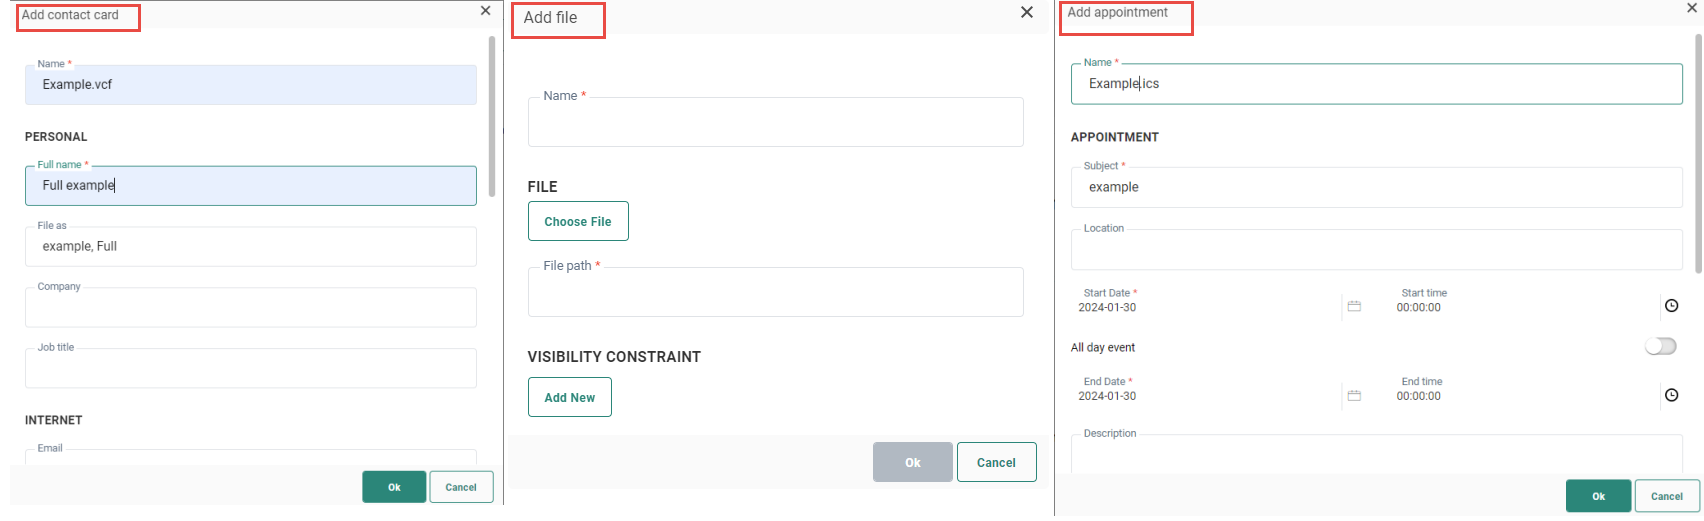
4. A dialog pops up to fill out all the details and give a name to the attachment. When attaching a file, you can browse for the file in the Library or enter the file path manually. When browsing the Library and selecting a file, the file path is filled out automatically.
5. When done, click OK. The attachment is added at the bottom of the list.
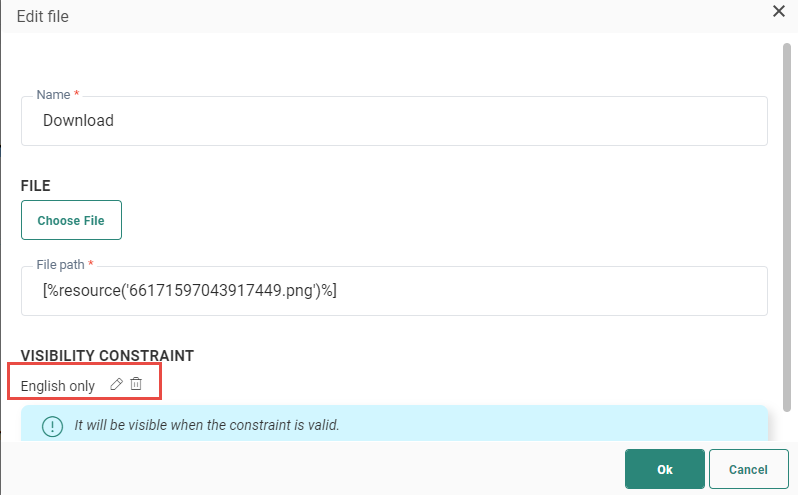
Add a visibility constraint to the attachment
Attachments don't necessarily need to be visible to all contacts in the targeted audience. For example, the contact card of a Dutch speaking contact person is only useful for Dutch speaking contacts. A visibility constraint can be added in the following way:
1. Open your contact, file or appointment attachment.
2. Scroll to the bottom of the properties dialog and click Add new.
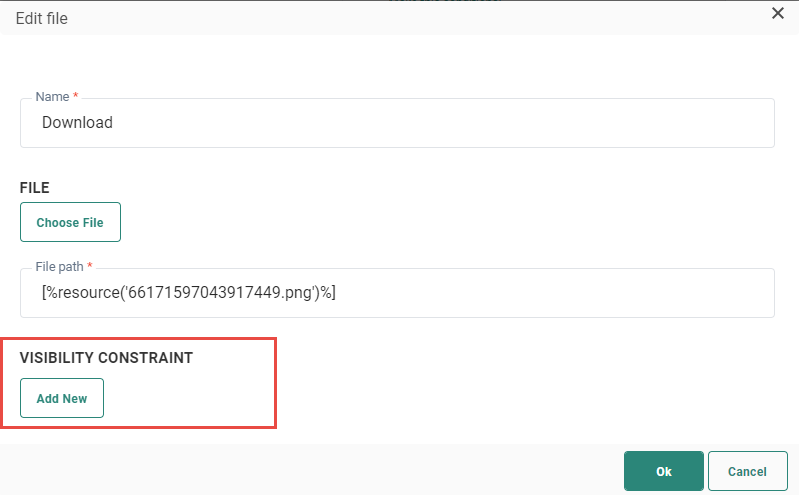
The Constraint Editor is displayed. (For more information on how to define a constraint, check out this section.)
3. Define the constraint to indicate when the attachment should be added to the message and press OK to save.
The constraint is now visible from the attachment:
Example : How to use attachments in messages
