![]()
The Content Automation widget can display an image in your message with real-time data that is returned by an external API. For example, an API may return the current price of an item, or the top three products or current price of the product when the message is opened, etc.
API data can be returned in XML and JSON format and Basic or OAuth authentication is possible.
Since the Content Automation widget can display any type of data provided by an API, Marigold Engage users can not create templates that use the Content Automation widget. Instead, Engage provides customized templates based on the customer needs and requests.
Note: Arrays are not currently supported in this release. Only one item is returned.
1. The Live Content Configuration tab lets you view any custom templates that have been provided to your organization by Marigold. The custom templates below display financial data:
Note: New custom templates can be added based on a customer's use case. The customer provides an image of what is required and Marigold services builds the custom template that is only visible to that specific customer.
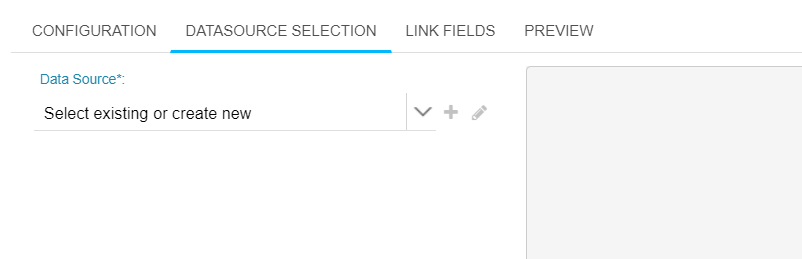
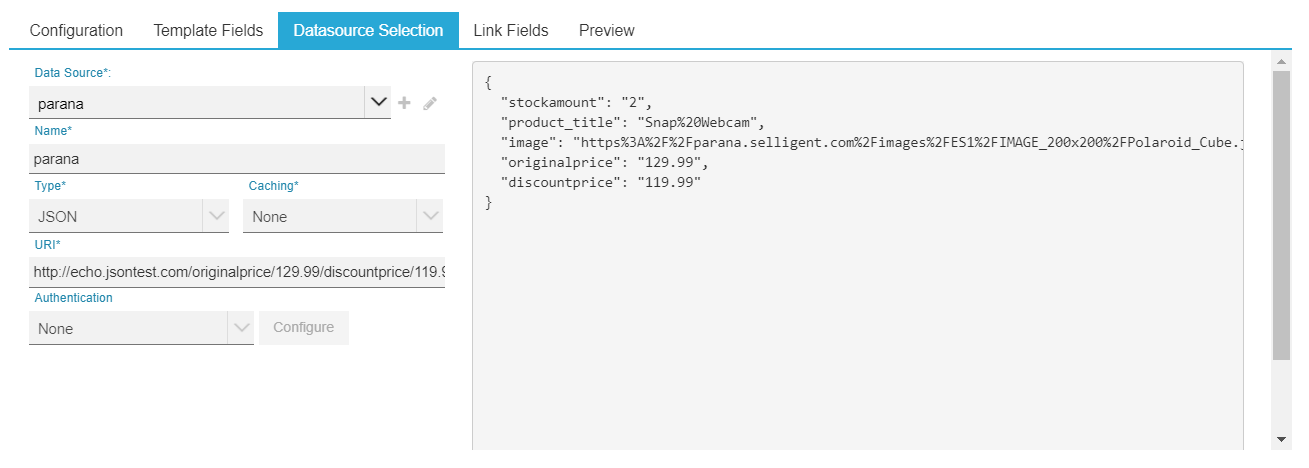
2. Next, click the 'Datasource Selection' tab to choose a data source to retrieve data from.
3. Click + to create a new one or click the drop-down list to select an existing one.
4. Click the pencil icon to edit it.
The following data source fields need to be set:
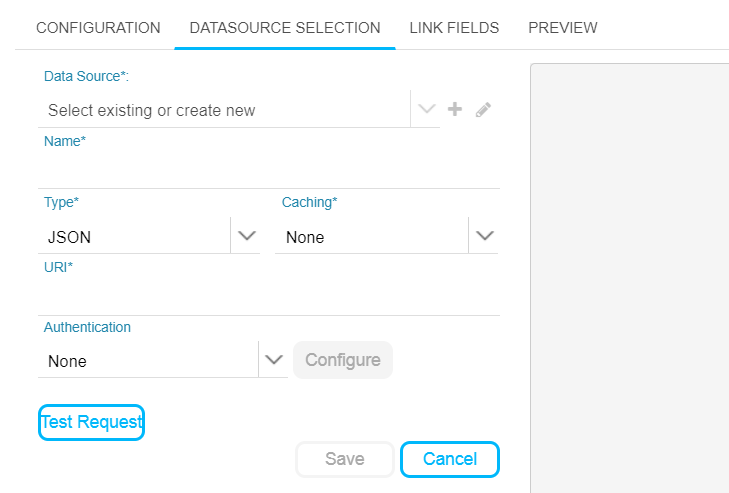
- Name — Provide a name for this data source. When saving it you are able to reuse this data source in other content automation.
- Type — You can select JSON or XML as type of data returned by the API.
- Caching — The time, expressed in minutes, data is cached. (Possible values are 0, 5, 10, or 15 minutes).
- URI — The API endpoint that calls the actual API that returns the data. This Uri can contain personalization fields. (These personalization fields are then filled out manually when testing the API.)
- Authentication — There can either be no authentication, basic authentication or an OAuth authentication. When the type of authentication is selected, click the Configure button on the right to set the parameters. More information on this further down the topic.
Configuring basic authentication
A user name and password must be provided in plain text.
Configuring OAuth authentication
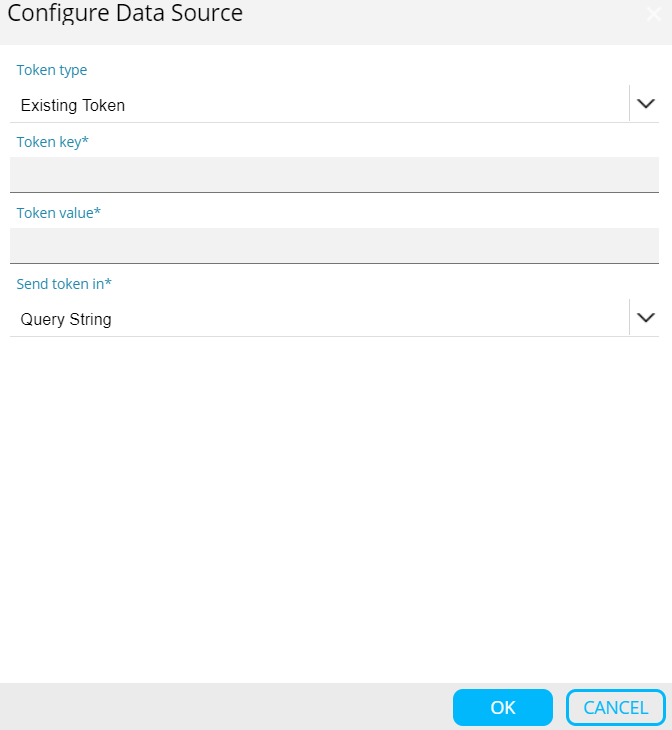
If the user has selected OAuth, he can either choose between using an existing token or create a new one. An existing token can be selected if a non-expiring permanent token is already available for this API. If not, you need to configure the token.
For an existing token, specify the following parameters:
- Token Key — Specify the key to be used to pass this token in the actual API request.
- Token value — Specify the actual token value.
- Send token in — Define where this token should be added. Possible options are 'Query string', 'header' or 'authorization header'.
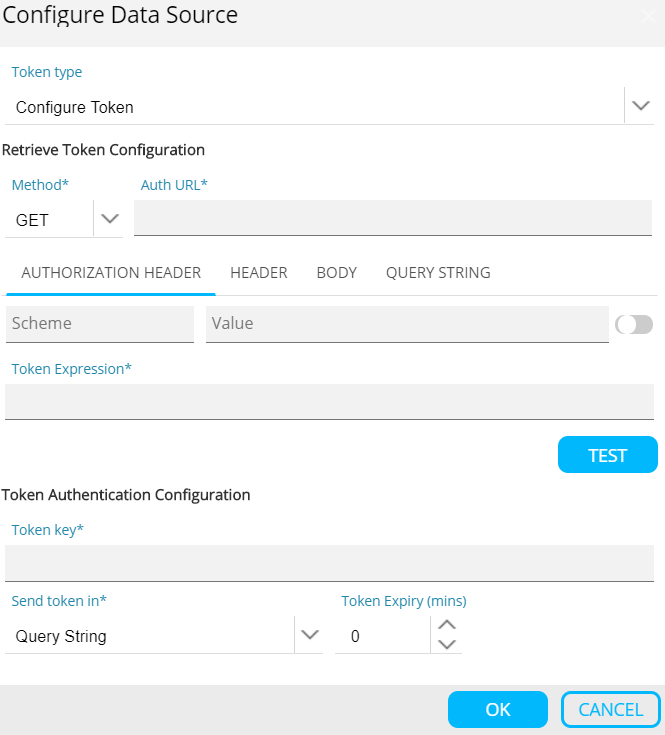
For a new token, specify the following generation parameters:
- Method — Select the method to be used, either GET or POST.Authentication URL — Specify the URL for generating the token request.
- Authentication parameter — Specify the type of parameter to use: Header, Body, Query string or Authentication. Any combination of tabs can be selected and for each tab, the user can add multiple schemes and values as parameter. Use the toggle button on the right on the authorization header tab to indicate if the value will be base64 encoded at runtime while executing the Token request.
- Token expression — This expression is used to get the token from the token API request. Ensure that this token expression exists in the API response
- Token key — The token key is used as a request parameter in the actual source API request.
- Send token in — Select where the token information must be sent to the actual source API.
- Token expiry — Specify the expiration time, expressed in minutes with a maximum of 14 hours. Make sure this is an accurate value, because it will be used while caching the token value.
Use the Test request button to test the actual API request and show the result of the call on the right. The test must be successful in order to save the data source, so this is a mandatory step.
When personalization fields are used in the URI, a dialog pops up for you to enter the values. For example:
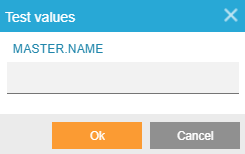
When done, press OK and the right side panel will display the data returned.
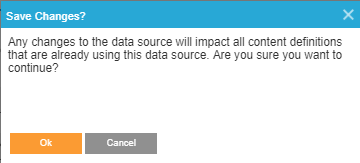
Last, save the data source. When doing so, an alert pops up:
NOTE: You can cancel the unsaved changes. In case of editing an existing data source, the last saved data source settings are retrieved. In case of a new data source, all fields are cleared.
IMPORTANT NOTE: When changes are made to the data source, all content definitions using this data source will be impacted.
3. The next step is linking the fields in the chosen template with the fields in the data source or in the audience list or linked lists.
On the left are all the fields that are used in the template. On the right, there is a visual representation of where these fields are used.
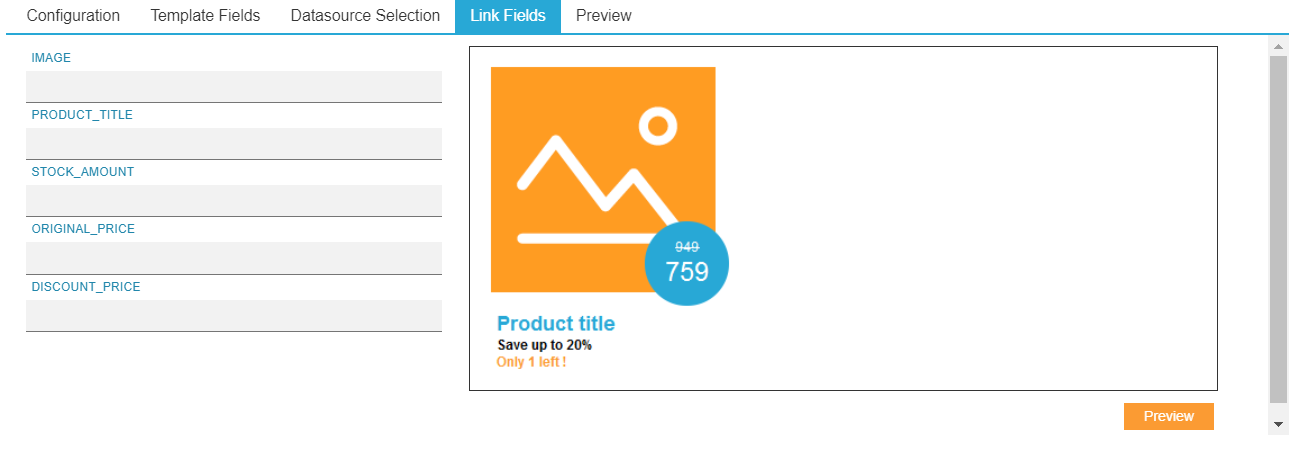
When clicking a field on the left, a personalization icon gives access to fields in the audience or data source:
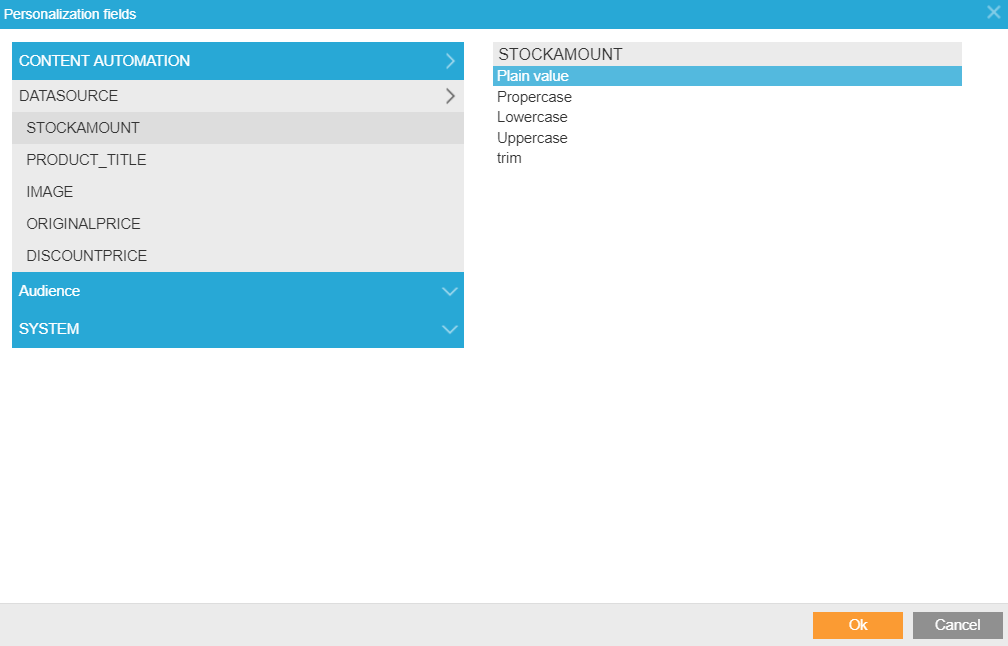
Link each one of the fields in the template with a data source field, an audience field, field from extended profile or a fixed value.
4. The last step is a preview of the result.
NOTE: When a field is used from the audience or profile extension, you can enter a value for these fields that will be used in the preview. All data from the data source is automatically retrieved and filled out.
