IP Whitelisting is used to limit the IP-addresses that can connect to your environment and thus safeguard your environment for unwanted access.
The IP Whitelisting overview shows all configured IP whitelists.
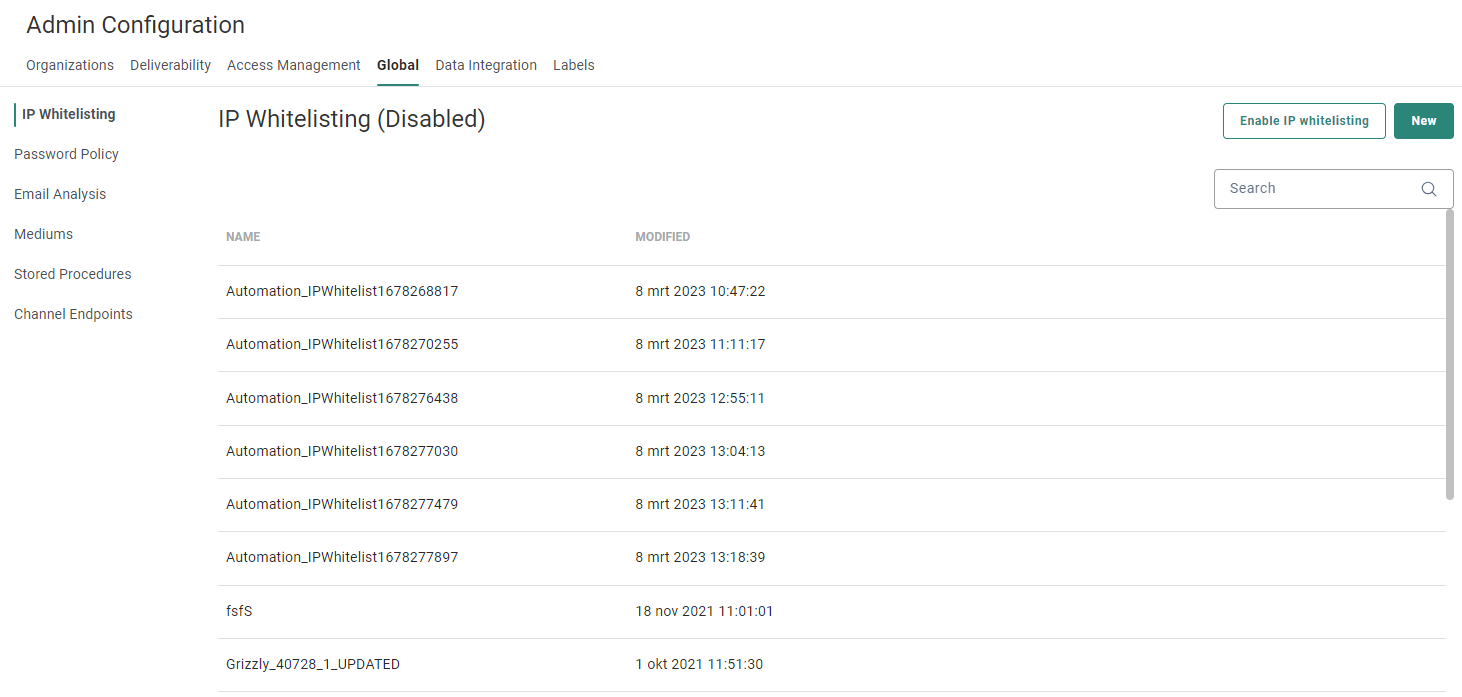
From this overview you can
- Edit an existing IP whitelist — By clicking on a whitelist name. The properties are then displayed in a right sliding panel.
- Delete an existing IP whitelist — By clicking on the bin icon.
To create a new IP whitelist (add a new range of IP addresses), click on the New button
at the top-right.
The properties are shown in a right sliding panel.
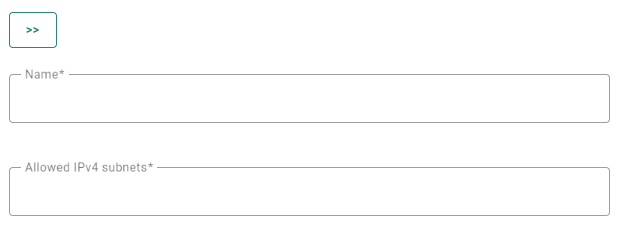
The following fields can be configured (an asterisk indicates it's a required field) :
- Name* — Enter a name for the IP Whitelist.
- Allowed IPv4 subnets* — Enter the CIDR notation of the IP address range that should be allowed to log on.
Each IP range has it's own name and should be created separately.
Technical note: The CIDR format is used. Example: 172.23.24.0/24.
Example: 112.36.45.0/30 means that the first 30 bits are used for the network block you are referencing to. And the IP range corresponding to this CIDR is from 112.36.45.0 till 112.36.45.3
When done, click Save to create the IP Whitelist.
Note: When saving a Whitelist configuration without adding your own IP range to the whitelist, a warning message is shown and the whitelist cannot be saved. A clear message informs the user that enabling the current configuration would block access to the application as the IP is not whitelisted.
From the IP Whitelisting overview, you can also click the button Enable IP whitelisting to activate the white listing functionality for your environment. When active, only the IP addresses within the given range will be allowed to connect.
