In the previous step, template content has been added (some components are locked, others are unlocked).
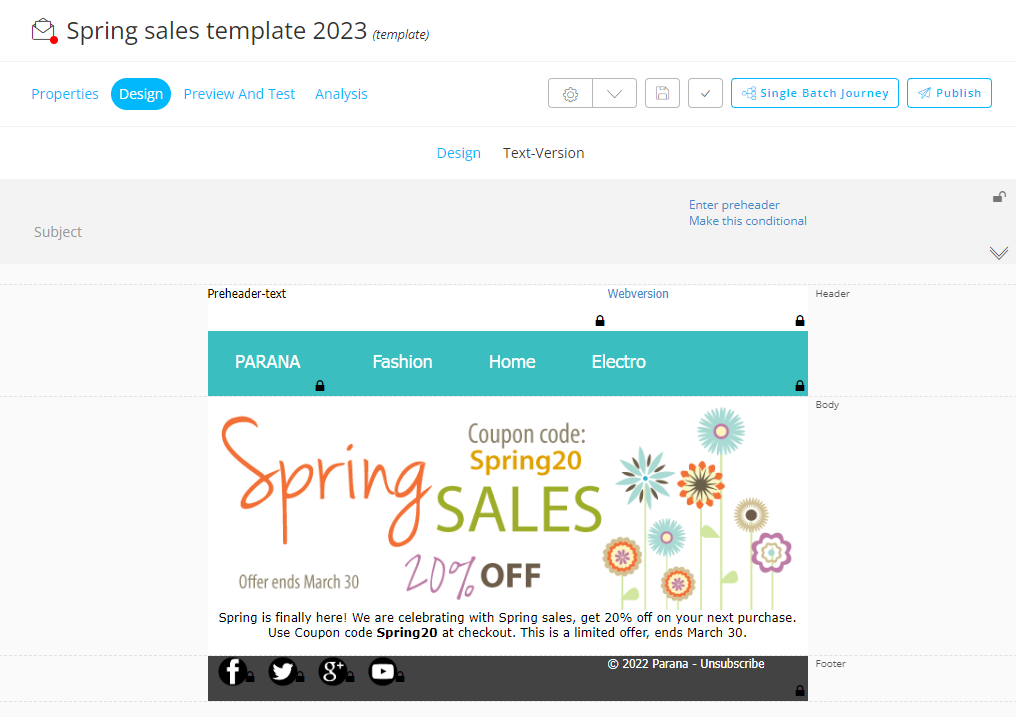
Now, we're going to setup the template header.

Click the down-arrows on the right to expand the template header section.
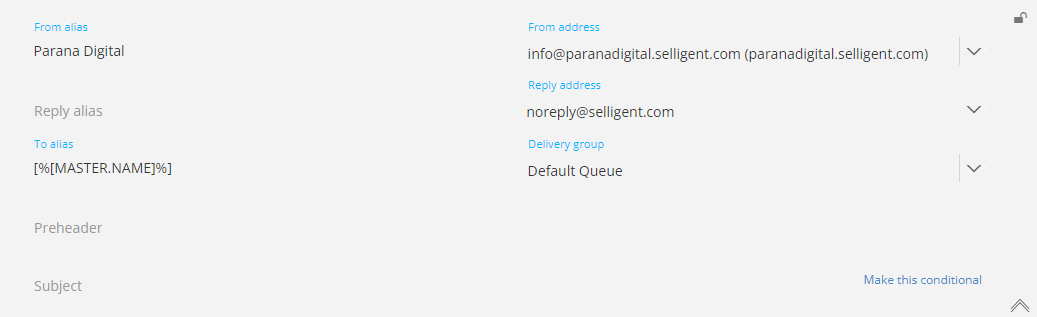
As long as the template header remains unlocked  , no fields are required.
The marketer configuring a journey that will send out the final email (coming from this template) needs to set those up.
When you lock the header though by clicking on the lock icon, required fields are marked with an asterisk (*). Other fields are optional.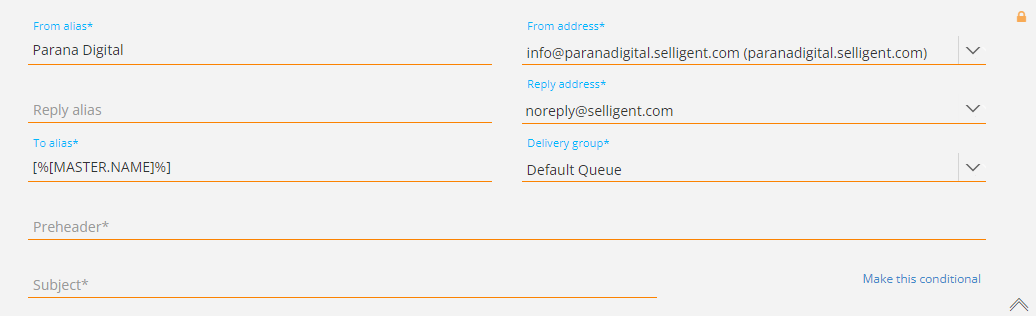
We'll lock the template header and complete all fields in this example.
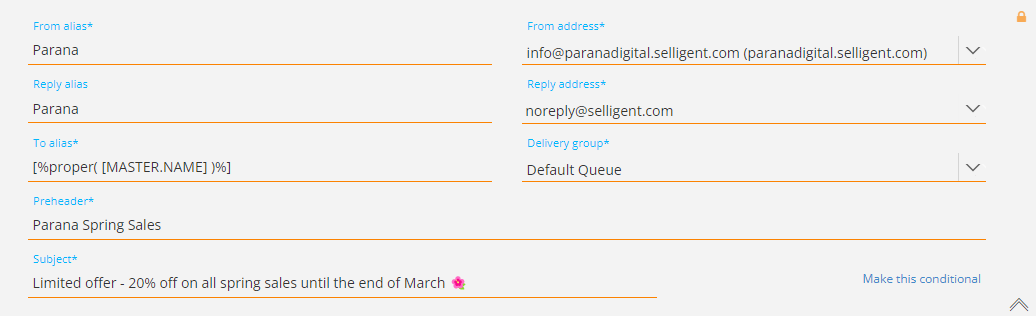
- As 'From alias' and 'Reply alias', we'll enter 'Parana'.
- For the 'To alias' field, let's click on the Personalization icon to get the Personalization Editor.
From here, we'll select the NAME field in the main Audience List, and the 'Propercase' function to make sure the first letter of the contact's name is shown in uppercase.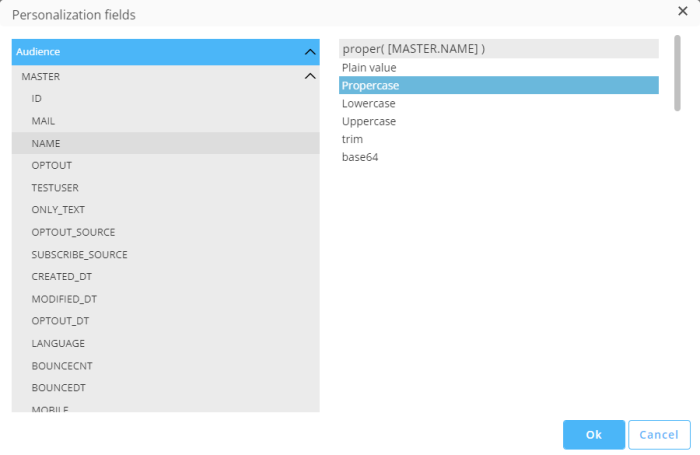
- As 'Preheader', we'll enter 'Parana Spring Sales'.
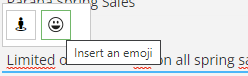
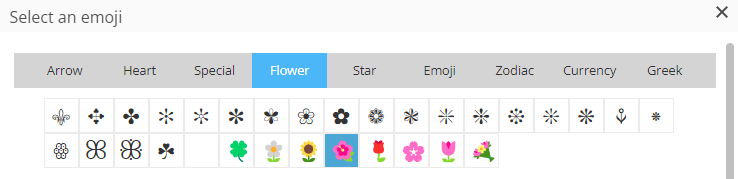
- And as 'Subject' enter : 'Limited offer - 20% off on all spring sales until the end of March' + insert a flower emoji.

The 'From address', 'Reply address' and 'Delivery group' are set by default (depending on how they are configured by your admin).
The template header has been completed and looks like this :
At the bottom-right, there's the possibility to make the template header conditional (to show a different template header depending on certain conditions that you set). In this example, we won't apply this.
If you want to know more about this feature, please have a look here.
| STEPS : |
|---|
| 1. Create a new template |
| 2. Design the template content |
| 3. Add template header |
| 4. Extract text version |
| 5. Test/Preview the template |
| 6. Create a basic journey to send out the email template to contacts |
