Custom Journeys are completely customizable journeys for complex marketing campaigns or campaigns that cannot be covered by the basic Single Batch, Recurring Batch, or AB Journey scenarios.
Custom Journeys allow greater flexibility:
- Sending multiple communications and use a combinations of channels as opposed to a single communication via Single Batch, Recurring Batch or AB journeys
- Handling more complex business logic
- Responding to events
- Enriching data in the database
1. From the Journey entry, select New and then Custom from the wizard.
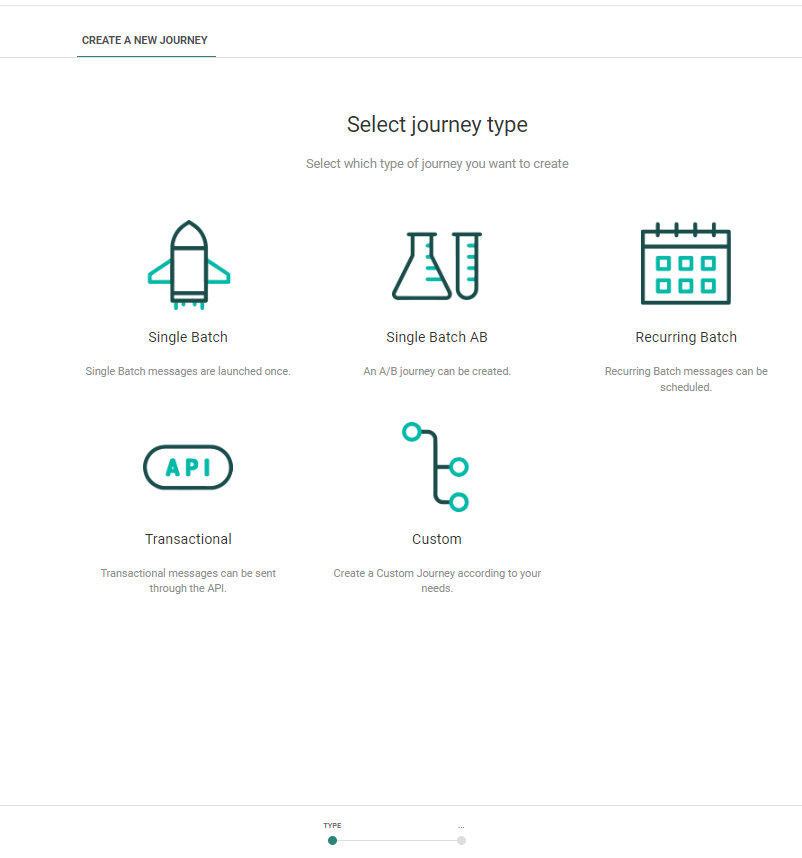
The following is displayed:
![]()
2. Set the Folder Path. This is the folder in which the asset is created. By default it takes the folder that is currently selected on the Start page when the asset is created. You can modify the path if required. Click the folder field to access the dialog and select a different folder.
3. Add the Name and Description and select an Audience List for this journey. The Audience List contains your contacts that will be targeted by this journey.
4. Set the API-Name for the Custom Journey. This name is used when the journey is executed via the API.
5. Asset labels are optional. Select one or more labels from the drop-down. (These labels are configured in the Admin configuration.) Users with the proper Access permissions can also create new labels here by typing the new label value in the field.
6. Once an Audience List is selected, an additional Segment field is displayed which allows you to select a specific segment for this journey.
Note: If the selected list is configured to require segment selection, you MUST select a segment for this list. The journey won't be executed as long as no segment has been selected.
Note: Segments can only be selected for Engage audiences, not for Campaign audiences.
7. When done, create the journey.
The journey Design canvas appears.
![]()
8. Drag and drop components from the right panel onto the canvas to create a journey. Each component placed on the canvas must be connected to another component.
Note: Components that can not be connected to one another are grayed out when trying to link them.
- For more details on how to use this design canvas, check out this topic.
- For more information on the different components available, check out this topic.
Example : Create, configure and use a Custom Journey for a user registration flow
