Define Placements
Note: Customers using Site combined with Engage, can define and manage Placements directly in Engage. For more information, check out this topic.
Note: Pop-ups can be blocked by the web browser and are more intrusive than pop-ins.
A placement is not used to define the actual content, this is done in the offer itself. As a result, multiple offers can use the same placement.
Placements are defined by means of the inspector. The new inspector launched with version 1.6 allows the definition of placements on all websites. (Previously problems could arise with websites with security checks that blocked opening the website in an iframe). Note however that this new version does not work with IE where the old inspector is still used. If problems arise with some websites due to security checks, the user is alerted to this. For all other browsers, the new inspector is used.
Note: An important prerequisite for creating placements on the website is that the script is already running on the website.
To define placements go to'Configuration', select the universe and expand the 'Offer settings' section.
Enter the url of the website where placements need to be defined, or select a website from the drop down. The websites listed are defined in the universe settings.
Click the 'Edit' button next to the Placements field.

The'Placements'configuration page is displayed.
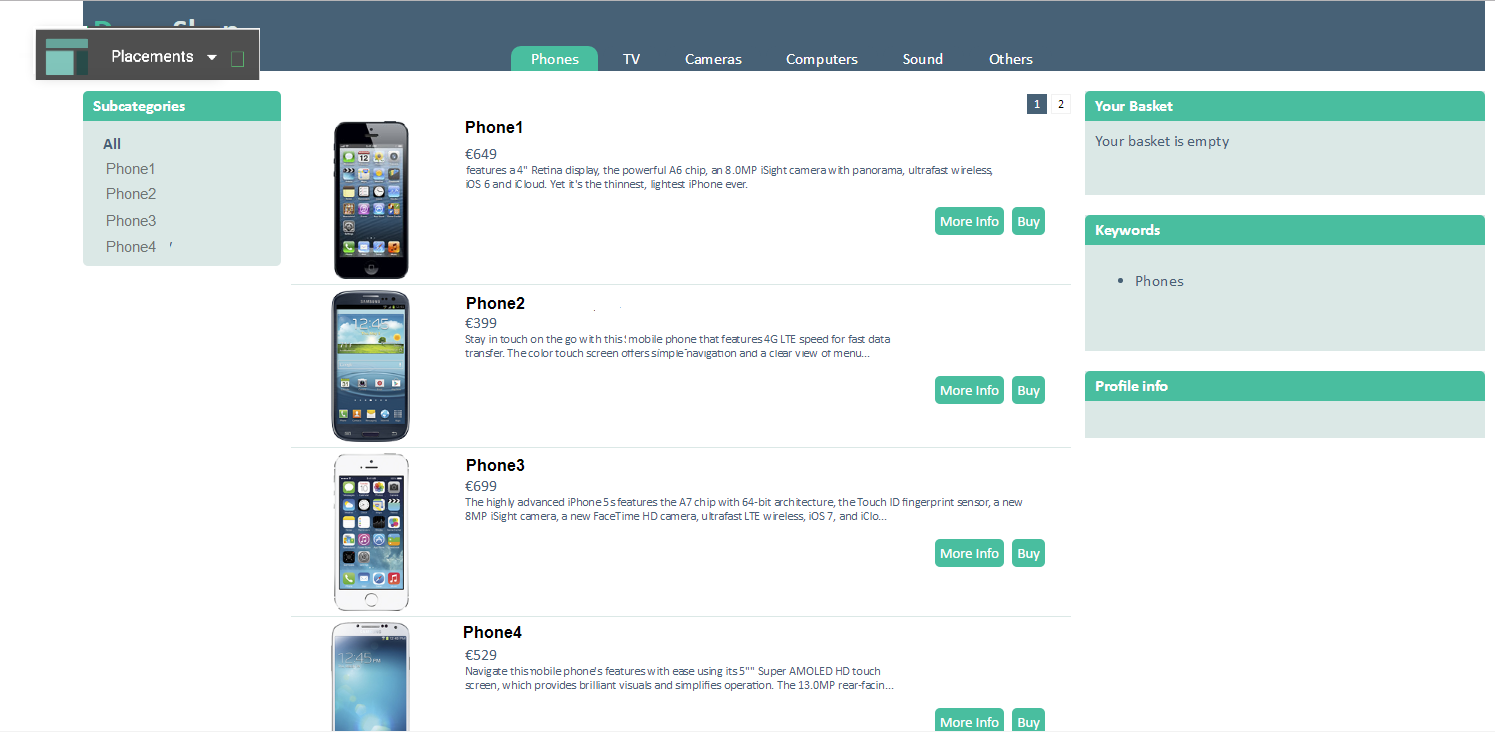
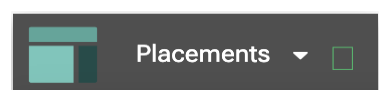
The Placements toolbar is in the top left corner. You can toggle between Play and Pause:
- In Pause/Browse mode, you can navigate the website like any other website.
- In Play mode, the inspector is active and areas in the website can be selected to define placements.
Click on the down arrow to access the list of placements that have already been created:
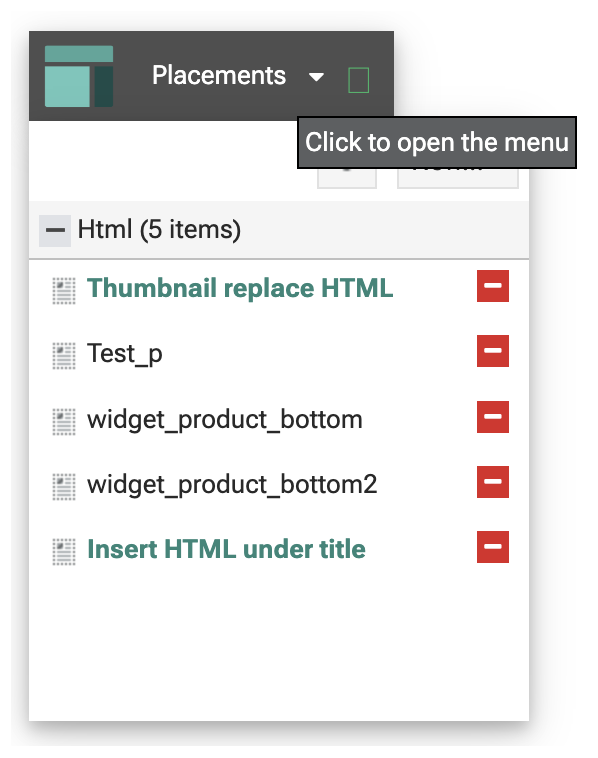
They are grouped according to their content type (Html, Image, Popup or Popin, redirect, css or a script)
- Clicking a placement in here, highlights the corresponding section on the page.
- Placements can be deleted if they are not used in an offer
action. Click the
 icon to remove.
- Placements found on the current web page are displayed in bold.
-
The 'Filter' button toggles between all placements and placements that apply to the current website. (When a placement is created, it is possible to limit its use to specific websites or apply them to all the websites.)
Creating a placement is done in 2 ways:
- Through the 'New' button above the placements tree. These placements are not linked to a specific section on the website but are global. This is available for placements of type Redirect, Popup, Popin, CSS or Script.
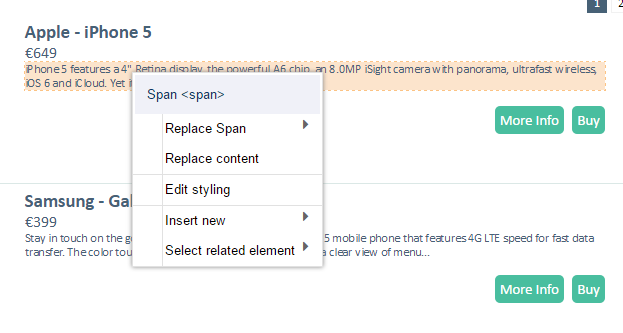
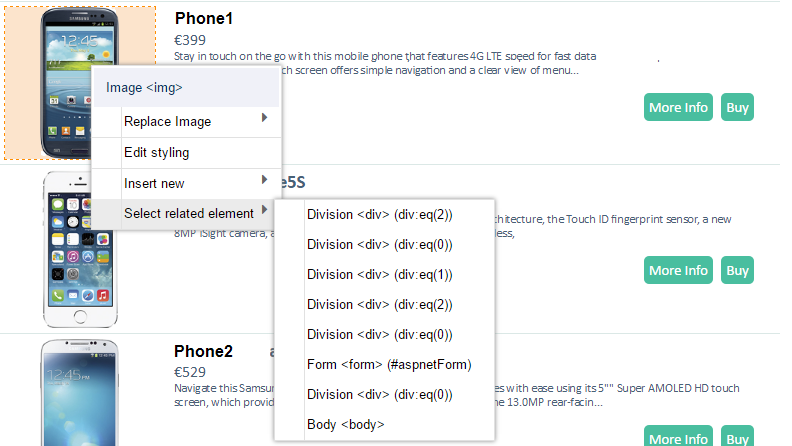
- Directly on the web page: moving the cursor over the page highlights the different sections on the page and allows inserting placements. Right click a highlighted section to access the popup menu. The content of the menu depends on the type of section.
- Replace an element (image, link, headline, etc)
-
- Replace element: replaces the existing element with another element of the same type (replaces an image with another image, replaces the link with a complete new link, etc)
- Replace content: replaces the existing content with something else (example for a link: the link remains but what is between the <a> tag changes.
- Edit styling: applies a specific style to the selected element
- Insert new element or html
-
- Before this element: inserts new content before the selected element
- After this element: inserts new content after the selected element
- Inside, at the beginning of this element: adds new content within the same content section just before the existing content
- Inside, at the end of this element: adds new content within the same content section, just after the existing content
- Select related element: allows navigating the DOM and selecting elements that are related to the selected element (parent elements)
Example: when called from an image, the related element could be the hyperlink of the title
When new content is added or existing elements are replaced, another dialog pops up.
Example for an image:
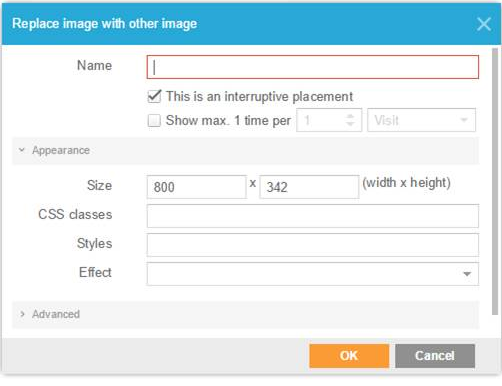
Enter a name for this placement.
Set the placement as interruptive if it is considered as such. An additional option is added to show maximum 1 interruptive placement per x time. (e.g. the header image can not be modified more than once a week.)
Depending on the type of placement, additional information must be provided.
- Popup: the size and position of the popup (default 600px by 400px)
- Popin:
-
- Size: width and height (default 600px by 400px)
-
- Position: 'centered', 'top', 'bottom', 'right or 'left'
- Close button styling: position, size and colors
- Border styling: thickness 'default 1px), radius (default 6px) and color (default #444444)
- Responsive resize: automatic adaptation to any screen size
- Fade Effect
- Overlay: transparent color which covers the rest of the web page
- CSS class: name of CSS class defined on the customers website (to integrate the design of the website into the popin). These classes are added as additional classes to style the whole popin
- Styles: customize by adding extra lines of CSS. These will be appended to the inline style of the popin
- Z-index: the stack order of popins
Note: The popin with the highest Z-index will be shown on top of popins with a lower Z-index. You can close the popin(s) by pressing the ESC-key.
Technical note: The Z-index needs to be a positive number like e.g. 2 or you can leave it blank, which will result in the default value 'auto'.
- Image:
- Size: width and height
- CSS class: name of CSS class defined on the customers website (to integrate the design of the website into the popin)
- Styles: customize by adding extra lines of CSS
- Effect: 'no effect' or 'fade in'
Under 'Advanced' define for which websites this placement is created:
- All websites: there is no limitation
- To these websites only: the placement is applied to the selected list of websites only
- To all but these websites: the placement is applied to all websites except for those selected in here.
Note: the Xpath in the advanced properties is automatically filled out when selecting a location on the page. It is the location of an html element on a webpage.
Note: Site will do a domain based match when selecting the option "to these websites only". This means when you add "parana.com" as domain, anything related to "parana.com" will show the offer.
Can be used without an iframe : When the option is selected, the placement can be used in an offer without putting it in an iframe. The advantage of this lies in the fact that the styling of the website will also apply to the placement and responsive design will be respected. A warning pops up when the option is selected, indicating that this might have an impact on the website.
Note: The option is not available for placements of type image as these are never displayed in an iframe.
Technical note: As a result of not using iframes for the placement and putting the content straight into the HTML of the website, the head section of the web page is not integrated and the style of the website will also effect the HTML body of the CRM page.
Note: Placements are defined
per universe. You can define them for a specific website in the universe,
or for all websites. But only if the Xpath (the elements location) is
the same for all websites.
For instance, if your sub sites all use the same html structure, the H1
(header) element can be setup as a placement. An offer applying to all
websites can use this header to show its content, on all the sub sites.
Click‘OK’when done and don’t forget to save the universe.
Note:If, in an image placement you were to replace an image with another image. The entire image tag is replaced front-side. So if the image tag has a class or styling (for instance for responsive design), you need to apply it also to the placement. Including the image’s WIDTH and HEIGHT attributes. The image’s ALT attribute is defined in the offer content (action).
