Highlights in SMC
June 2023
Versions 5.40 - 5.45
Refreshing Data from Data Selections 
News articles, product catalogs, financial products, etc can evolve quickly. When using this data in SMC messaging, it is important to be sure you are working with the most recent and accurate information available.
To allow this, Selligent introduces the possibility for marketers to fetch the latest data when sending out a Single Batch Journey.
How does this work?
When defining a data selection in a template (and only in a template), there is now a new option in the filter section of the configuration : “allow fetching data from data import linked to this data selection list”.
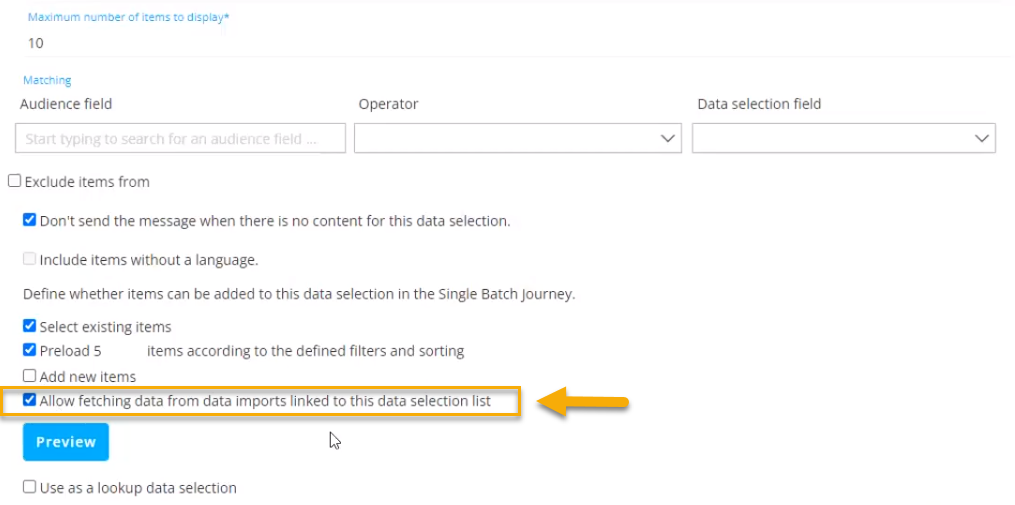
This option can only be checked if the data selection list used in the message has data imports linked to it. If no data imports exist, the option is greyed out as there is now way in this case to fetch the latest data. To use this option, ask your admin to set up a data import when appropriate.
When the option is ticked, the marketer will have the possibility to trigger the execution of the data import, at any time, within the message.
How is this done?
When the template is used in a Single Batch Journey, and the message content is opened from within the journey (using the Edit content button), the marketer is presented with the following message:"Your data selection list(s) are populated by a data import, which was last executed after X. Do you want to run this data import now so that you have access to the most recent data selections?"
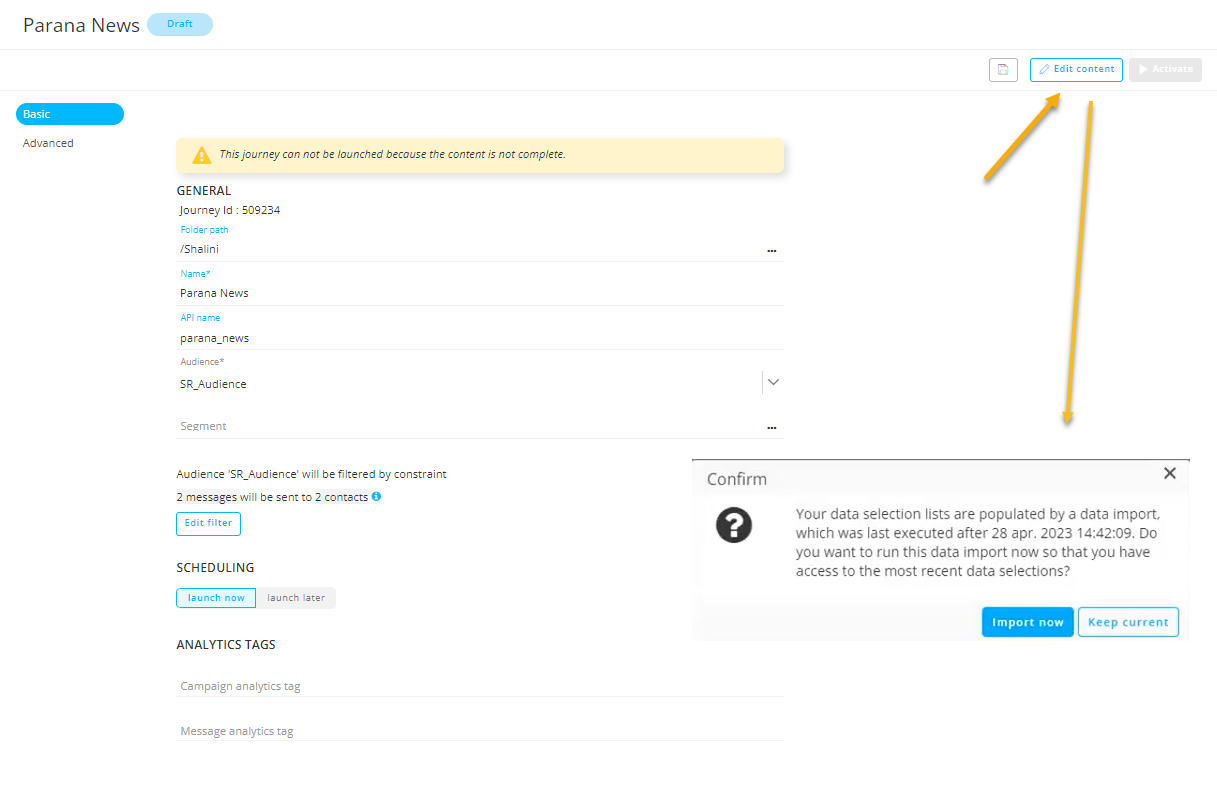
This informs the marketer of the date of the last data import executed for the Data Selection List and asks confirmation to re-execute the import (Import now) or to continue to the content directly (Keep current).
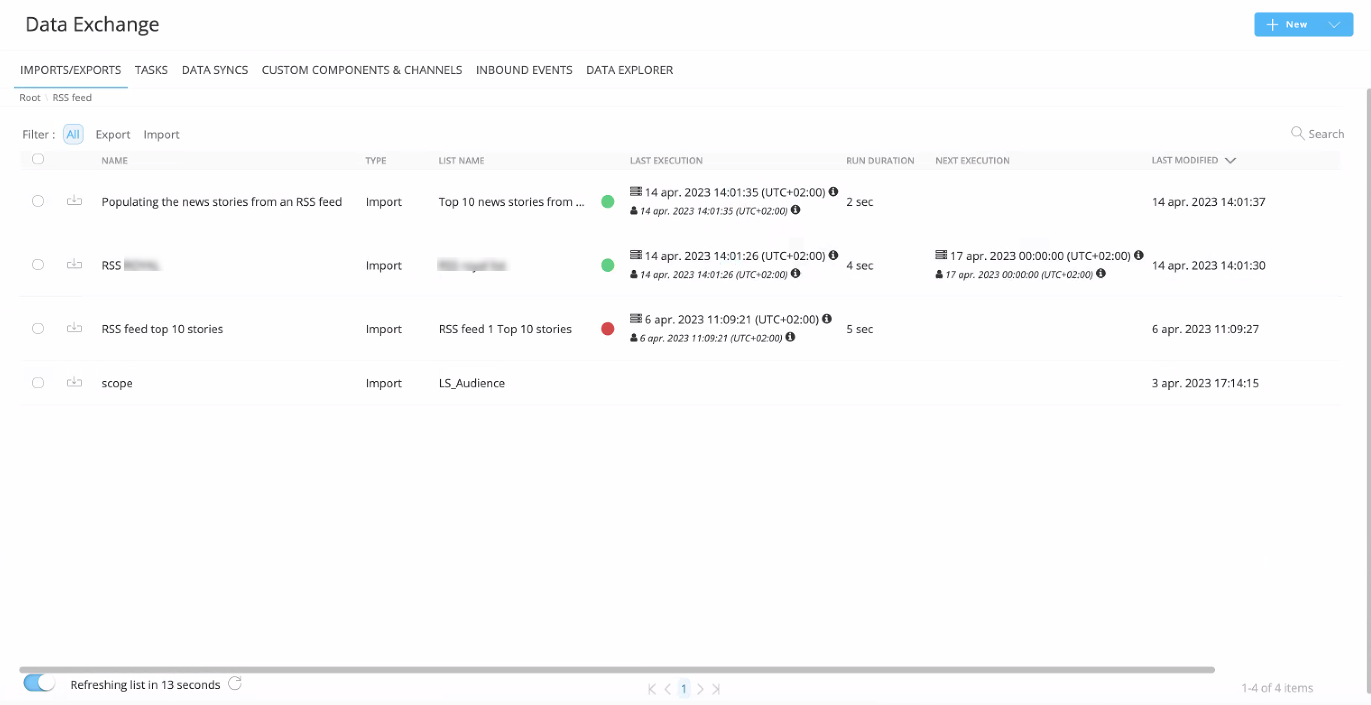
Note: When multiple data selections with linked data imports have been detected for the current message, all the data imports will be re-executed. The progress of the execution can be followed in the Data Exchange chapter:
As long as the data imports are running, a progress icon is displayed in the message.

During processing, the marketer can continue editing the message. Once the processing has finished, a new Gear icon is added to the message toolbar, allowing the user to choose between the following options:

- Fetch and preload data - Triggers the execution of all the data imports defined for the data selections used in the message and fetches the latest data. Then items are preloaded in the message. (Note: preloading of items will only happen if the option has been set in the data selection configuration.)
- Fetch data - Triggers the execution of the data import and fetches the latest data.
- Preload data - Allows manual preloading of the items in the message. If the option ‘Preload items’ is not checked in the data selection configuration, nothing will happen when clicking this option.
Custom channels in Cadence
Cadence Management allows marketers to balance the load of messages being sent to their audience. Previously, SMS, Email and Mobile channels were supported.
Now, Custom Channels of the sub-types Print, Export, Call Center and Onsite Intervention, can also be part of a Cadence Plan. To use such Custom Channels in a Custom Journey and Cadence Plan, do the following:
1) Set up a CustomChannel endpoint in the Channel Endpoints section of Admin Configuration.
In the Channel Endpoints overview, a new column has been added: “Channel”, referencing the channel/provider used for the endpoint.
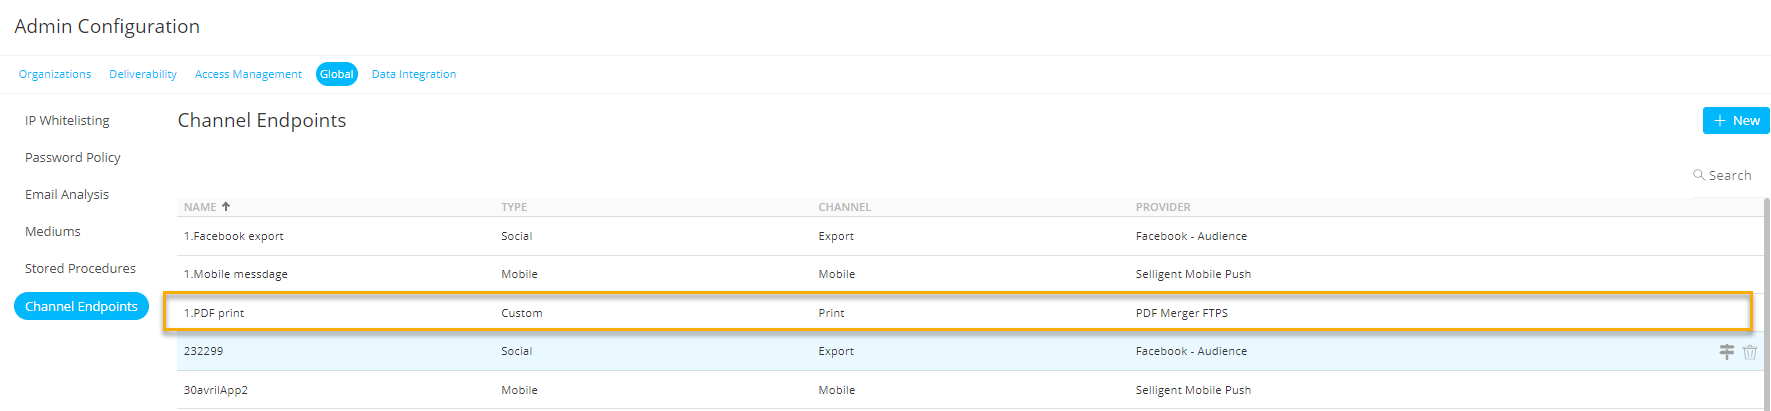
For example, "Print" references providers such as "PDF merger FTPS" or "PDF Merger Local Storage", "Export" references providers such as "Facebook Audience" or "Google Customer Match", "SMS" references SMS providers, etc. Only Custom Channels of the sub-types Print, Export, Call Center and Onsite Intervention will be available for selection in a Cadence Plan rule.
2) Once the channel endpoint is created, you can create a Custom Channel Component (in the Data Exchange chapter) that uses such a Custom Channel Endpoint. This is required to make the Custom Channel available for use in a journey.
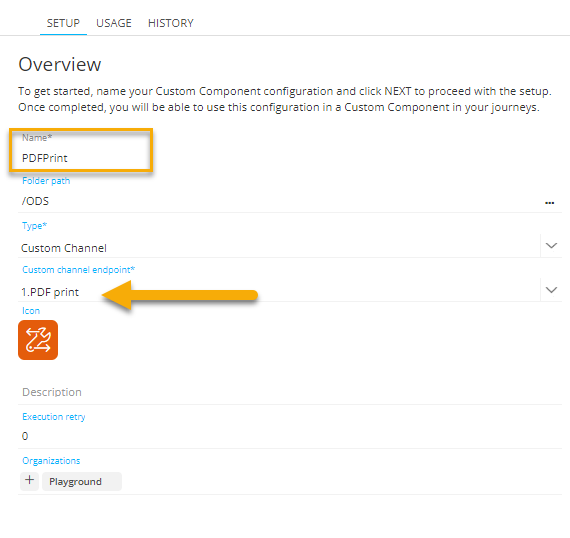
Note: For more detailed information on how to set up Channel endpoints and Custom Components, please check out the online help.
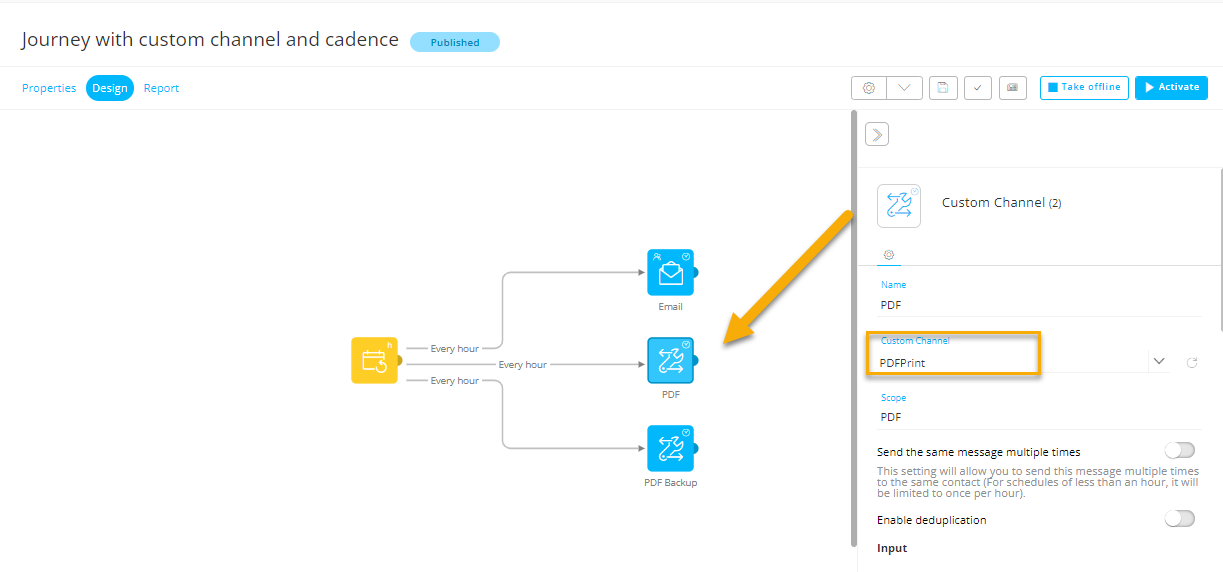
3) The Custom Channel Component can now be used as a component in a Custom Journey :
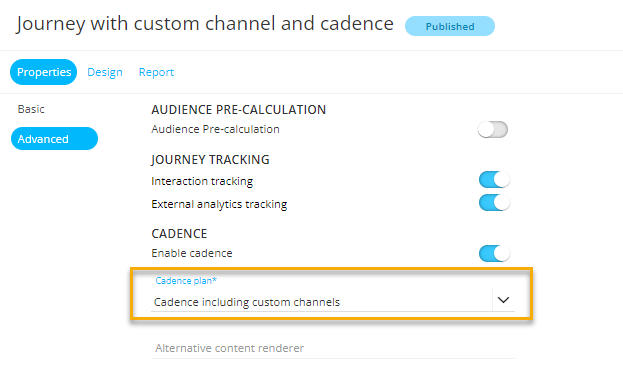
4) Finally, this journey with Custom Channel Components can be added to a Cadence Plan and all rules defined in the plan for these Custom Channels will be taken into account.
Previously, upon defining rules for a Cadence Plan, there were 4 possible options that could be chosen as ‘channel’ : Message (any type), Email, SMS, Mobile Message.
Now, 4 extra options are available : Call Center, Export, Print, Onsite Intervention.
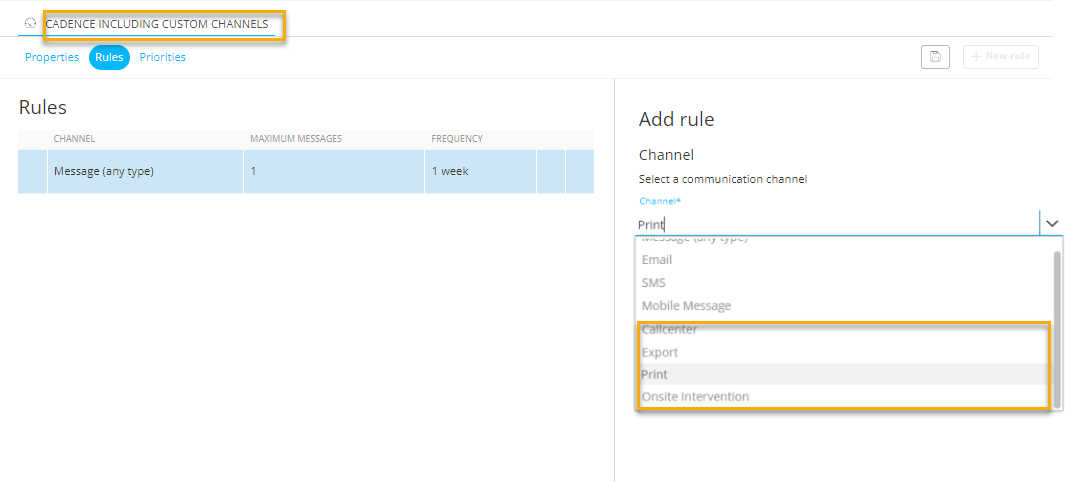
These 4 new types map to the "channel" that was attributed to each Channel Endpoint in the channel endpoint overview.
Read-Only Permissions for Content Blocks
Currently, In the Library chapter, there is only permission for “Content Blocks: Access”. This permission implies that all users with this right can create, edit, or delete Content Blocks.
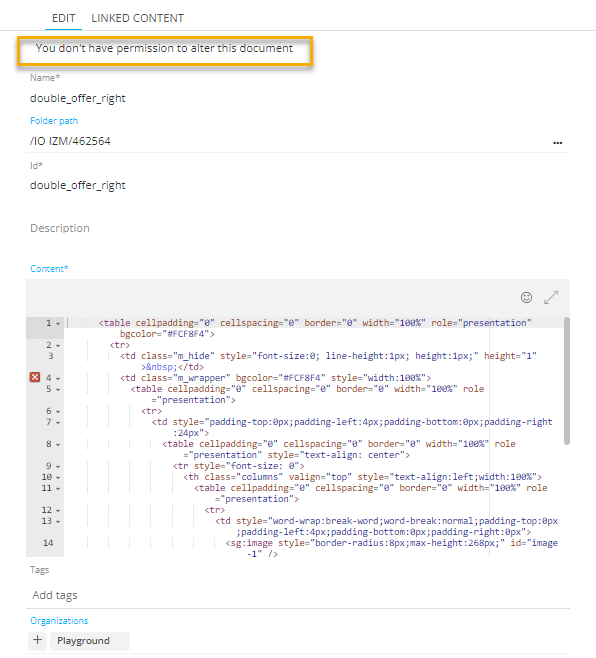
In this release, we introduced read-only permissions. Allowing the user to view the Content Blocks in the Library chapter, without the ability to make any changes to them.
As is the case for all read-only assets, it is not possible to move a Content Block or a folder with a Content Block.

A user with Read-only permissions for Content Blocks will see an ‘eye icon’ in the overview of Content Blocks, instead of a pencil icon. Upon viewing a Content Block, the following message is displayed: