A multivariate (MVT) Article container is like a standard article container but only one article is displayed at a time. The different articles defined for this container are tested in combination with any other MVT element defined for the message. The advantage of using an MVT article container is that the article layout is designed once and applied to all articles defined within the container. In the Article container, you must create the different fields for an article (title, content, image, etc.) and add content for each article.
NOTE: MVT article containers can also be used in email templates. In that case, only the structure is defined, and the articles themselves are added from within Express.
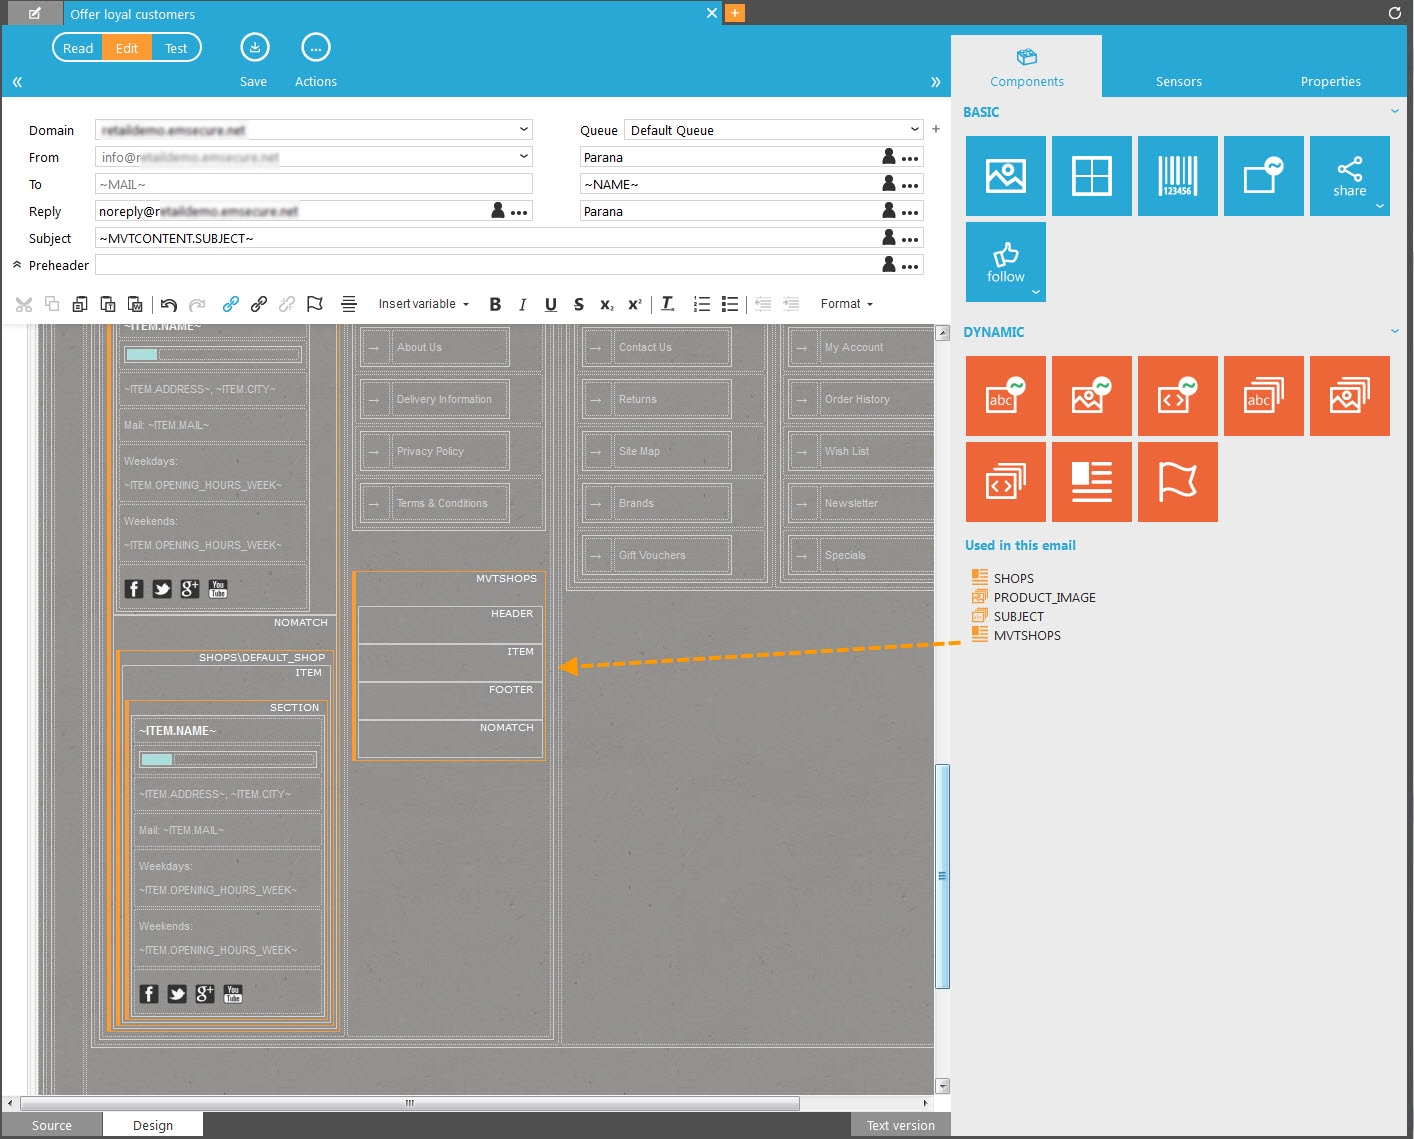
Drag and drop the MVT Container component onto the design canvas and the component's properties dialog will open.
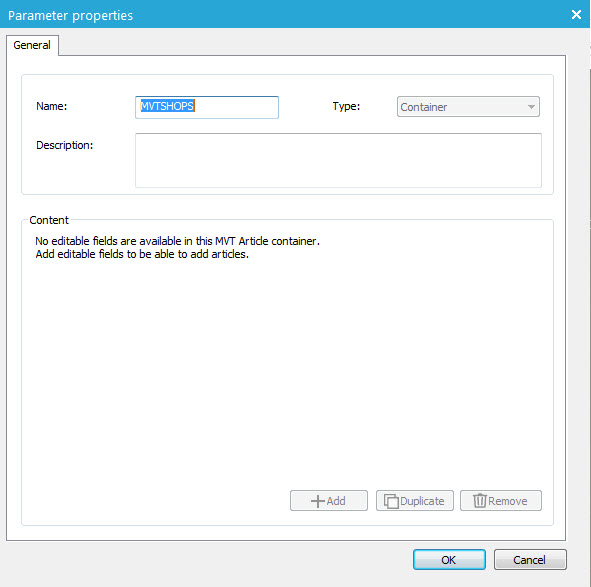
- Name — Specify a unique name for the component.
- Description — Optionally enter a description.
- Type — Is automatically set to 'Container'.
Click the 'OK' button
to save the container. It is now listed among the used components
in the message.
You can see in the example below that other MVT components
have been added to the message as well.
Configuring the fields in the article container
After creating the MVT container, the different article fields within the container have to be defined. This is done by right-clicking the MVT container and selecting the ‘New field’ option. A properties dialog pops up and allows defining the fields, one at a time:
Fields of Type text, long text, date and integer can be added. For text, you can enter a field length (maximum number of characters the field can contain.
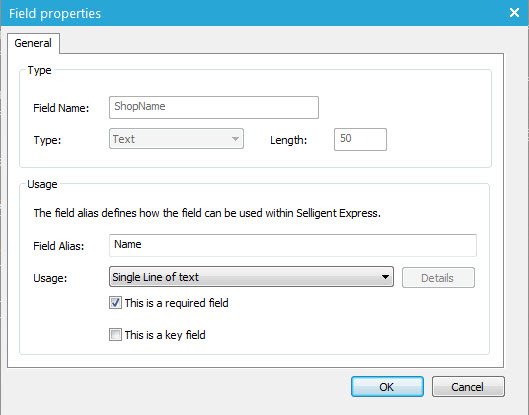
The Usage section allows you to define exactly how a field is to be used. An alias can be provided together with display options. A pick list is available and additional details can be provided for some of the options. For example, images can be displayed respecting specific image sizes, cropping.)
- Field alias — This is the label for the field used in Express. If filled in, this is used instead of the 'Field Name'.
- Usage — Select the usage for the field
from the list:
- Not editable — The field is invisible in Express.
- Single Line of text
- Multiple lines of text
- HTML formatted content
- Option list (multi-select) — Use the 'Details' button to select an existing option list or define the options of the list manually
- Option list (single select) — Use the 'Details' button to select an existing option list or define the options of the list manually
- Image — Use the 'Details' button to define the image properties
- Hyperlink
- Checkbox
- DateTime
- Number
- This is a required field — The recipient of the message will be required to provide a value for this field.
- This is a key field — This is a unique identifier for the article, such as a field named GUID (global unique identifier). When articles are added, this field will be used to see if the article already exists or not. If it exists, the article is updated, otherwise it is inserted.
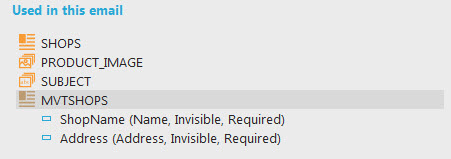
All fields created within the MVT Article Container are listed and can be selected for display within the container. The type of usage is provided between brackets:
Adding articles
The next step is to define the content for these MVT articles. Right click the MVT container and select properties from the pop-up.
The fields defined earlier for the container are now displayed as columns in the Content section.
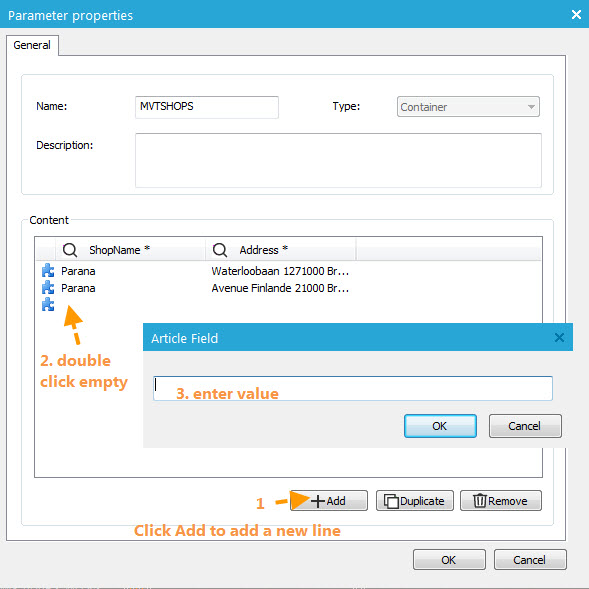
The articles are added to the content by clicking the Add button. A line is automatically added to the content section with an icon in front of it. To edit the content, simply double click within each column.
Depending on the type of field, a different dialog is displayed.
As an example, from a Text field, simply type in the text required. For an image, the image management dialog is provided to select an image from the web folders. In case of an HTML formatted text field, an HTML editor is provided. When the field is a check box, the dialog displays a check box that can be checked or unchecked.
When the different articles are added, they are listed within the dialog.
Adding the article container to the message
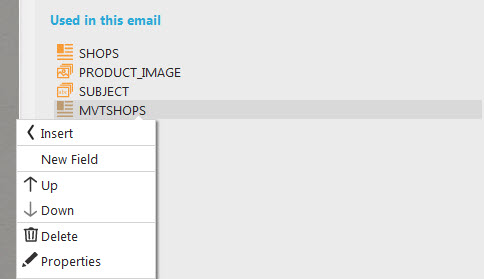
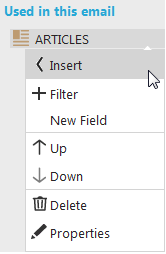
Once all MVT components have been configured and content has been provided, they can be placed within the message. If you have not dragged and dropped an article container component on the message. you can add the article container to the message by right-clicking the container in the components panel and select '+ Insert'
When the article container is added to the message, it looks like this:

- Header — This is shown once, above all articles. this is not mandatory
- Item — This section will contain the actual articles. It will be repeated for each section and is mandatory
- Footer — This is shown once, below the articles. This is not mandatory
- NoMatch — Default for an article container, not needed for MVT.
Source code:
maparameter holds the article container name
<div id="MACONTAINER" maconstraint="" macontenteditable="FALSE"
maparameter="MANUAL_PRODUCTS" matype="MVT">
<div id="MAHEADER" macontenteditable="true"></div>
<div id="MAITEM" macontenteditable="true"></div>
<div id="MAFOOTER" macontenteditable="true"></div>
<div id="MANOMATCH" macontenteditable="true"></div>
</div>
The 'Item( (MAITEM) section will hold the layout for each article. The article fields act as placeholders for the article content (article title, text, image, link, etc.). Use the scope ITEM to refer to these article container fields. In the image below the layout is set with an image on the left, the title in bold, etc. All article container fieldsmust be placed within the 'Item' section (MAITEM). To add fields to the container drag and drop the fields into the section. You can also add fields manually, by using the Item scope. Example ~ITEM.TITLE~
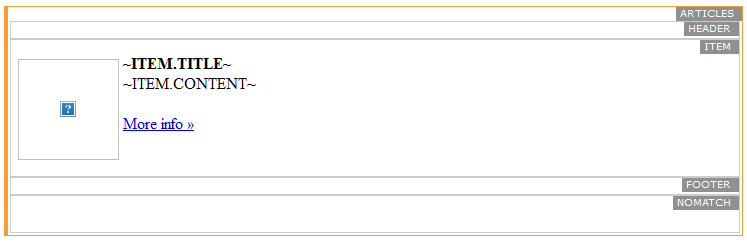
The image is an Article Container field ~ITEM.IMAGE~ and the hyperlink (href) of "More info" is ~ITEM.LINK~. This only works within the 'Item' section (MAITEM).
Both the URL for the sensor (ITEM.LINK) and the URL for the image source (ITEM.IMAGE) are set when creating the articles in the properties of the MVT container.
Source code:
<div id="MACONTAINER" maconstraint="" macontenteditable="FALSE"
maparameter="ARTICLES" matype="MVT">
<div id="MAHEADER" macontenteditable="true"></div>
<div id="MAITEM" macontenteditable="true">
<img src="~ITEM.IMAGE~"
/>
<strong>~ITEM.TITLE~</strong><br />
~ITEM.CONTENT~<br />
<a href="~ITEM.LINK~">More
info »</a>
</div>
<div id="MAFOOTER" macontenteditable="true"></div>
<div id="MANOMATCH" macontenteditable="true"></div>
</div>
Technical Note:
Using constraints on a section in an MVT message or on an MVT parameter
may cause unexpected results. The use of constraints might result in the
fact that some parameters are never shown to a specific target group.
This implies that part of your target group is excluded and that test
results are distorted. It is therefore recommended not to use constraints
in MVT messages.
Editing email messages after these have been sent out is not necessarily
an issue. However when parameters are added or removed, this may have
an effect on the winning combination. If a winner has not been selected
yet, the test no longer has a correct number of combinations and cannot
be executed correctly. Therefore, when editing an MVT email, a warning
message will be displayed. However, for an MVT page, this is not the case.
