A SQL container can be used for Pages and to display data stored in a Data list.
Whenever a Selligent Page is requested, it loads the content (articles) for its SQL Containers from the Data list. It executes an SQL query (that is defined in the container’s configuration) and retrieves the records from the Data list.
Every row returned by the SQL query is translated into one article (the columns are the article fields). The main reason to use SQL Containers is to show data on a Page that's linked to a certain contact. If you have a field USERID in your Data list, you can limit the data return for a certain contact dynamically. So if contact #2 sees the page, only their data is shown (USERID=2), etc.
Every Page request reloads the articles from the database. This ensures that the content of a SQL Container always reflects the content of the Data list at the moment the Page is requested. Therefore SQL Containers should only be used when it is strictly required that a Page always displays the latest data and the amount of retrieved data should be limited as much as possible.
NOTE: SQL containers are only available for Selligent pages. They cannot be used in emails or Express templates.
Creating the SQL container
To add a SQL container to a page:
1. Go to the 'Components' tab and select the component 'SQL Container' available from the 'Dynamic components' list.
2. Drop it onto the page at the location of your choice. The properties are displayed.
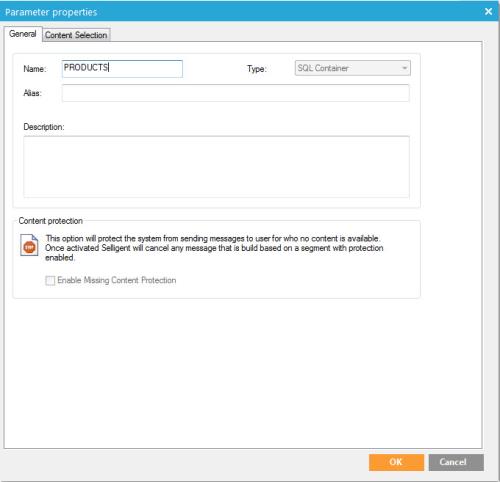
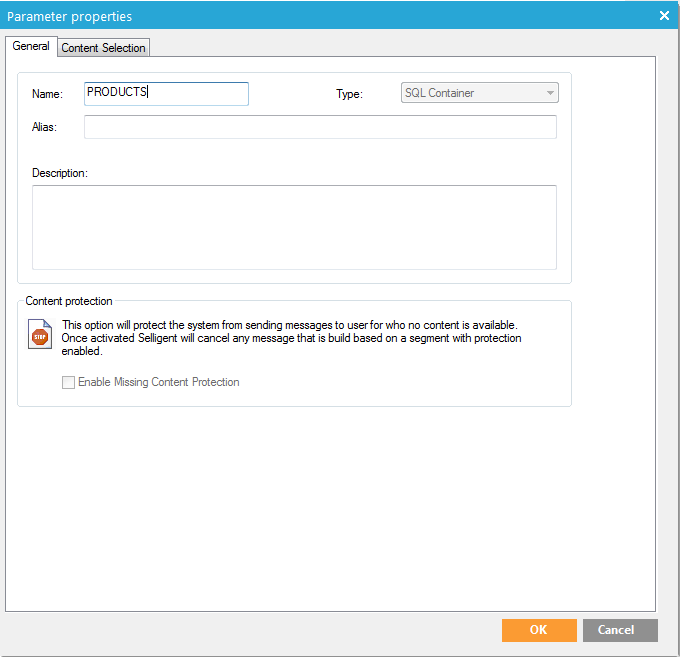
3. On the 'General' tab, set the following parameters:
- Name — Specify a unique name for the component.
- Description — Optionally enter a description.
- Type — This field is filled out automatically based on the selected component.
- Alias — Specify the label to be used in Express. If specified, this is used instead of the 'Name' of the component in Express.
- Content protection — When this option is checked, the email will not be sent when content is missing. This is the default for an Article Container, but not needed for SQL Containers.
Content selection defines where the SQL container loads the articles.
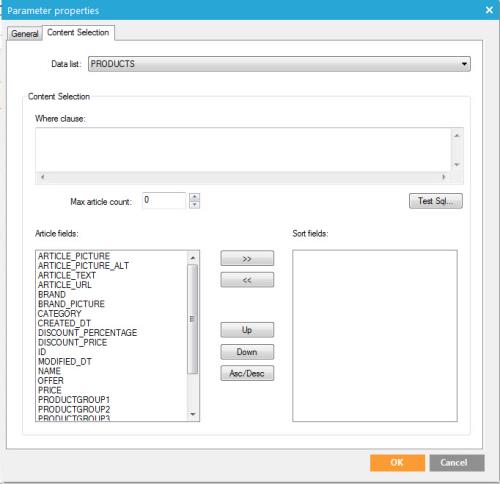
4. On the 'Content selection' tab, set the following parameters:
- Data list — The list from which articles are retrieved.
- Where clause — Defines the filter that limits the articles loaded from the data list. It is possible to use posted data or data from the master user profile.
Example:
Use ~FIELDNAME~ to retrieve data from the master user profile. E.g. USERID=~ID~
where ID is the contact's audience list ID field
Use ~@FIELDNAME~ to retrieve a posted value, where FIELDNAME is the name
of the form input field on the previous page
- Max article count — Limits the maximum number of records returned by the query. If no value is entered or a value over 500 is set, the system limits the maximum number returned to 500.
Technical Note: The SQL statement is executed on every page hit. To avoid performance problems the 'where clause' must be as efficient as possible (indexes) and it should return the smallest possible set of articles.
- Article fields — Select a field to sort the articles to define the order in which articles are returned.
Example:
A query on a database that is not using an explicit ORDER BY, returns its
results in a random order. If the maximum article count' setting limits
the articles returned by the query, it will take the first n articles
that are returned by the query (where n is the value configured in the
dialog) and it will disregard the rest. Due to the fact that the result
set of the query is unordered, it is impossible to predict what articles
will make it into the final result set.
This is the case for regular article containers as well, sorting fields
can be added. Adding these sorting fields will order the articles that
are returned by the query BEFORE the 'maximum article count' is enforced.
This allows determining which records are returned first.
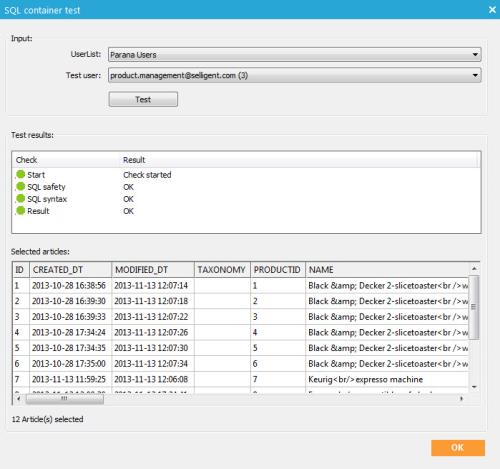
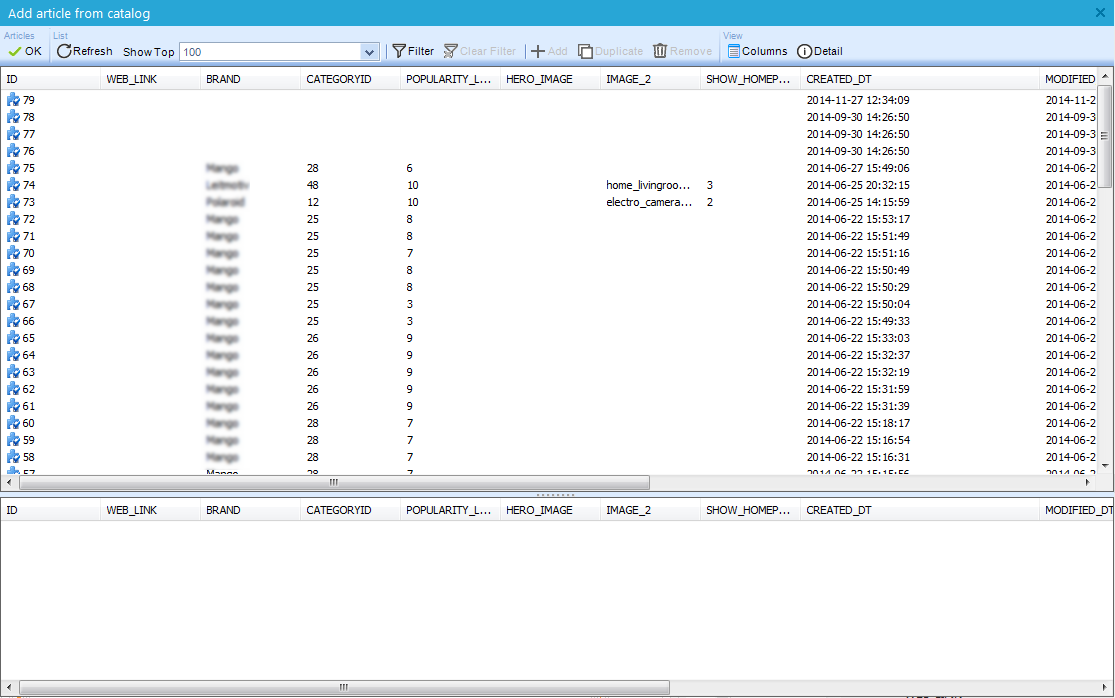
5. To ensure that the 'where clause' is correctly entered, a test is provided. Press the button 'Test sql' to launch the following dialog:
 (
(
Through this dialog, the SQL statement can be tested against the database. An Audience list and test user must be selected to be able to fill out any profile fields used in the where clause. When the 'Test' button is hit the test result is displayed. At the bottom of the dialog, the articles returned by the SQL statement are listed.
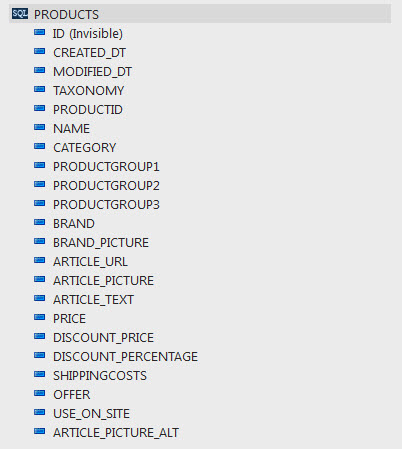
6. When the configuration of the SQL container is finished, click the 'OK' button. The SQL container is now added to the list of used components. All fields within the container are loaded automatically. These fields correspond to the columns of the selected Data list.
7. In the Components panel, under 'Used in this page' click the SQL container name to see the fields.
8. A right-click on a field allows accessing the properties of the field and setting it as mandatory:

When a mandatory field is empty, the record is skipped and will not be displayed.
9. A right-click on the container provides access to an option that displays the articles.
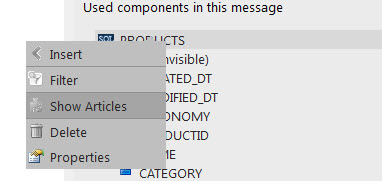
(This is the content of the data list configured for the container. The content selection rules are not applied in this view)
Placing the action container in the email and adding fields
If you have not dragged and dropped an SQL Container component on the message, you can add it to the message by right-clicking the container in the components panel and select '+ Insert'
When the SQL Container is added to the message, it looks like this:

- Header — This is shown once, above all articles. this is not mandatory
- Item — This section will contain the actual articles. It will be repeated for each section and is mandatory
- Footer — This is shown once, below the articles. This is not mandatory
- NoMatch — This is the default for an article container, not needed for SQL containers).
Technical
Note:
Source code: maparameter holds the article container name
<div id="MACONTAINER" maconstraint="" macontenteditable="FALSE"
maparameter="ARTICLES" matype="">
<div id="MAHEADER" macontenteditable="true"></div>
<div id="MAITEM" macontenteditable="true"></div>
<div id="MAFOOTER" macontenteditable="true"></div>
<div id="MANOMATCH" macontenteditable="true"></div>
</div>
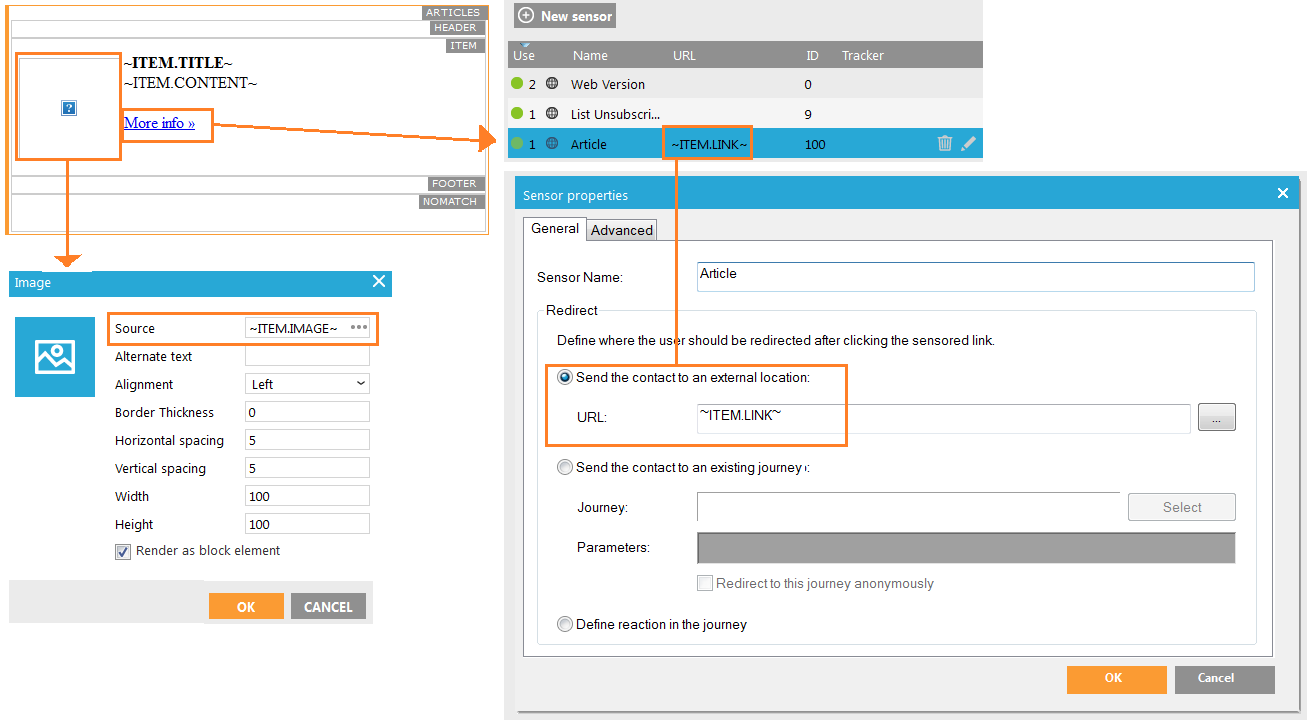
The 'Item' (MAITEM) section will hold the layout for each article. The article fields act as placeholders for the article content (article title, text, image, link, etc.). Use the scope ITEM to refer to these article container fields. In the image below the layout is set with an image on the left, the title in bold, etc.
All article container fieldsmust be placed within the 'Item' section (MAITEM).
To add fields to the container drag and drop the fields into the section. You can also add fields manually, by using the Item scope. Example ~ITEM.TITLE~
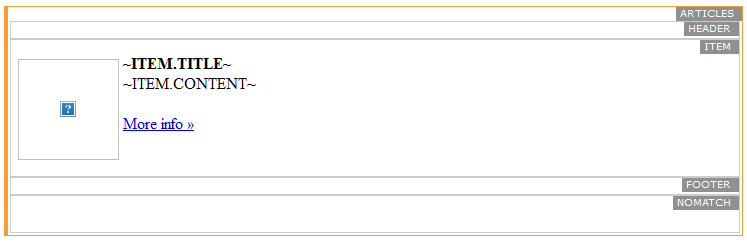
In the image above, "More Info" is a sensor using ~ITEM.LINK~ (an article container field) as URL. This works because the sensor is used within the 'Item' section. This will not work outside the 'Item' section (MAITEM). The same goes for the image, the image source is an article container field ~ITEM.IMAGE~ and will also only work within the 'Item' section (MAITEM).
Technical Note:
Source code:
<div id="MACONTAINER" maconstraint="" macontenteditable="FALSE"
maparameter="ARTICLES" matype="">
<div id="MAHEADER" macontenteditable="true"></div>
<div id="MAITEM" macontenteditable="true">
<img src="~ITEM.IMAGE~"
/>
<strong>~ITEM.TITLE~</strong><br />
~ITEM.CONTENT~<br />
<a href="~PROBE(100)~">More
info »</a>
</div>
<div id="MAFOOTER" macontenteditable="true"></div>
<div id="MANOMATCH" macontenteditable="true"></div>
</div>
Like an Article Container, you can set also a reporting field, and span the articles over multiple columns. See article container for, more information on this.
