Create an action journey
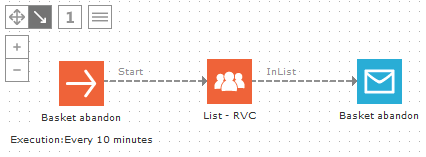
1. Create a new journey and add the audience and action email. In the properties, set the journey to data driven, scheduled every 10 minutes.
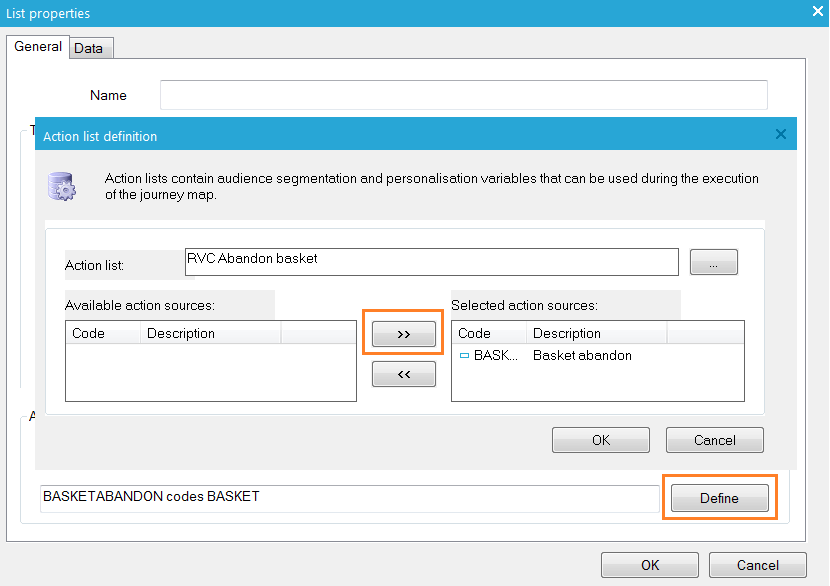
2. In the properties of the list component, click 'Define' under Action List (at the bottom). Select the action list from the drop down. On the left side you will see all action codes defined on the action list.
3. Select the 'BASKET' code and click the '>>' button to put it on the right side.
4. Click 'OK' when done.
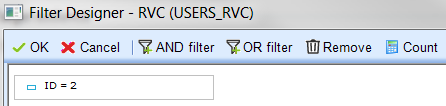
5. Test your action journey only for yourself. Add a filter to the List component, so it selects only your single test user, for instance ID=2 (if your test user ID is 2).
The journey will only select contacts to target with unprocessed action list records where the field ACTIONCODE='BASKET'. So if there are newly inserted action records since the previous execution of the journey (with actioncode 'BASKET'), the contacts linked to these records (based on LISTID and USERID) will be targeted. You can see this if you add a Report component to the List component. The content in the email will be 'Content from your basket', as set in the field BASKETCONTENT in the previous step. Once the journey has been executed, the action list records that have been used to make the contact selection, will have the following fields filled in:
- EXEC_DT (execution date)
-
- ACTIONID (id from the mail component in the journey)
- STATE (if the email is successfully delivered, the value will be '30')

6. Activate the journey. You should receive your action mail. After the email is delivered, put the journey "on Hold" to avoid extra load on the server. Otherwise the journey keeps running forever, we have not set an end date.
Note that the above information is the basic setup of an Action Journey.
To setup a complete 'Abandon/Checkout cart' journey linked to Site, please consult this topic.
Back to example Abandon basket
