Before we create the journey, let's create the assets in the Editor: the invitation email, the form, the thank you page and email.
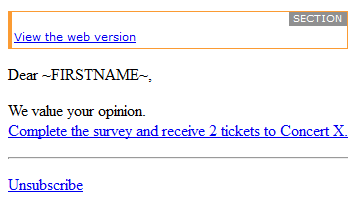
1. Create an email in the Editor. Don't forget to add the web version sensor, fill out the email header and create the text version.
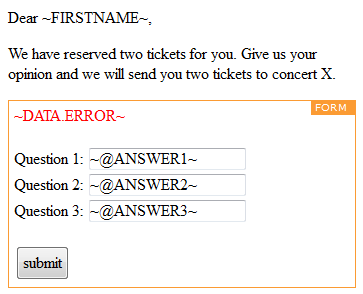
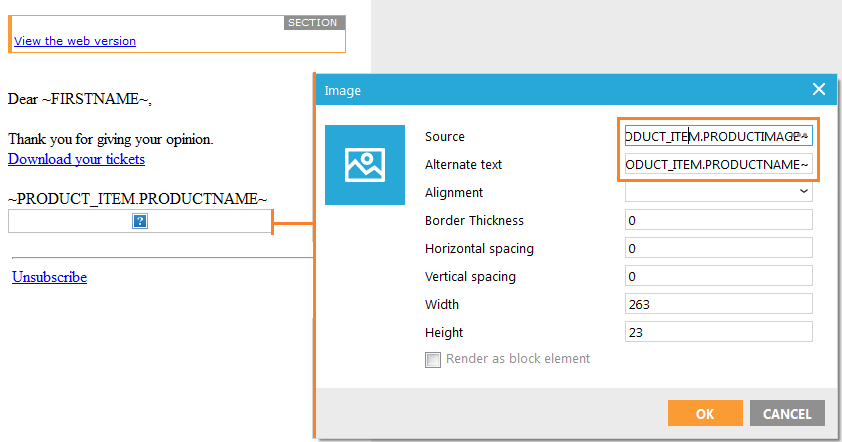
2. Create the form, thank you page and email. After the product has been assigned, you can use the scope PRODUCT_ITEM to retrieve data from the product. This is what we have done in the thank you page and email: ~PRODUCT_ITEM.PRODUCTNAME~ and on the image, as image source: ~PRODUCT_ITEM.PRODUCTIMAGE~
Form:
Thank you page:
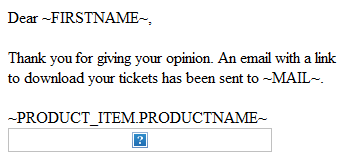
Thank you email:
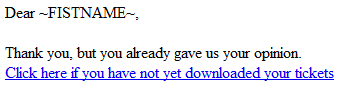
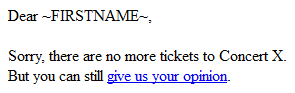
3. Create two additional pages. One when the contact already got his tickets, and one when there are no more tickets.