MANAGE SUBSCRIPTIONS
With a form, the contact can decide which type of emails they would like to receive. The contact can check or uncheck each email type.
After creating the pages, we will duplicate and adapt the previous optout journey.
Create the optout pages
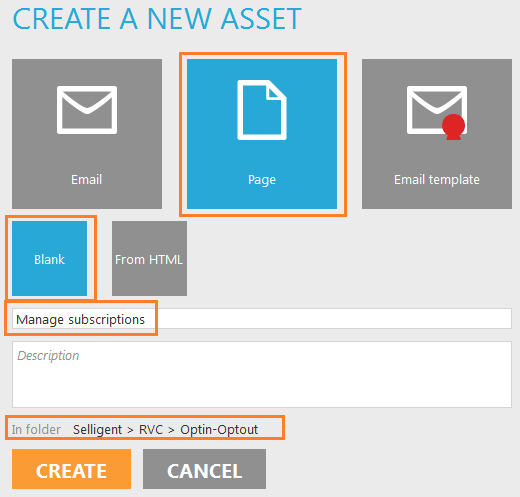
1. In the editor, select a folder and create a new page. Give it a name "Manage subscriptions".
Its a good idea to maintain some kind of folder structure. This email could go under a "Optin-Optout folder for instance.
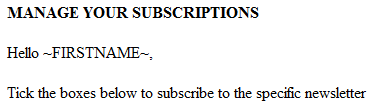
2. Make sure the email is in 'Edit' mode. In the Design tab, enter the following content:
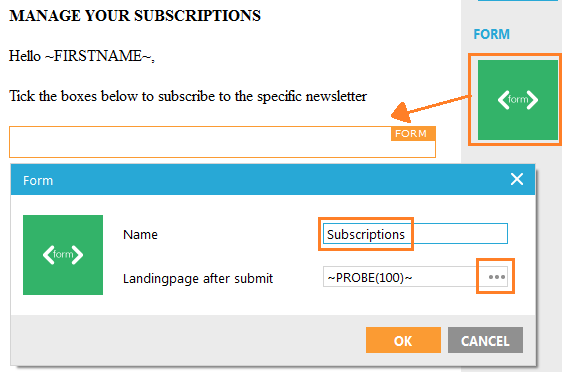
3. Drag a Form component from the Components panel on the right. A panel will popup, enter "Subscriptions" as the form name and click the 3-dots icon to define the form's action. This is a sensor so the clicks on the form's submit button can e measured. Enter the sensor name "Submit" and select the third option "Define reaction in the journey".
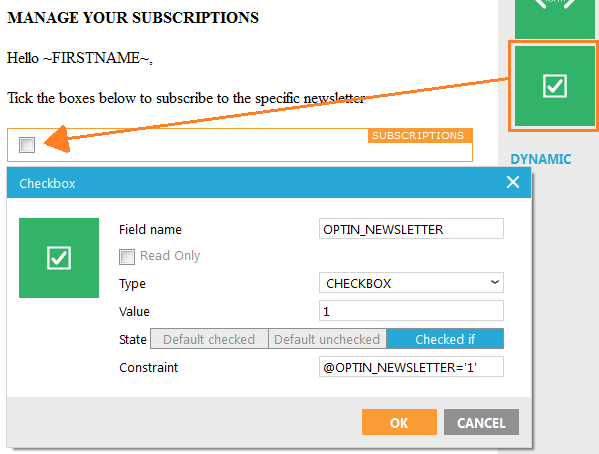
4. Drag a Checkbox component in the form. A panel will popup, enter the same field name for the checkbox as the corresponding field in the audience list, OPTIN_NEWSLETTER. Also the value (1) should be the same as the
A checkbox will only submit the value if checked, otherwise the posted value will be empty. So if unchecked, nothing will change in the audience list if we use @OPTIN_NEWSLETTER in the Data component
As a 'Checked if' constraint we entered @OPTIN_NEWSLETTER='1'. Because the checkbox field name and the audience list field name are both the same (OPTIN_NEWSLETTER), @
Regarding the posted value of the checkbox; usually validation is set in the Data component in the journey. When validation fails and the form is displayed again with error messages, the contact does not need to check the box again, the checkbox will still be checked.
A checkbox will only submit textual values (default HTML behavior). The checkbox value is set to 1, it is the textual value '1', not the numeric value 1. This is why we use '1' in the 'Checked if' constraint @OPTIN_NEWSLETTER='1', to check on the textual posted value. Luckily, this constraint also works on the numeric value of the audience list field.
5. Copy & paste the checkbox 3 times, hover each checkbox and click the pencil icon to change each checkbox properties. Change each Field name and constraint so it matches each optin field.
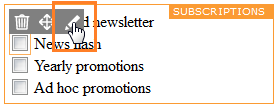
One checkbox per optin field:
- Name OPTIN_NEWSFLASH, constraint @OPTIN_NEWSLETTER='1'
- Name OPTIN_PROMO_YEARLY, constraint @OPTIN_PROMO_YEARLY='1'
- Name OPTIN_PROMO_ADHOC, constraint @OPTIN_PROMO_ADHOC='1'
The value is always 1.
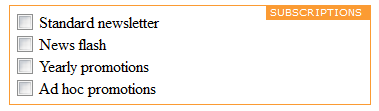
6. Type labels next to the checkboxes, one for each checkbox. Your form now looks like this:
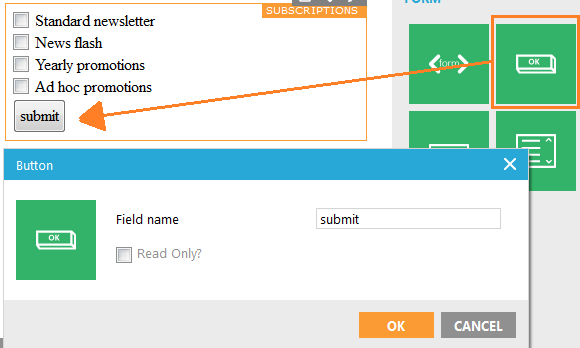
7. Drag a Button below the last checkbox and label, leave the default Field name set to "submit".
8. The page is ready, save the "Manage subscriptions" page
We will not validate in the Data component in the journey, because the contact can also unsubscribe for all emails. If we had validation constraints and error messages defined in a Data component, we could use ~DATA_ERROR~ on this page to display the error messages. The 'Failed' trigger (arrow) of the Data component would have to point back to this page.
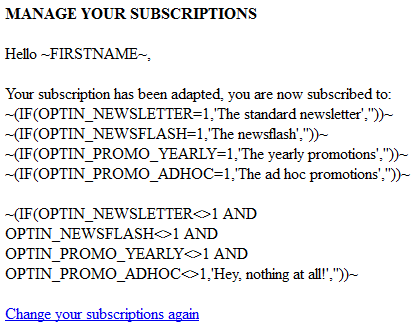
9. Create a second page "Manage subscriptions confirm" and add the following content:

A PDF file with all Campaign functions is available from the Support portal.
We should also provide a backup if none of the optin fields equal one. Add another IF function below the previous ones:~(
Finally we also add a sensor "Change your subscriptions again".
In the properties of the sensor, select the third option "Define
reaction in the journey".
Your page now looks like this:
10. The page is ready, save the "Manage subscriptions confirm" page
Duplicate and adapt the previous optout journey
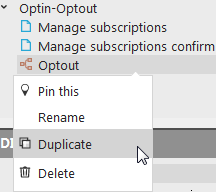
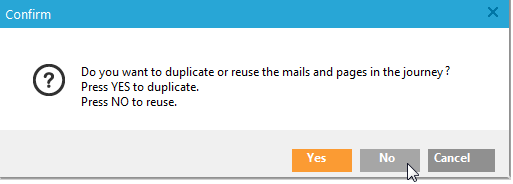
1. Right-click the previous optout journey and click 'Duplicate'. A popup will show, asking if you also want to copy all emails and pages in the journey. Click 'NO', we already created the pages and will replace them in the journey.
2. Right-click the copied journey and rename it to "Manage subscriptions".
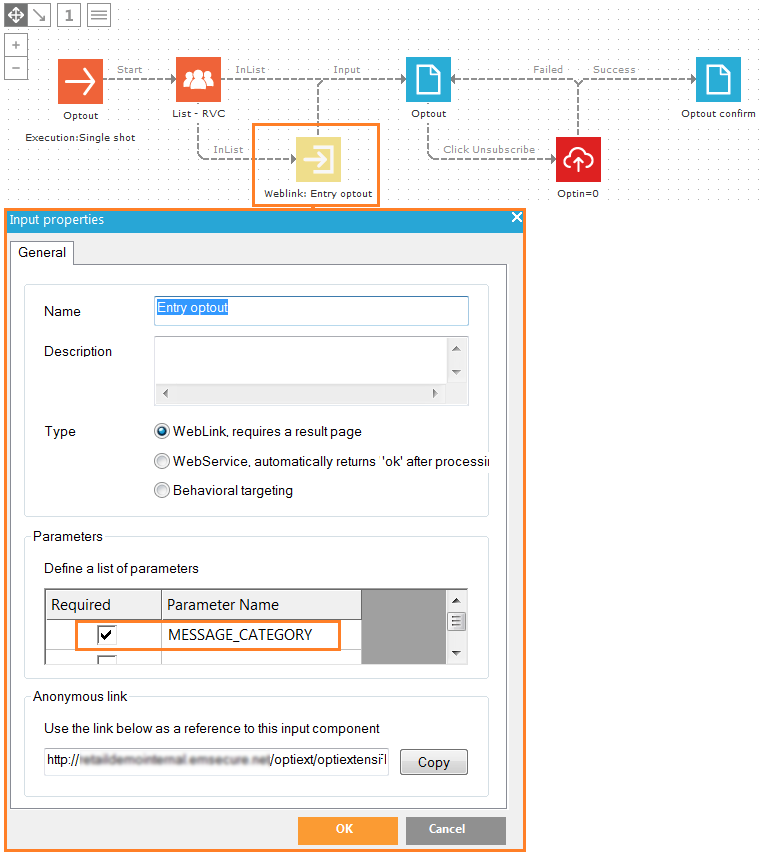
3. Edit the journey. First of all, if the Input component has an input parameter from the previous exercise, remove it, we do not need it anymore. Double-click the Input component and delete the Input parameter
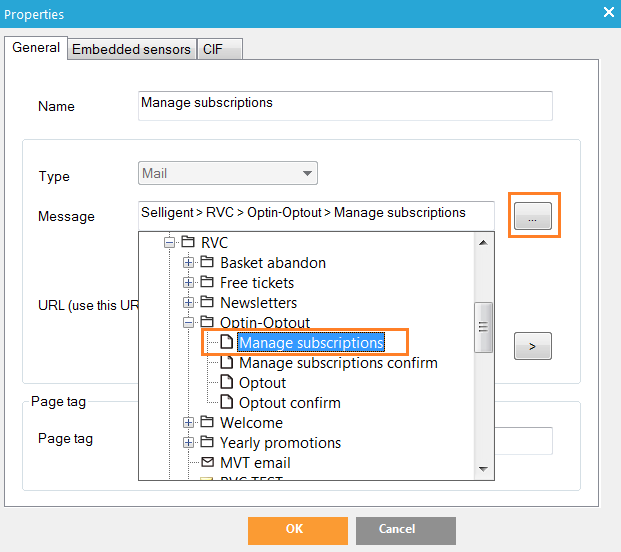
4. Next, we will replace the pages. Double-click the first "Optout" page, click the 3-dots icon behind 'Message' and double-click the "Manage subscriptions" page.
5. Do the same for the second page, replace "Optout confirm" with "Manage subscriptions confirm".
6. We also need to change the Data component, double-click it to change its properties:
- On the 'List selection' tab rename it to "Update optins
- Remove the validation constraint(s) on the 'Validation' tab. No validation, because the contact can unsubscribe or subscribe for all emails.
- Finally, on the 'Update data tab', change the constraints for each
field to the following:
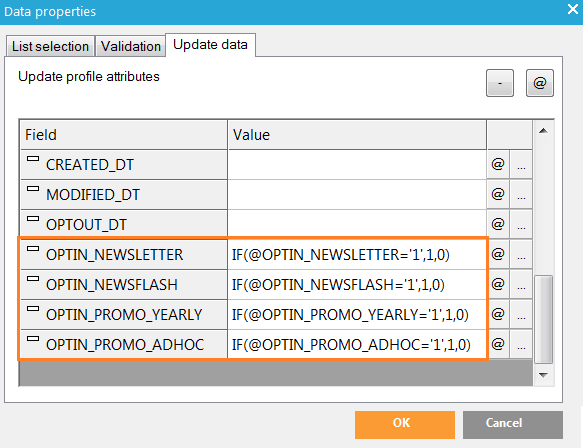
If the posted value of the checkbox equals '1', update the audience list optin field with one (1), otherwise with zero (0). I.e. if the checkbox is checked, we store 1 in the corresponding audience list field.

A checkbox will only submit textual values (default html behavior). This is why we use '1' in the IF function, e.g. @OPTIN_NEWSLETTER='1', to check on the textual posted value.
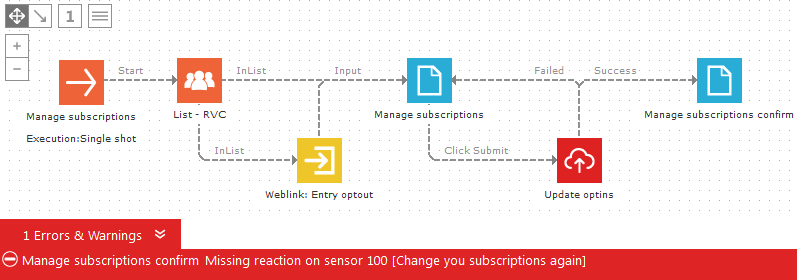
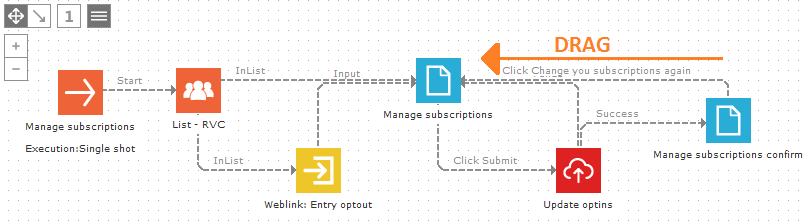
7. Save your journey. You can see at the bottom there is still one error. We have not yet defined a reaction (arrow) for the "Change your subscription again" sensor on the "Manage subscriptions confirm" page. Draw an arrow from the "Manage subscriptions confirm" page back to the "Manage subscriptions" page.
8. Save the journey, you should see '0 Errors & Warnings" at the bottom of the journey.

Test the journey
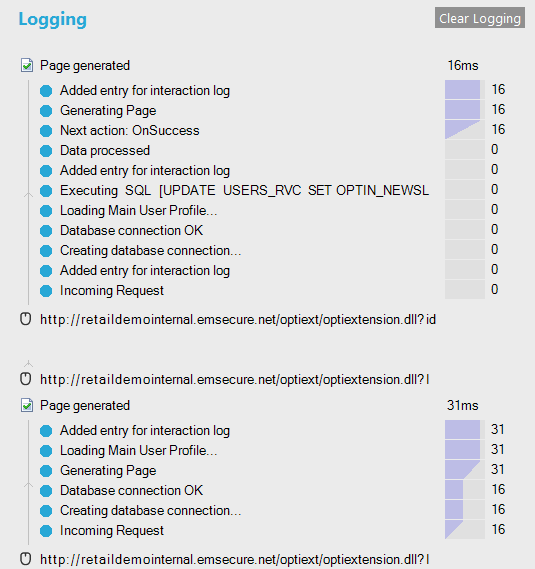
9. Like before, test the journey starting from the Input component and go through each step to see if everything works correctly.
Congratulations! You have finished the optout tutorial.
