The Users section in the Admin Config Tool is where the system administrator can create and configure all the users of your platform, with their language, time zone and currency preferences. User permissions and Folder rights can be consulted here, per individual user and per organization. However, managing these rights is done on Group level.
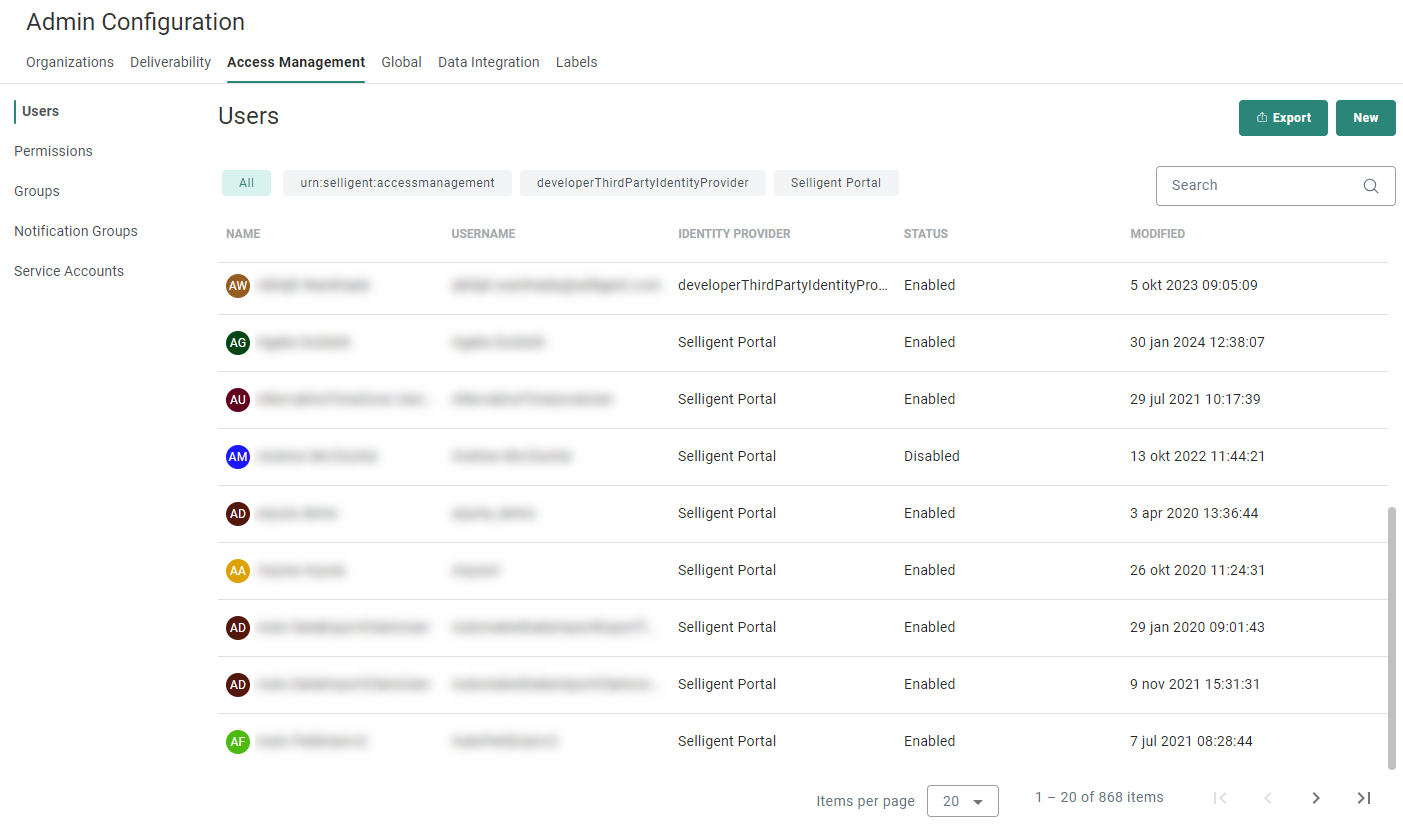
The Users overview shows all existing users, in alphabetical order, ascending or descending.
Each row contains the user's full name, username (login), identity provider, status, two factor authentication status (if activated), last modified date and icon to delete the user.
Note: When Two Factor authentication is activated (get in touch with your Marigold contact to enable this), for each user information is provided for Two Factor authentication and if the user is enabled.
- If the user has the following icon  in the Two Factor authentication column, it indicates that this user has not yet passed the authentication procedure.
- Users without an icon in this column have passed Two Factor authentication successfully.
The overview can be sorted by clicking on a column header.
Pagination and navigation controls are available at the bottom.
From this overview you can
- Filter the users per Identity provider through the filter tabs at the top. There is by default a filter for 'All', and for 'Engage Portal'. Any third party identity provider used on the platform will be listed as well.
- Search for a user based on name and last name.
- Export information about all the users.
- Create a new user — See below.
- Delete an existing user — By clicking on the bin icon at the end of a line.
- Edit an existing user — By clicking on a user name (shown in the first column). The properties are then displayed in a right sliding panel.
Four tabs are available:
Personal
This shows the user data (entered during the creation of the user).
Groups

Select the groups to make the user a member of (through the checkbox in front of each group).
- For each group, the group name and description are shown.
- Groups can be filtered to show 'All', 'Member of' or 'Not a member of'.
- Member of — All groups for which the user has been added as member.
- Not a member of — All groups that the user is not part of.
- All — All groups, which is a combination of both 'Member of' and 'Not a member of'.
- You can search for group names through the search field at the top-right.
- You can remove a user from a group by deselecting the checkbox in front of the group. It will then disappear from the 'Member of' list, and be part of the 'Not a member of' list.
- If groups are deleted (from the Groups tab in the Access Management section), they are also no longer assigned to users.
Note: Users can also be added to groups on the Groups tab.
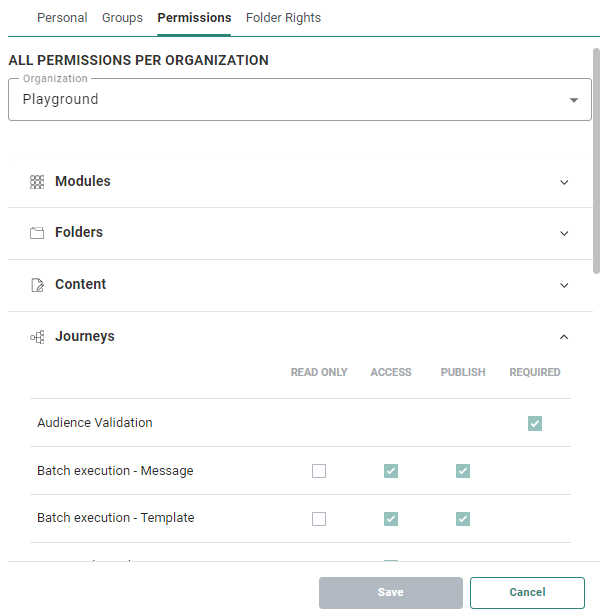
Permissions
All permissions that apply to the user can be viewed per organization as read-only fields (depending on the groups in which the user is a member).
You first need to select an organization from the drop-down.
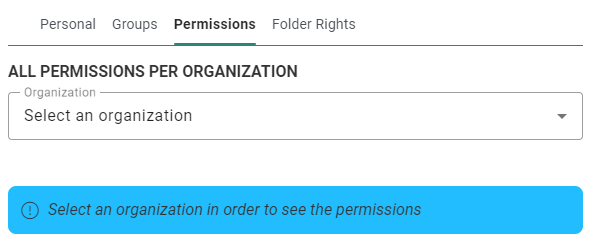
Then the assigned (group) permissions that apply to the user (who is part of one or more groups) are shown.
Note: Permissions are set on Group level (not on individual users) !
Folder rights
All folders for which the user has access can be visualized for each organization. The folders rights depend on the groups the user is member of.
First select the organization from the drop-down.

Expand the Root folder to visualize all folders and subfolders this user has access to. No changes can be made here.

Note: For customers
migrating from CampaignV6 to Marigold Engage, all their users and
their permission sets will be migrated to Marigold Engage.
These users have permissions assigned that correspond to their current roles in Campaign.
Their permissions are automatically set for all Organizations.
Users that have the right to modify user rights in Campaign will automatically
be System Administrators in the Marigold Engage.
Note that due to security reasons, it's not possible to reset a password for an existing user.
Users can only change their password through :
- the Marigold Engage login page (through the 'forgot password' link)
- the 'Account Details' page, when logged in to the Marigold Engage application
Export user information
At the top-right of the Users overview, there's an Export button.
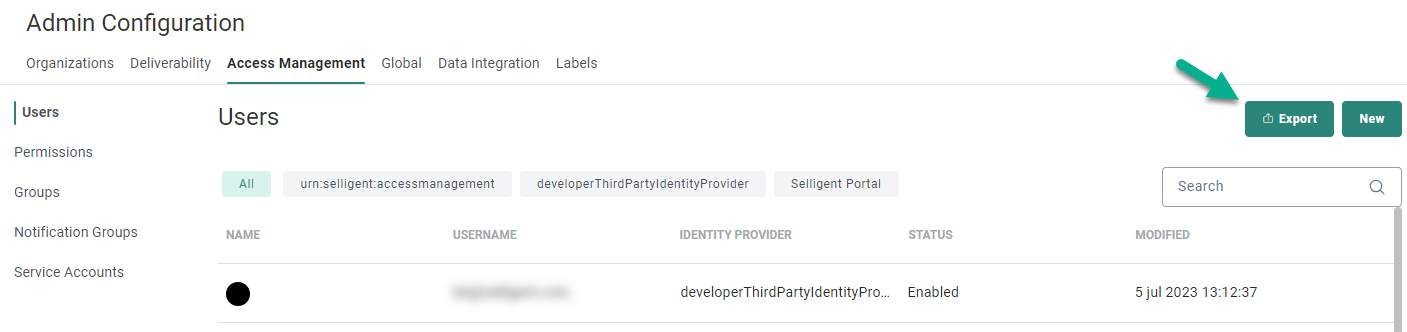
Click this button to export the data in a downloadable CSV file.

This file contains the following information for all the existing user accounts :
- Name — The user's first and last name
- Username — The login name for that account
- Last login — Most recent login date of the user presented in a date format suited to your local settings
Note: Username and Last login are not repeated in the file when multiple lines exist for that account.
- Status — The user can be enabled or disabled.
- Identity Provider — Only available when an Identity Provider is being used.
- Permissions — The permission sets provided by group membership. Multiple lines appear for a single user when multiple permission sets are held by that user (or the user features in multiple groups).
- Organizations — The organizations for which those permissions sets apply. Note that the same organization can appear multiple times for one user with different permission sets applied.

Create a user
To create a new user, click on the New button
at the top-right.
The properties are then shown in a right sliding panel.

The following properties can be configured (the ones with an asterisk are required fields, the others are optional fields) :
- User Name* — User name, used to log on to the application.
- Personal info :
- First name* and Last name* — Displayed in the toolbar at the top and when configuring permissions. The user's initials are used in an icon displayed in front of the user in the users overview.
- Email* — The email address that will be used to send messages to the user, such as password reset reminders.
- Phone — The user's phone number. When Two Factor authentication is activated, any user logging on must enter their mobile phone number (first step in the authentication) to receive a verification code on his mobile phone.
When the verification code is entered (during the second authentication step), the user can log on and the mobile phone number is stored in this 'Phone' field.
All users who have passed the Two Factor authentication will not have to re-enter the verification code for 30 days.
The phone number can be manually entered/overwritten here. - User enabled — Toggle to activate/deactivate the user account.
- Language and locale (These fields are not marked as required, but always contain a value) :
- Language — The language in which the Engage application will be used. Choose from Dutch, English, French, German, or Spanish.
- Time zone — For all date-related information, journey execution, planning and cadence, etc. This setting defines in which time zone the time should be displayed for the current user. All dates and times are stored in UTC time and will be displayed according to the timezone setting of the user. Note however, that because not all countries apply daylight saving, the timezone does not take into account daylight saving and will not automatically adapt when switching to winter time.
- Locale — For formatting of date/time and currency information in reporting.
- Currency — For displaying all money-related numbers. Currently the following currencies are supported: US Dollar, Euro, Canadian Dollar, British pound, Swiss Franc, Hong Kong Dollar and Chinese Yuan.
- Password* — Password used to log on to the application.
- Repeat password* — Repeat the password for confirmation.
- Reset
password after login — This will oblige the user, when set, to change his password
after logging in.
A password reset email is sent.
The following fields are only available when Two Factor Authentication (SMS Identity Verification) has been activated for your environment (get in touch with your Marigold contact to enable this) :
- Two Factor Authentication (SMS Identity Verification) — There are 2 possible statuses for this: Passed
 and Not passed
  . The status indicates if Two Factor Authentication (SMS Identity Verification) has been passed for this user. It is a read-only status that is set once the user has successfully logged in via all Two Factor Authentication (SMS Identity Verification) steps, i.e. entered his phone number and used the received code for validation.
- Reset Two Factor Authentication — When a user has been authenticated, it is valid for 30 days. However, if you want the user to authenticate again, you can reset the authentication here. The next time that a user logs on, they will have to go through the Two Factor authentication (SMS Identity Verification) again. When finished, this option will again be deactivated. Typically this can happen when the user changed their phone number or password.
Click Save to save all these user settings.
The user has now been created. The next step is to assign a user to one or more groups.
Important Note: For users of Campaign and Engage combined, several additional steps are required to ensure access to the Campaign module:
When a user account is created in Marigold Engage, it's automatically available in Campaign.
By default, it's in the User Group 'New SMC users' (in the Configuration section of Campaign).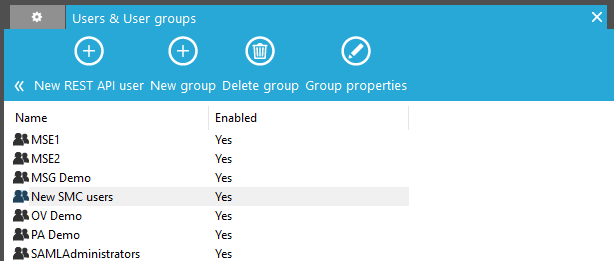
If you want the user to be able to access and work with Campaign too, you need to move (drag and drop) the user to the 'Administrators' group.
Keep in mind that the user also has no Campaign user rights defined by default.
This can be done by selecting the user to show its properties, choosing the Rights tab and editing the rights/roles.
More troubleshooting details on launching Campaign, can be found here.
