When a template allows a journey creator to manually select items via the Item selector, or add new items
to a repeater (check out
the creation of data selection), the journey creator can add these new repeater items
directly from within the message and store them in the data source.
Moreover, the template can also be set up to allow the preload of items in a repeater. When this option is flagged, the message creator will have a preview of the preloaded items and can remove or edit these.
This is what the set up of the data selection looks like when allowing manually adding of items:
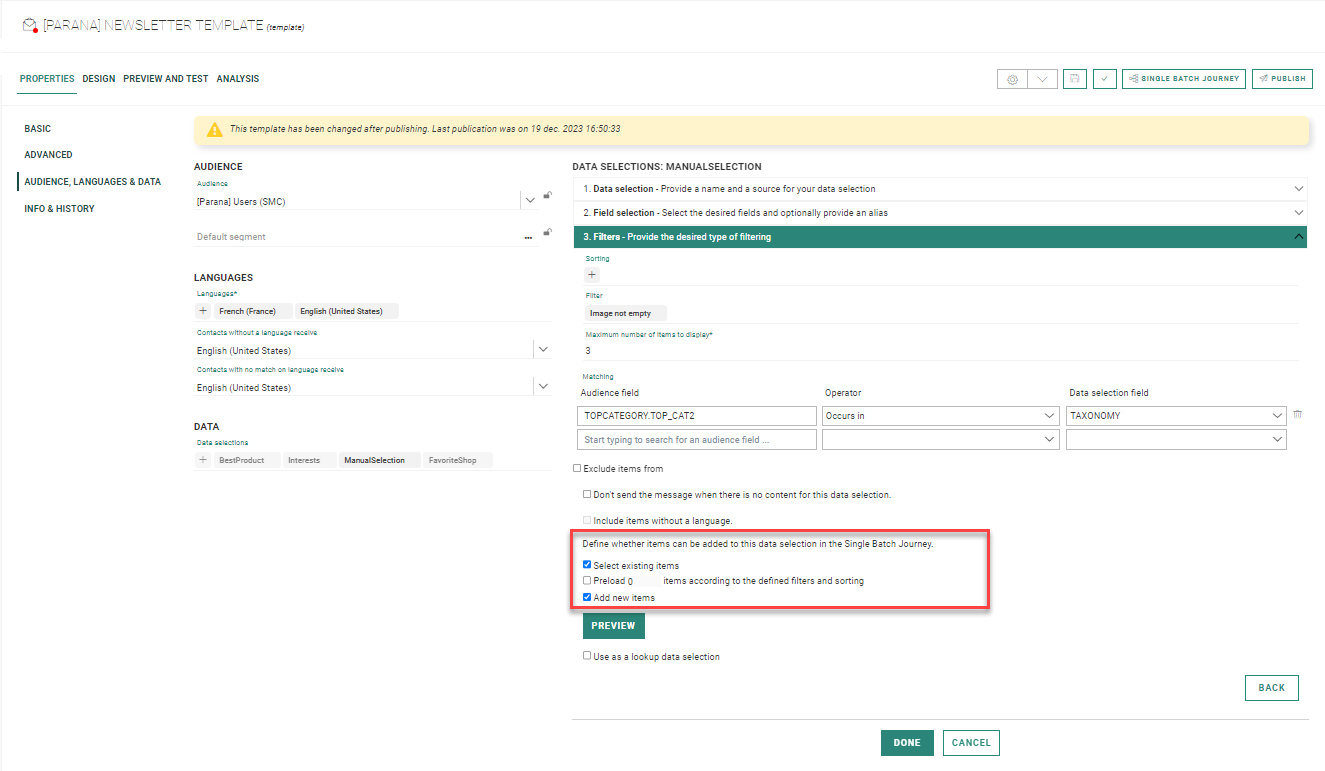
Note: If a template does not allow the message creator to select or add items, the repeater is then populated with items automatically, based on filters, matching, and maximum number of items defined in the data selection configured for the repeater.
The following is an example of what a repeater looks like when a template is used in a Single Batch Journey:
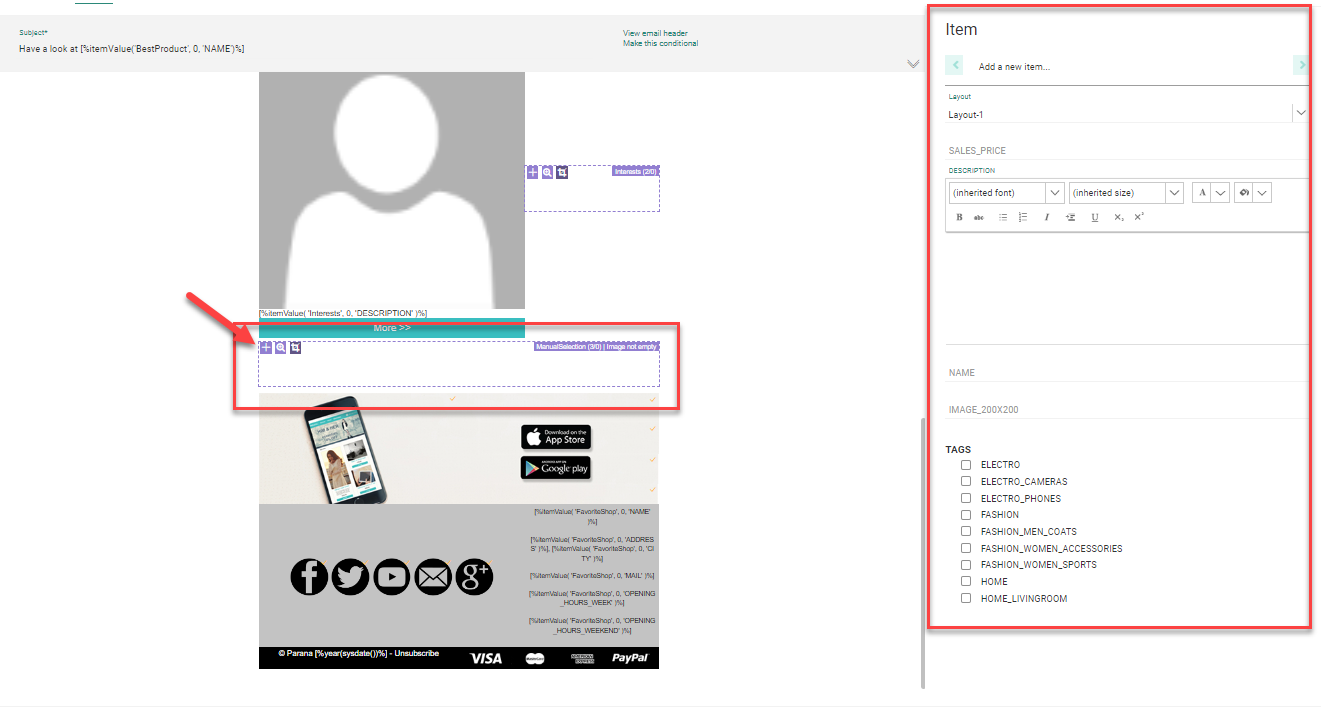
The repeater indicates the data selection that has been used for it and the number of items currently defined in the repeater as well as the maximum items that will be displayed.
Note: The maximum number of items to display is defined in the data selection used and configured on the template level.
The following icons in the repeater indicate what can be done:
 : Add an existing item. This icon is also available from the toolbar and allows adding existing items to the message.
 : Add a new item. This icon is also available from the toolbar and lets you add new items to the message.
 : Toggle cropping. This toggles between displaying
all selected items or only the maximum number allowed for the data selection.
: Toggle cropping. This toggles between displaying
all selected items or only the maximum number allowed for the data selection.
Which icons are displayed depends on the configuration of the data selection. If users can only add existing items, the 'Add new item' icon will not be available.
Note: When the
repeater has multiple layouts configured, different situations can occur.
- If the repeater layout is set to alternating, no action is needed by
the user adding the items. The layouts will be applied automatically in
an alternating way to the items added. The same is the case for layouts
that are assigned based on a specific field value.
- However, if the layout is defined to be set in the message, the user
can choose the layout for items when adding them.
Add existing item
To add an existing item, click the Search icon in the repeater. A dialog pops up where items can be selected.
Select one or more items at a time by holding down the CTRL button.
To narrow down the items, apply a filter and double-click the column header to sort the items (for example the most recent ones at the top).
Click Duplicate to copy an existing item, make modifications and save it in the Data List.
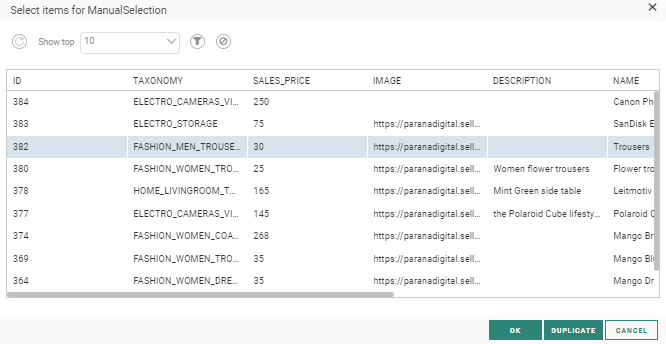
While entering the criteria in the fields at the top, the result is adapted dynamically.
Note: All items
in the data source are available for selection. However if items are selected
that do not correspond to the filters and matching defined in the data
selection, they simply won't be displayed in the final message. The reason
why all items can be selected is that the user might want to modify an
existing item that falls within the filters and matching, as a result.
Also, all items in all languages can be selected, but only items in the
language of the message will be displayed.
Note 2: When adding existing items to the repeater for which the layout needs to be defined in the message, you have to edit the added item and apply the correct layout in the properties on the right. A default layout is always applied.
Add new item
When the template allows it, the user can create completely new items and add them to the data source for use elsewhere.
To add a new item to the message, click the Add item icon in the repeater or in the toolbar at the top. The item's property panel is displayed on the right with all the fields to fill out for each item.
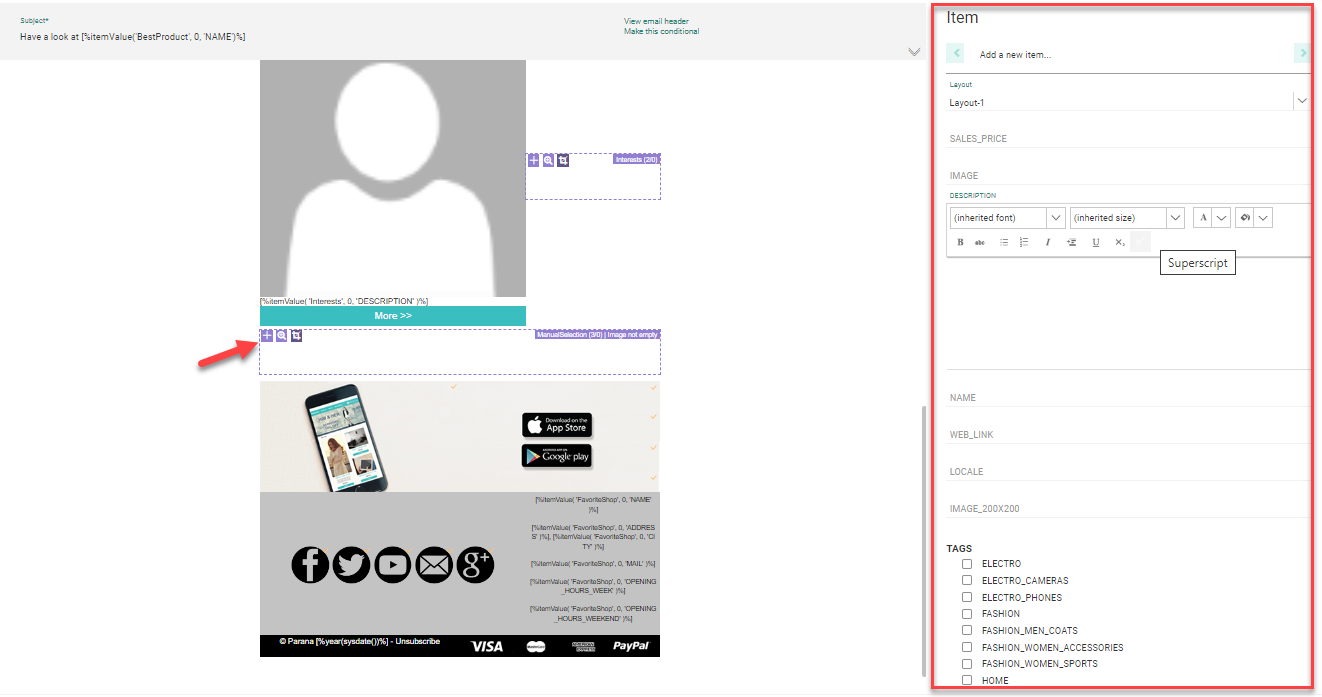
The field at the top of the Items panel (between the arrow) holds the value for the key field (defined in the data selection properties), which is empty when a new item is created.
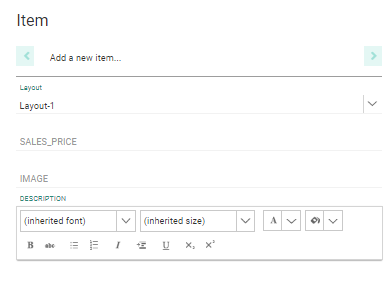
The fields below are used to describe the item.
Note: The list of fields corresponds to the fields selected in the properties of the data selection in the template.
Fill these fields out and save the item. It is stored in the data source and added to the message as well.
Note: When the
layout of the item must be selected in the message, additional fields
are available to choose this layout. Nevertheless, a default layout is
automatically applied.
Example: The item properties at
the right allow selecting the layout. In this example there are only two
to choose from. Depending on the selected layout only the fields used for that layout are listed.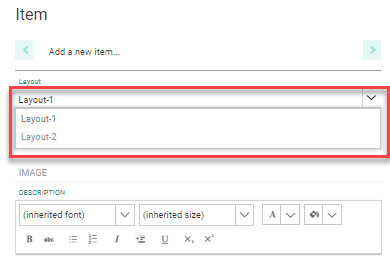
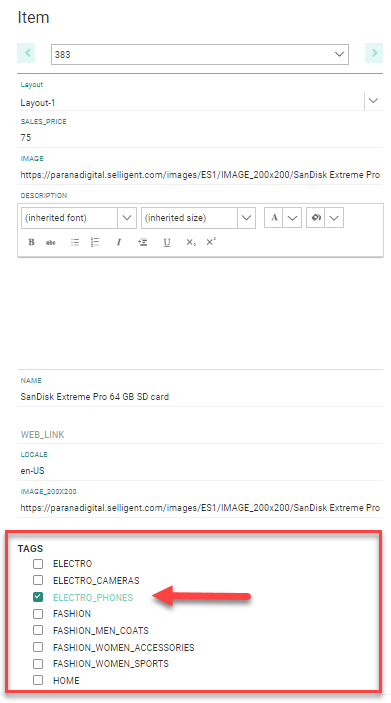
Note: When Interest Tags is activated for the environment, and a Tag list has been defined and linked to the Audience list, it is possible to select these tags and add them to a new item.
Example:

To add additional items, click again the 'Add item' button in the repeater and perform the same steps.
Note: There is no check on the items that are added to the data source. Therefore, even if the data selection used for the repeater only returns items of a specific category, the user will always be able to create new items for other categories as well.
Edit items
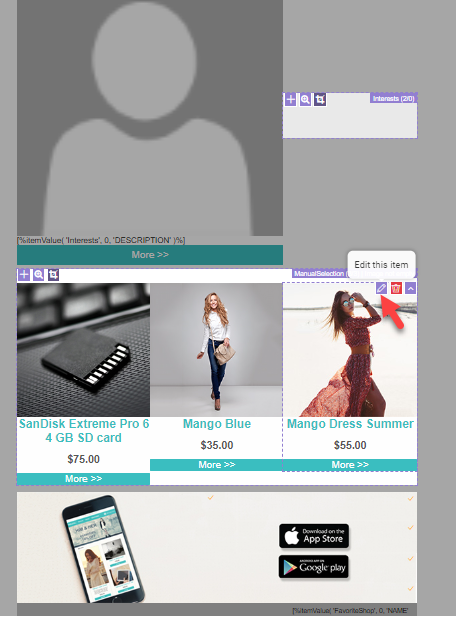
Once items have been added to the message, they can be edited, removed, or moved up or down in the order in which they are displayed. The following control icons are available in the item:
 Edit the current item
 Delete the item
 Move the item up or down to change the order in which the item is displayed
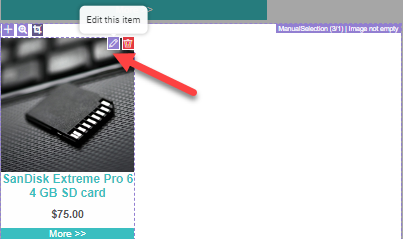
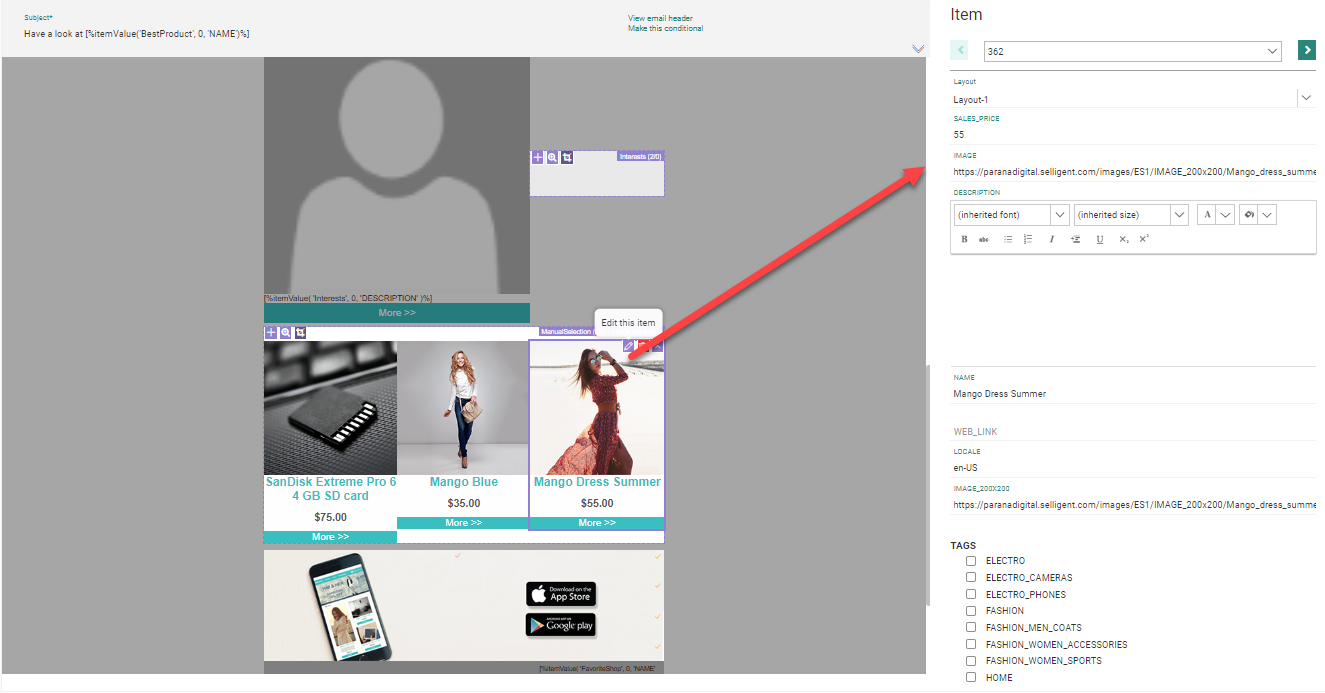
Click the pencil icon in the item you want to edit. The item details are displayed in the panel on the right and can be edited:
Make the changes to the item and when done, press Save item in the toolbar.
Note: When Interest Tags is activated for the environment, and a Tag list has been defined and linked to the Audience list, it is possible to select these interest tags when editing an existing item.
Example:
Note: In the panel on the right, use the arrows to navigate the items currently placed in the message and edit them. The field between the arrows contains the key field defined in the data selection. You can only scroll through the items when there are at least two defined for the message.
Preload items
When the template allows it, items can also be preloaded in the message. The filters and sorting defined in the data selection configuration are applied when preloading these x items. (A maximum of 100 items can be preloaded.) When the items are preloaded, the user can make changes to them, by removing items, editing existing ones or adding new ones.
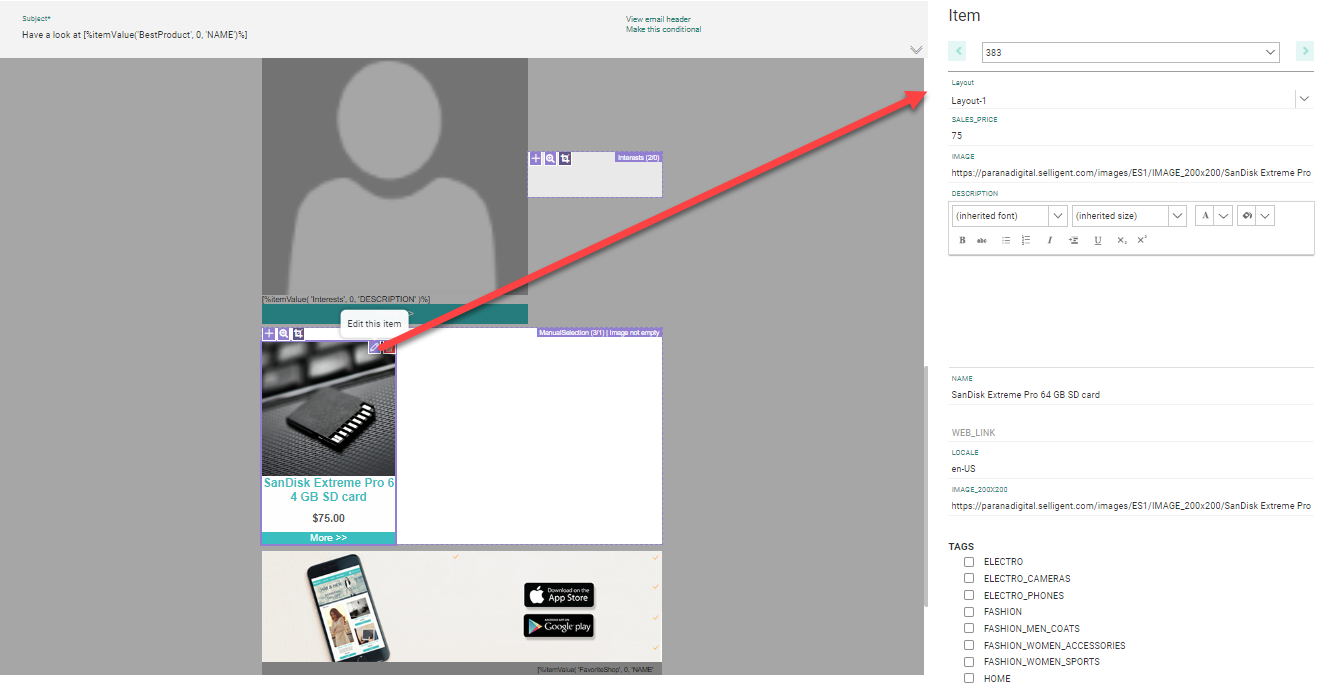
Following is an example of a 3 items that have been preloaded: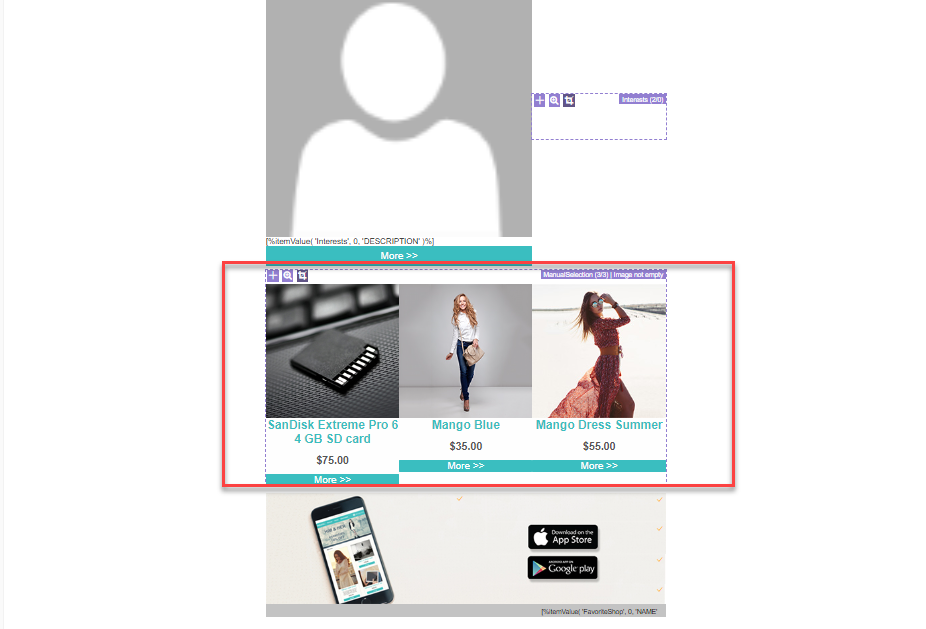
When hovering the preloaded items in the preview, a Pencil icon is available.
Click the Pencil icon to display the Item properties on the right and make direct changes in the data source:
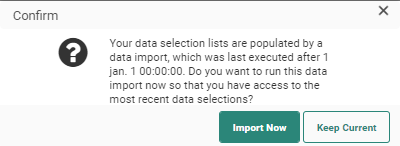
Preloading items will happen automatically when the option Preload items has been set in the template. However, when this option is used in combination with the option Allow fetching data from data imports linked to this data selection list, the items will not be preloaded immediately when opening the content. The user is first prompted to fetch the latest data.
Also, at any time, the user can use the Gear icon in the toolbar of the message to manually launch the preload of the items. Note that the option is only available, when the template has been configured to allow this. (For more information on this, please check out Data selection filters.)

