All hyperlinks in content are tracked by Engage. When a contact clicks a link, Engage registers the click so you can take action. Link interaction is also available in reporting.
For each link, define where the contact should be redirected to after clicking it. This can be a URL of a website, a new or existing journey, or some other action defined in the journey itself.
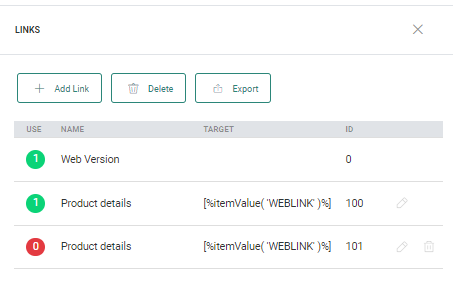
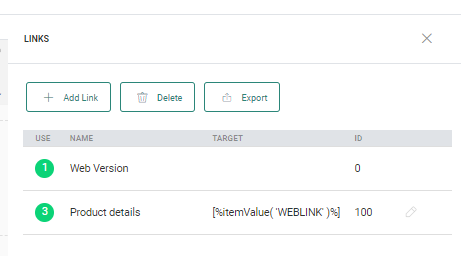
The 'Links' panel provides an overview of the used links within the content and the number of times the link is used. The Name, Target and link ID is displayed in the overview.

Links are used for the following purposes:
- Measure a contact's response. This is visualized in the reporting.
- Redirect to a URL or a journey.
The Web version link is standard and available in any content by default. This link (ID = 0) is added to email messages to allow contacts to read the email message in a web browser if they are unable to view the email correctly in their email client.
When you create a new email, the Web version link is available from the Links window even if no links have been defined yet. The Web version link is created with a constraint SYSTEM.MAIL=1 to show it only in the email client and not in the browser.
As best practice, there is no reason to show the Web version link in the web browser version of the message.
Creating a link
1. From the top toolbar at the right, click the Links option. The Links panel is expanded:

2. Click +Add link to Add a link.
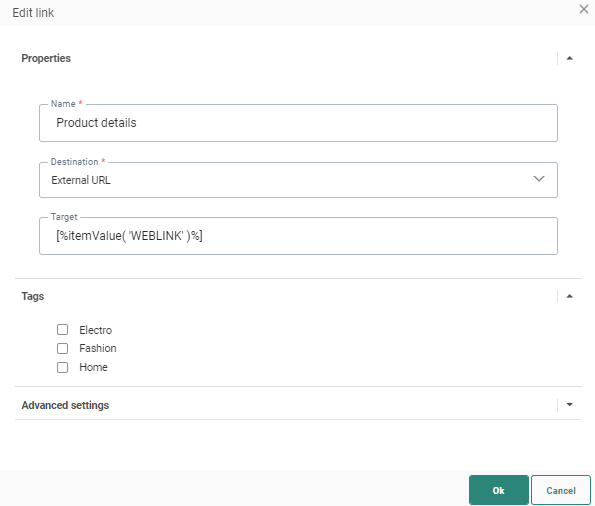
3. Define the link Name. This name is displayed in the overview of the Message links as well as in reporting.
4. Select the Destination of your choice from the drop-down list. The link can point to an external URL or to an existing journey. Or, you can use it to define what happens later in the journey.
- External URL — Enter the target URL. Note that personalization fields can be used here.
- Define in journey — The behavior of the link will be defined in the journey itself. These types of links can be used as an event in a journey component where this link was used.
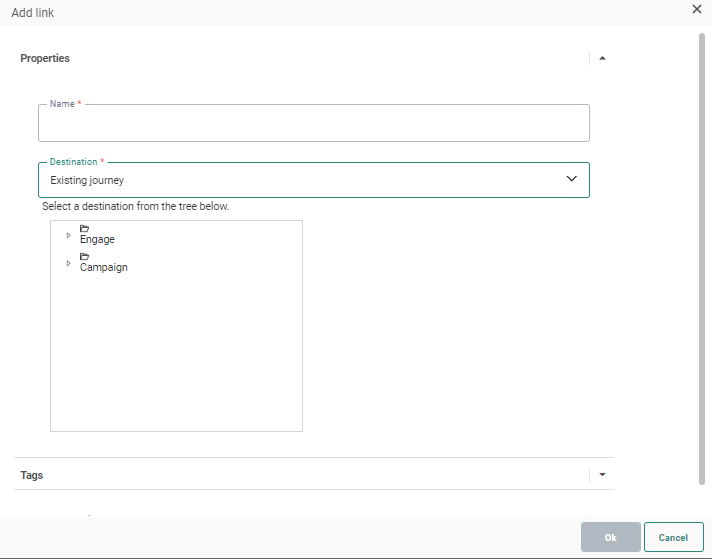
- For an Existing journey, you can choose between Campaign or <MadCap:variable name="MyVariables.Product_Short" /> journeys.
- <MadCap:variable name="MyVariables.Product_Short" /> journeys - all published journeys are listed with their Input component.
- Campaign journeys - a tree view of folders and journeys is available to choose from.
Note: Campaign is only available when both Marigold Engage and Campaign are used and Campaign journeys are available. Otherwise, only Engage journeys are visible.
Select the Input component in an already existing journey. The contact is redirected to the selected journey when the link is clicked.

Optionally enable the option Redirect to journey anonymously that allows sending of messages to unknown users in this journey.
The Parameters section, when available, allows defining values for the parameters in the Input component of the selected journey. Mandatory parameters are indicated with an asterisk. Values can be passed on using text and personalization fields (e.g., [%[MASTER.NAME]%]).
5. In the Advanced settings, enter an Analytics tag. When sending to an external URL, an Analytics tag value can be passed on to the tracker that is active on the domain used in the URL. This is optional.
Note: It is possible to use expressions in the analytics-link attribute.
Example: If Google analytics is active on the *.com domain or *parana.com domain used in the external URL in the screen below, the value 'Newsletter' will be passed on in the URL). In case of a redirect to a journey, the entered tag value could be used when there is an analytics script running on the journey page for instance.
6. Again, in the Advanced settings the link can be flagged as an Unsubscribe link.
If a link is flagged as an unsubscribe link, this results in the following behavior:
- The Unsubscribe link is separated from the other links in reporting to ensure a dedicated metric that provides information on the number of customers who have clicked it.
- Unsubscribe links are also available as a separate event in the Segment builder. This lets you create segments that take account of the actions on an unsubscribe link.
- Clicks on unsubscribe links will not be taken into account when calculating the winner of an AB test on a message.
7. When the Interest Tags feature is enabled on the environment and a Tag list has been configured, you can select the different interest tags that should be attached to the link. The list of tags comes from the Tag List that is linked to the Audience List. This Tag List contains a series of tags. The Tag name is displayed in the tooltip and the description as an option in the list. Tags can be sorted alphabetically.(More information here)
8. Click Save. The new link is added to the list. If the link has not yet been used in the message, a red icon is displayed in front. Otherwise, a green icon is displayed showing the number of times it is used.
Note: In the Links panel, when editing a link in a Content Block, there is an additional option to define an alias for this link. This option is only available for this specific type of link.
Because Content Blocks can be added multiple times to the same or different messages, links in these Content Blocks are also listed multiple times. This might be a bit confusing and by defining an alias for the links, interaction reporting on these links will be more readable and provide a proper distinction between the different links. 
The alias of the link will also be shown on the Links overview together with the name of the link.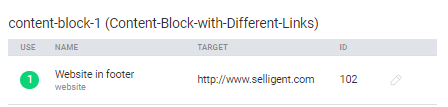
Using links in content
Add a 'mail to' link
To add a link in a message that enables the contact to send an email to the indicated email address, do the following:
1. Create a new link.
2. Set the destination to an external URL.
3. Enter the following in the target field: mailto:email-address and save.
4. Highlight the text in your message and attribute the link.
Add a Text link
1. Highlight the text that needs to become a hyperlink and click the Insert Link icon in the toolbar:

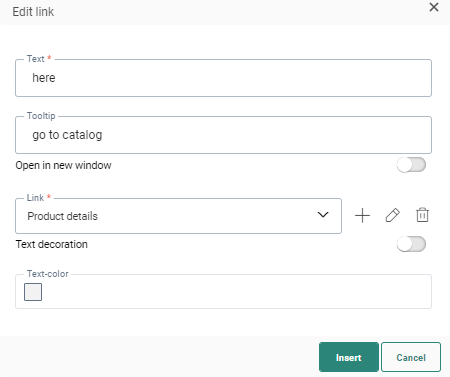
A dialog pops up to set the link properties such as the text and tooltip.
2. Indicate if the link should be opened in a new window or not. Use the check box to activate this option.
3. Select an existing link (choose one from the drop down) or create a new link by clicking on +:
When selecting a link from the drop-down list, the type of link is indicated with an icon:
![]() —
Links to external URL
—
Links to external URL
![]() —
Links to another journey
—
Links to another journey
4. Next, you can choose to change the color of the link to make it stand out in the text. If you want to do this, activate the option 'Text decoration' and select the color.
5. Click Insert. The Link panel is updated and now indicates that the selected link is used.
Add an Image link
1. Click the image in the message. The image Properties panel is displayed on the right:

2. From the Link field, choose a link from the drop-down list if the link already exists, or press + to define a new link.
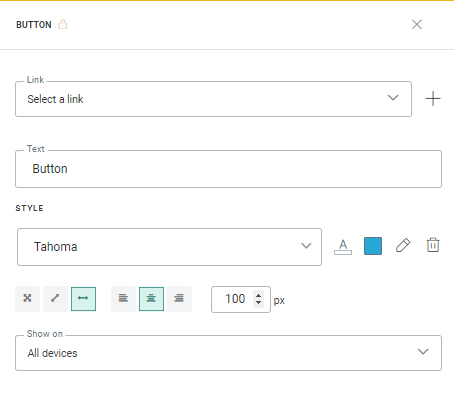
Add a Button link
1. Click on the button to access its Properties panel
2. In the Links field, select an existing link or create a new one:
Example:
Add links to the text in the header and to the Unsubscribe link in the
footer. For the text in the header, the links have to be created from
scratch, for the unsubscribe in the footer, the link already exists. If
you check the Links panel on the right, each one of these links is now
used once.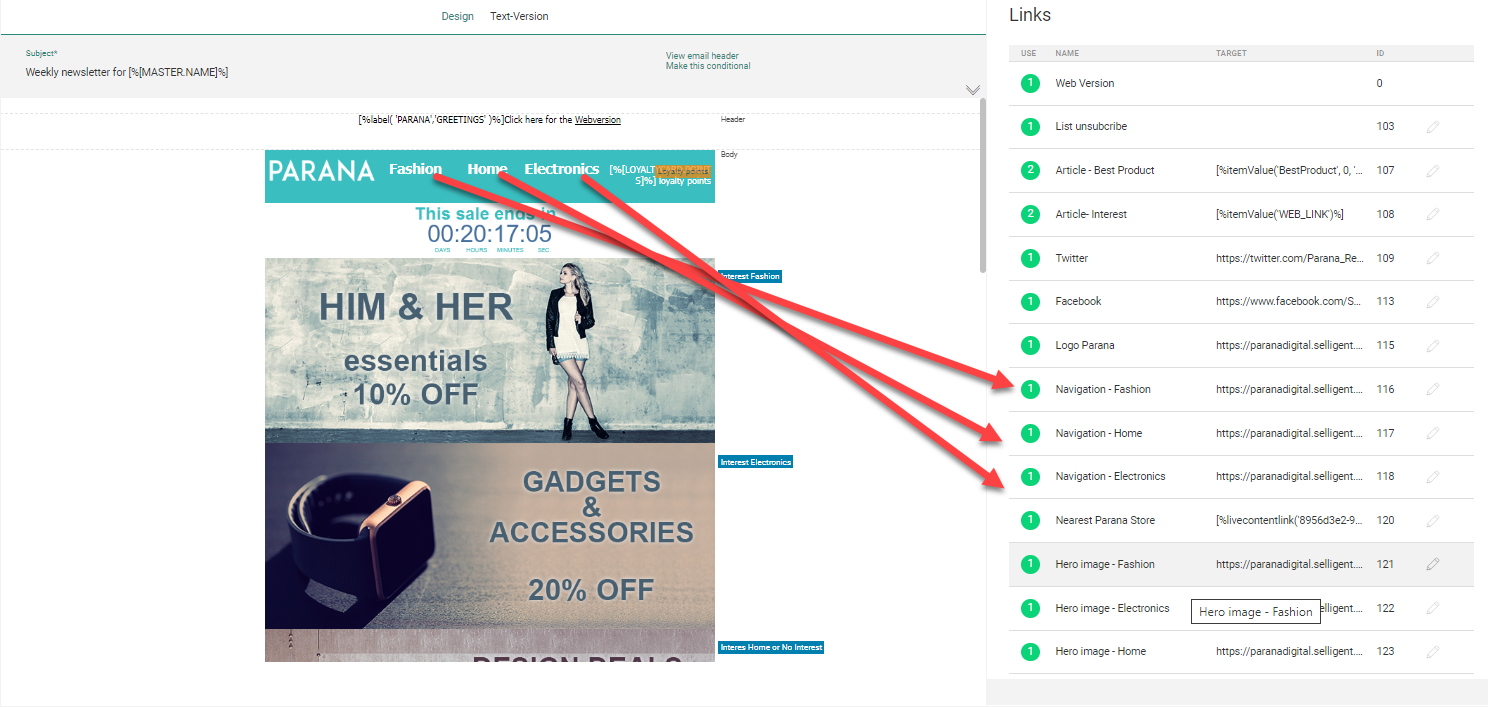
Export links
All links included in the message can be exported to a CSV file. This allows you to verify if all the used links have a valid URL. Links that are a redirect to another journey or that are to be configured in the journey itself will have no value for the URL in the exported file. The CSV file contains for every link a name and URL.