Testing Emails
Testing emails can be done either from the journey in which they are used, or directly from the Editor.
To launch the test, make sure the 'Test' status button is activated for the journey.
In test mode, three dedicated tabs are available:
- Preview
- Email analysis: Email On Acid tests with email client preview and spam analysis
- Send test emails
Preview
When an email message is designed (images are added, personalization fields, etc) it is possible to perform a check on how the message is perceived, on a desktop, tablet or mobile.
This test is performed from the 'Preview' tab, to the right of the canvas.
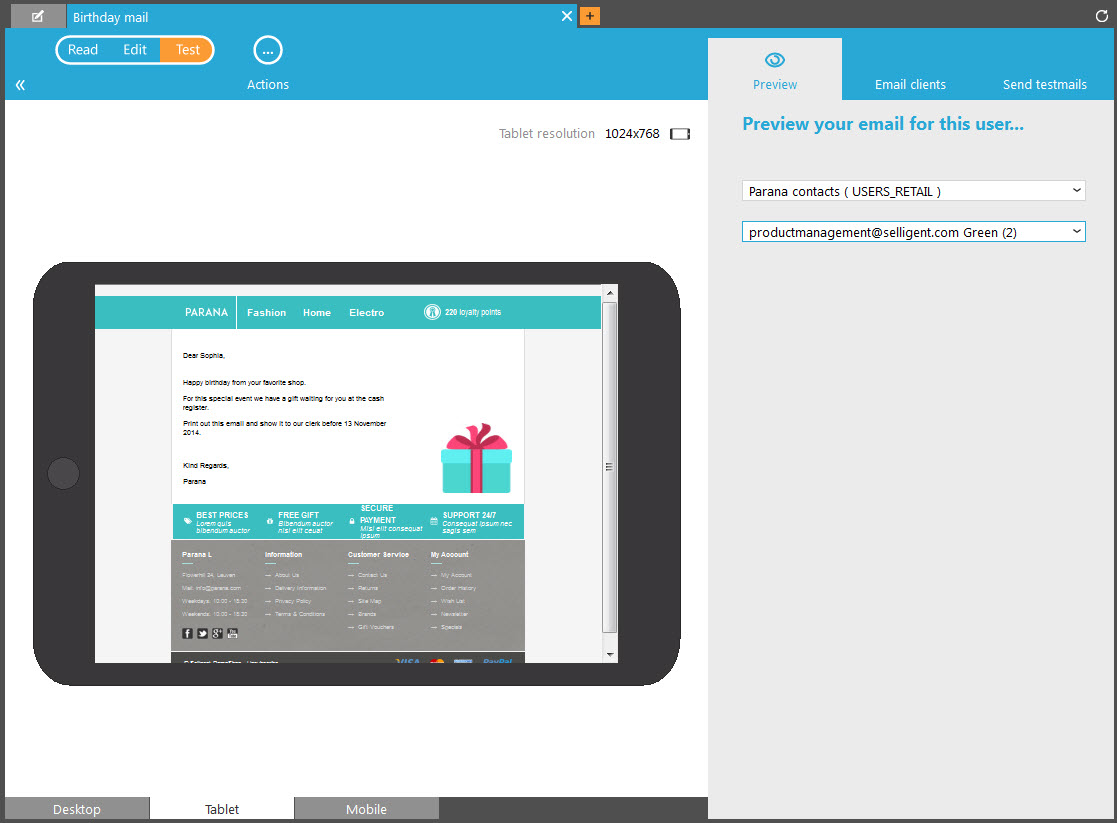
An audience list and test contact must be selected. Only contacts with the field TESTUSER set to 1 will be displayed here. The personalization fields and content sections are adapted to the selected contact.
At the bottom of the 'Preview' tab, a choice can be made between a preview on a desktop, a tablet or a mobile device.
NOTE: Besides the test users stored in the selected audience, sub-test users can be selected as well for the preview. These sub-test users are created from the 'Send testmails' tab. More info on that here.
This preview is responsive meaning that it is possible to toggle between
- landscape and portrait views
- different resolutions
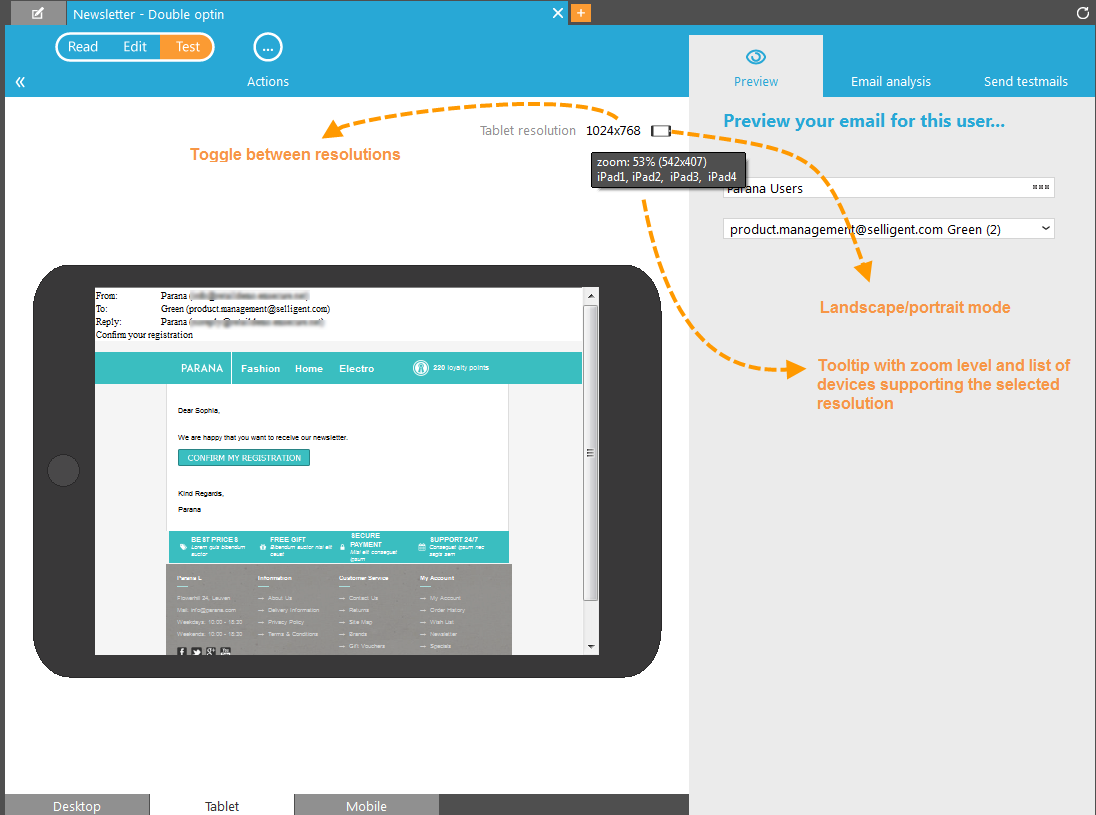
When changing the resolution, a tooltip indicates on which devices this resolution is supported.
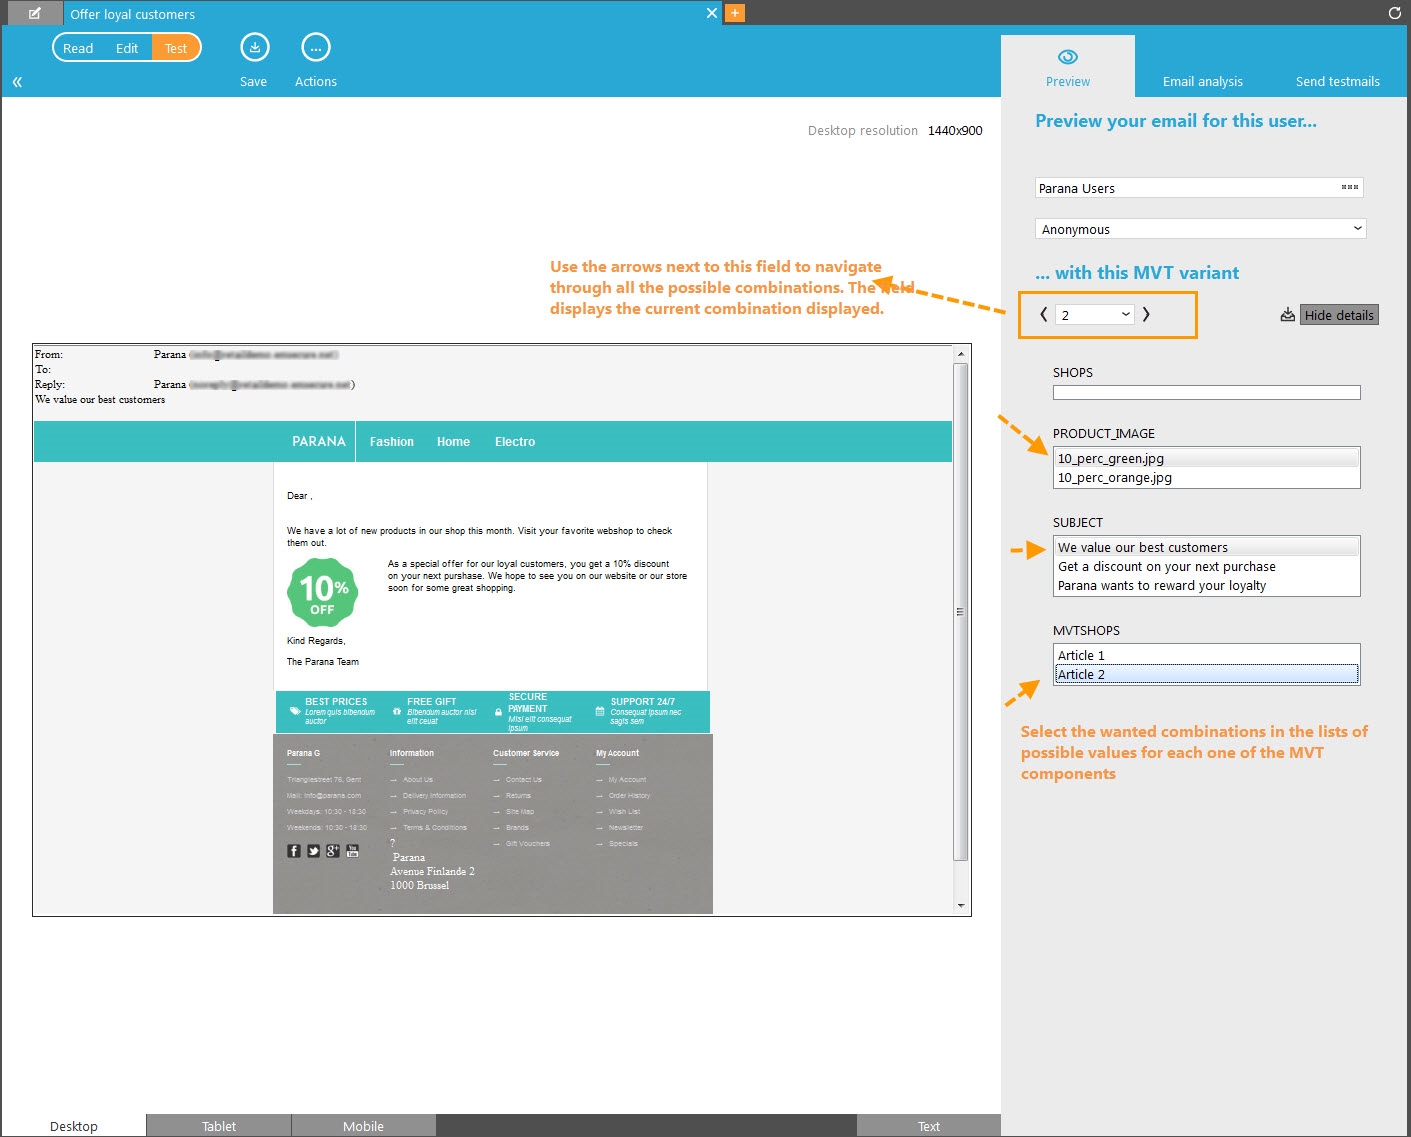
When an MVT component is used in the message, additional options are provided on the Preview tab.
Example: For every MVT component added to the message a list of configured values is provided. The user can select manually the value to use in the preview for each component or they can simply select the variant to use by selecting the variant number or by using the arrows to browse through the different variants.
Email analysis
Email analysis is provided in two ways: a preview of emails on the different email clients and spam analysis. The analysis is based on the Email On Acid integration.
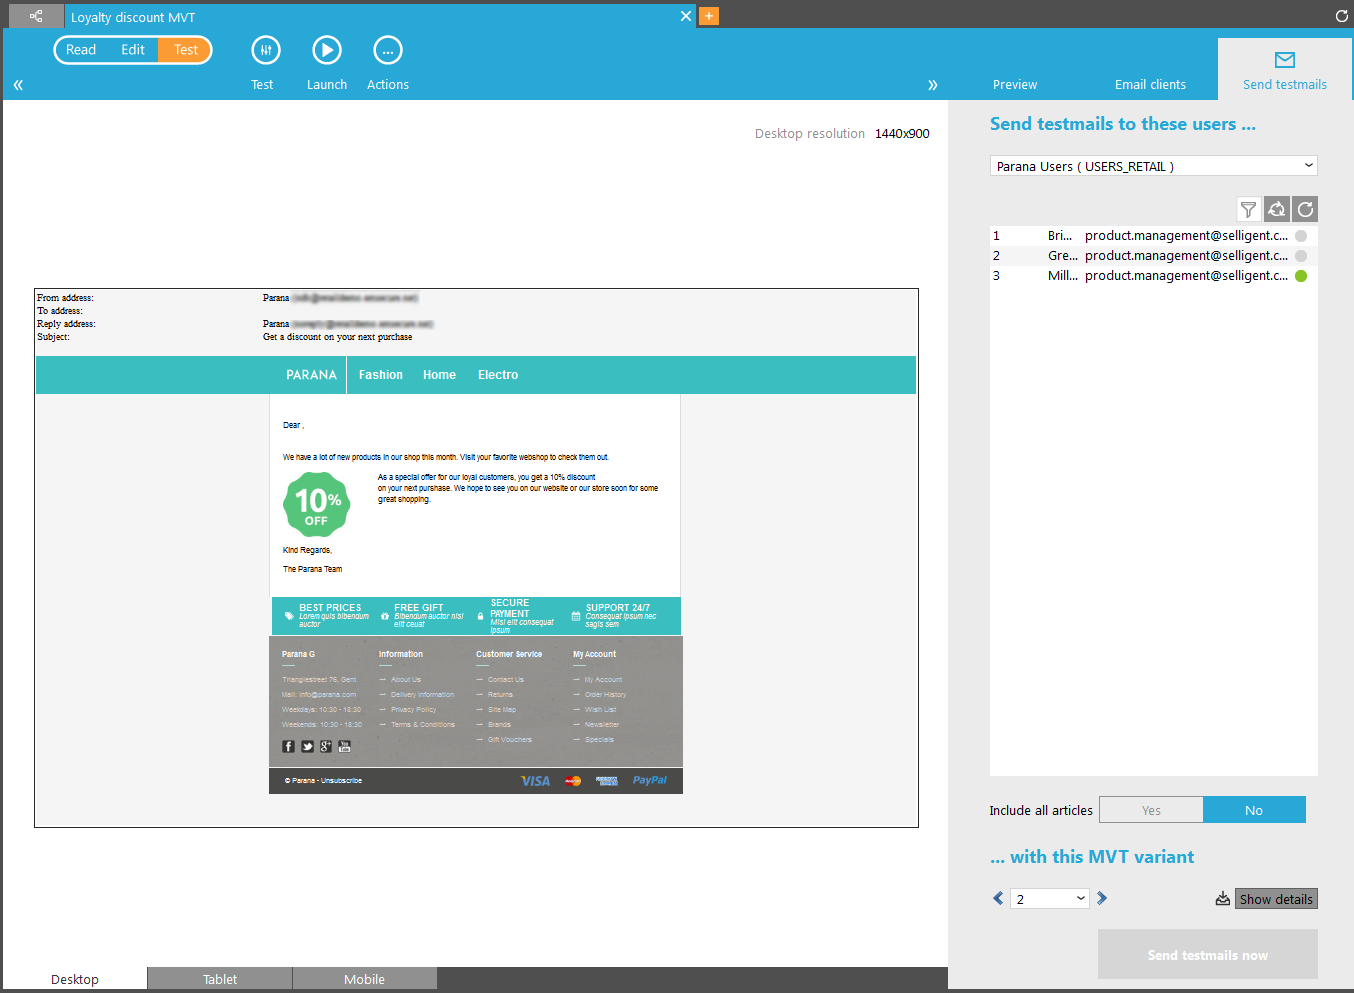
Send test emails
Selecting test contacts can be done simply by clicking and selecting the desired test contacts (ctrl & shift allows multiple selection) in the selected Audience list.
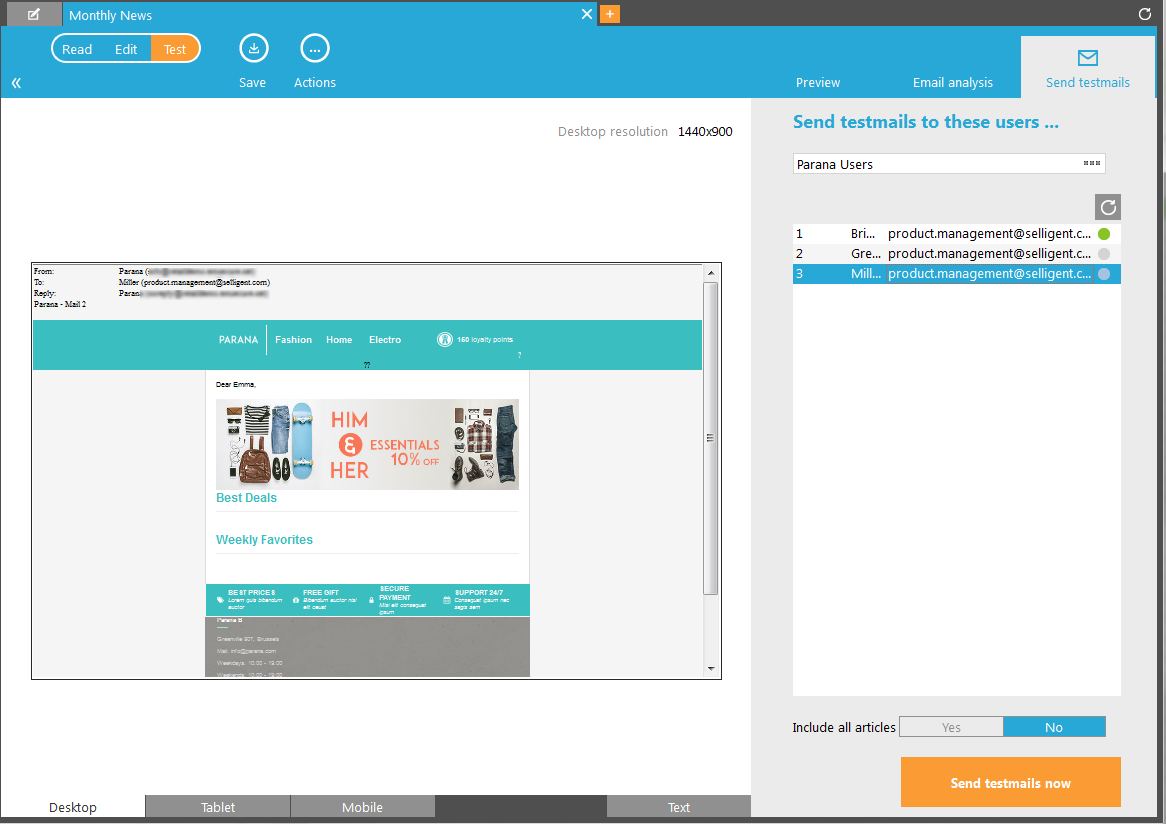
The button 'Send test mails now' actually sends the email to the selected test contacts.
NOTE: Press the 'Send test email' button and hold down
the ALT button to enter a list of test users. A dialog pops up where multiple
email address can be added, separated by a semi colon.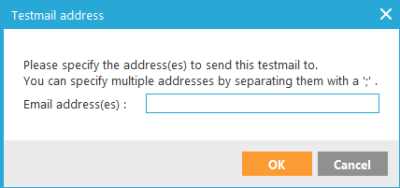
Note that it is possible to not only use test users actually stored but also work with sub test users. Users from both can be selected at the same time by holding down the CTRL button and clicking the test users .
With this sub test user the Campaign user will be able to simulate any of the scenarios required to fully test the message he is about to sent.
Technical note: This test user is not stored in the main audience list but in a linked list.
The creation of the sub test user is done directly from the list of main test users, click the + icon to create a sub test user based on the selected main test user.
A dialog pops up where you can make changes to any of the fields in the main profile as well as in the extended profile. Use the drop down at the top to select either the audience or an extended list.
When done changing the values for the required fields, click OK. The new sub test user is listed under the right tab ‘Sub Test Users’.
When you need to edit this user, click the pencil icon. The dialog with all available fields is again displayed. All values that are different from the original test user are displayed in blue.
NOTE: when changes are made to the main test user, these reflect also in the sub-test user as far as it is not a field that has been specifically configured for the sub-test user.
Sub test users created here can also be selected from the message Preview tab.
'Include all articles' is handy for emails based on templates. It allows adding all articles in the email, without taking into account the filters or matching defined on the article container.
Now, when using an action list in the journey, you can, select the action list record to use for the preview of the email. Click the orange button 'Click to select an actionlist item for this preview' to view the email for a specific action list record.
In addition, when sending the test emails and multiple test users have been selected, you can select the action list record to use for each one of the selected test users. A dialog pops up listing the selected test users at the top and at the bottom the available action records.
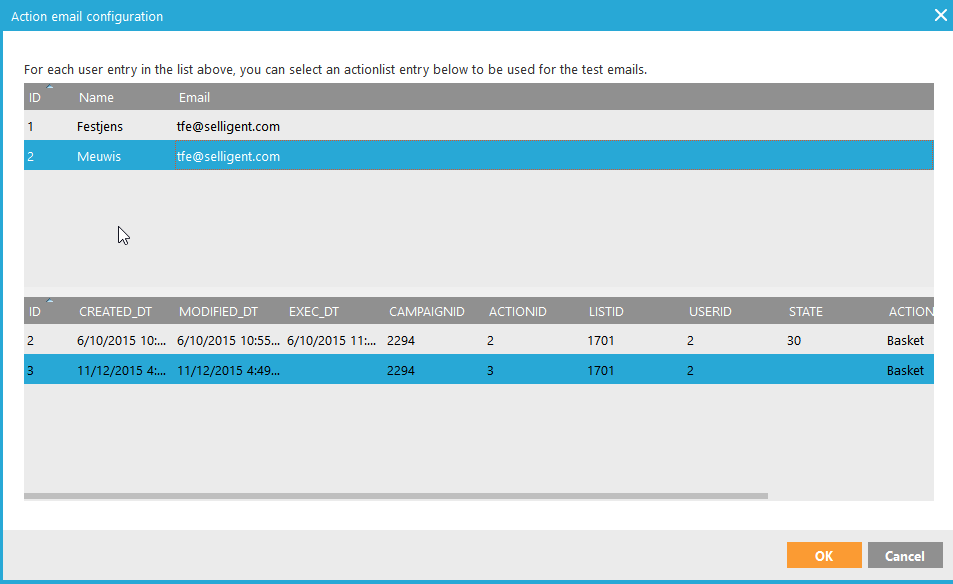
Click the test user at the top and next the action record at the bottom. Do this for each one of the selected test users.
Multi Variant Testing (MVT) preview
When an MVT component is used in the email, some additional buttons are displayed:
When sending a test email it is possible to select the MVT variant that should be used on the test email. The number of the variant can be selected from the drop down field. To view content of that combination, press the 'Show details' button:
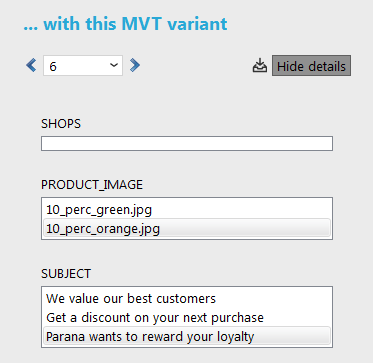
The combinations for the current selected variant are listed. This can easily be changed by selecting a different value from the different lists. The variant number is automatically updated to reflect the new selected combination. (In the above example, option 2 for product name and option 3 for subject represent variant 6).
To obtain a preview of all possible combinations, use the button 'Download previews'.
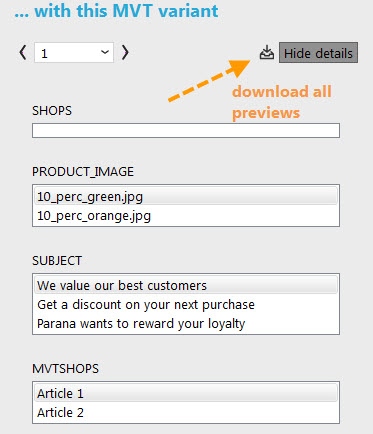
This displays first a multivariate preview dialog from which a PDF file can be created and downloaded, containing all previews.
Back to 'configuring a message'
