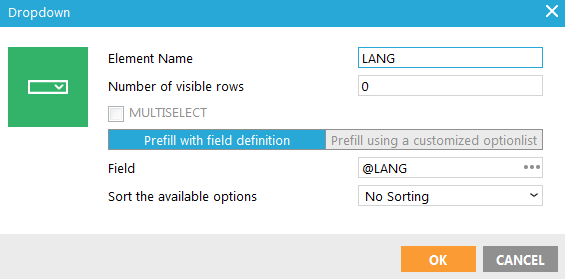
- Name — Enter a suitable name for the element. You use this name to retrieve the posted value after the form is submitted. For example, @LANG will hold the value of a drop down with name 'LANG' after submit.
- Visible rows — Enter the number of visible rows. When more than one row is visible, the drop down becomes list box and the multi-select option becomes available.
- Multi-select — Select the option if the contact can select multiple options from the listbox.
- Define the Prefill options:
-
- Prefill with field definition — Prefill the drop down list with the translated values from the option list linked to this list field.
- Prefill using a customized option list — Enter the values and captions of the customized drop-down list. The captions are displayed in the form, the value is stored.
Technical Note: The only difference between a drop down and listbox is that for a listbox the size attribute (visible rows) has been added to the source code. If there are more rows than indicated in 'visible rows' a scrollbar appears (default html behavior).
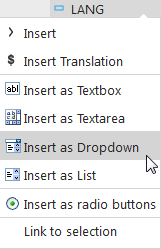
If a list field has an option list linked to it, and the field is set as type 'single value', you can insert that field as a Drop down or List in the form. The 'optifill' attribute will fill the drop down with the values from the option list. See list design and translations for more info on option lists.
Source code:
Drop-down: <select name="LANG"
optifill="@LANG"><option value="">Options
for @LANG</option></select>
Listbox: <select name="LANG"
optifill="@LANG" size="3"><option value="">Options
for @LANG</option></select>
