Each style has a cascading style sheet (CSS-file) linked to it. Every element in the final HTML rendered survey pages has a certain class attached to it (page, component, error, etc) and has its own unique ID, so every element can be styled in the CSS-file.
In addition, it’s possible to define custom templates used to customize the page display.
The 'Style manager' is available from the 'Action' menu, option 'Manage styles'.
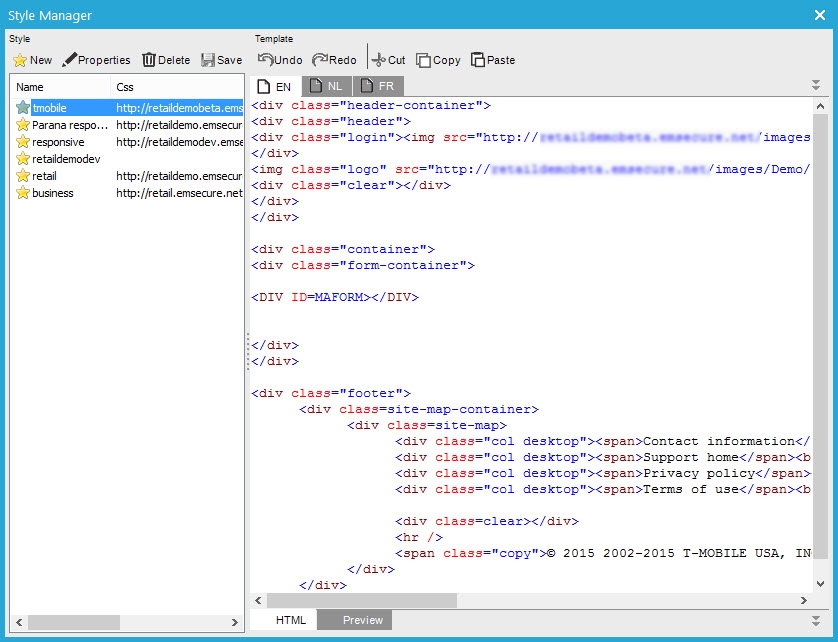
- Styles list: this panel displays all styles with their linked style sheets. The 'Business' and 'Responsive' styles are available by default.
- Template: for each style, a specific template can be defined, one per language in the form.
The Style Manager toolbar provides following functionality:
- New: creates a new style
- Properties: opens the properties of the selected style
- Delete: removes the selected style
- Save: saves the changes made to the style
- Duplicate: creates a copy of the selected style
- Undo: undoes the update of the template
- Redo: redoes the update of the template
- Cut: cuts the selected html code of the template
- Copy: copies the selected html code of a template
- Paste: pastes the selected html code of a template
Creating a new style:
When selecting the 'New' option from the toolbar, the 'Style Properties' window is displayed to create the new style.
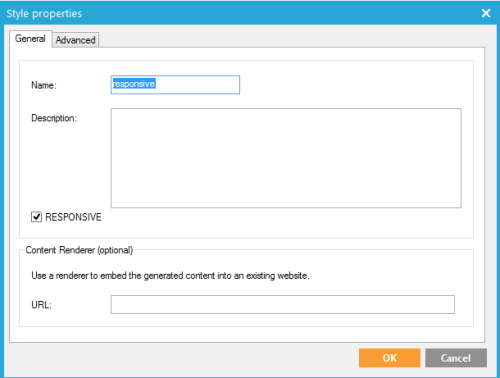
General:
- Name: the name of the style displayed in the list.
- Description: style description
- Responsive:sets the form as responsive. This implies that the rendered form will be optimized for display on different devices: desktop screens, tablets and mobile devices (responsive design). If the check box is ticked, the style sheet (CSS-file) selected in the properties of the style (advanced tab)must support responsive design.It is recommended to use this option.
- Url: URL of a content renderer used to
generate the layout of the form.
Normally Selligent's form URL (http://DOMAINNAME/optiext/survey.dll?ID=) is used to render all form URLs.If a content renderer is set, all forms use the defined URL instead of the default form URL.Enter the content renderer URL. E.g. http://www.mysite.com/renderer.aspx?id=%s. '%s' must always be used and is replaced by the Selligent id (hash) by the system.
Technical note: The content of the content renderer page is merged with the content of the Selligent page. The existing website will fetch the content of the Selligent page from the Selligent web server, integrate body and head parts inside the message and send the merged result back to the contact's browser as one html page. There is no indication that the content comes from a non website page. To be able to do this, the hashed code, which was transferred with the http request, is used to retrieve all the content and parameters. For more information, see the Content renderer topic.
Example:
The Retail style used for a satisfaction
survey is configured to use the following content renderer: http://www.mysite.com/renderer.aspx?ID=%s
When opening the URL of the content renderer, the result looks like this.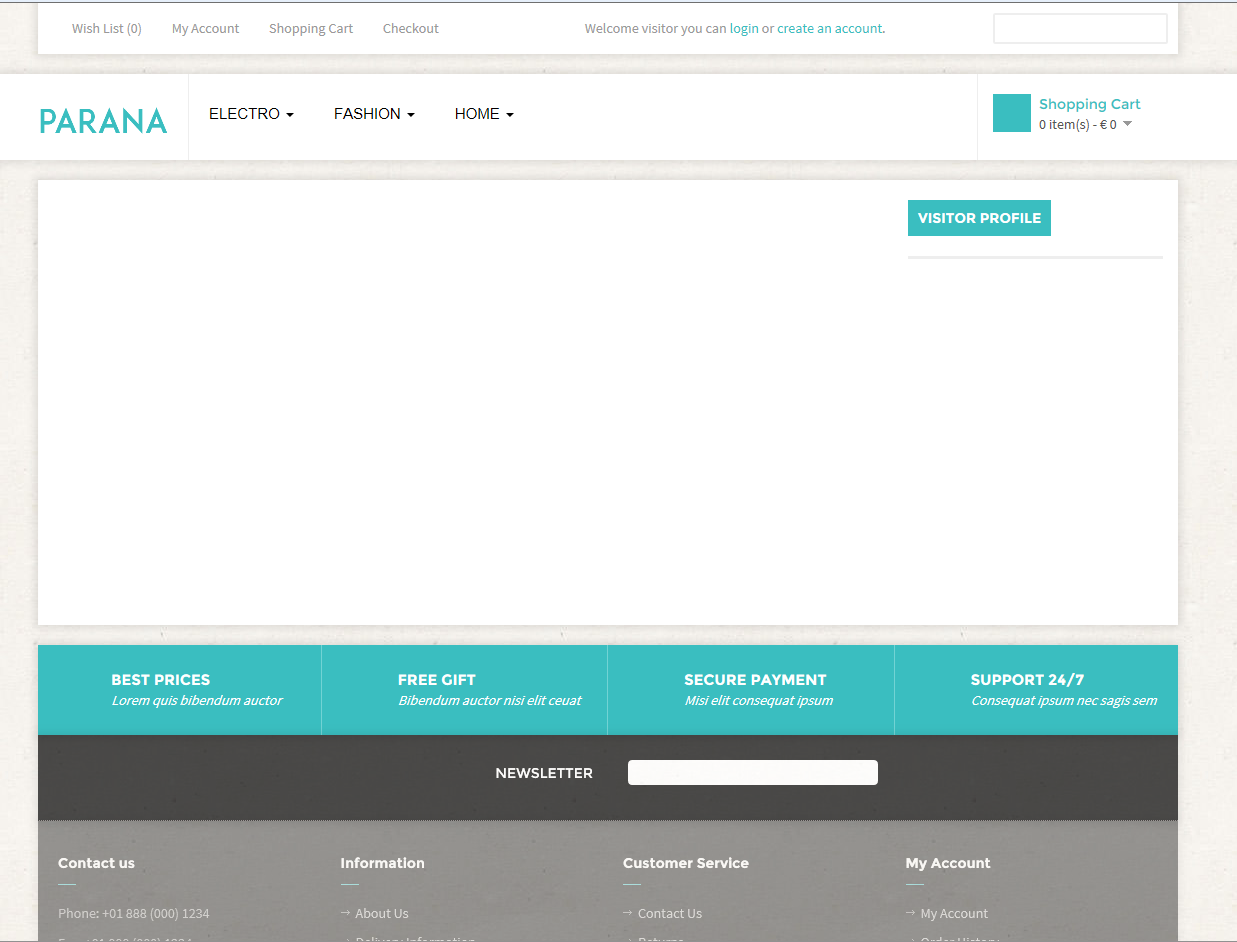
The form that uses this style will be displayed within the layout above.
The form is 'decorated' with the layout above.
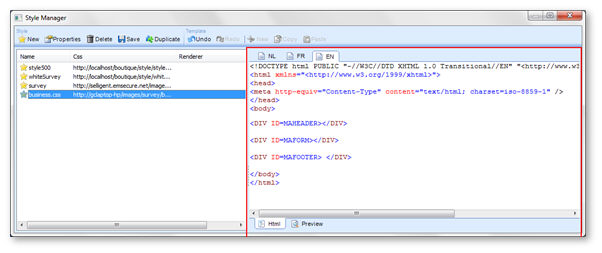
Advanced:
- Style sheet:this field is filled out with the URL where the Style sheet (CSS file) can be retrieved. Style sheets define the layout of each element on the web pages..
- HTML Header: allows defining HTML header elements. Those elements are added between the <head></head> tags of all survey pages (for each language). It could be used to reference JavaScript or CSS style sheets. (Example: add a <TITLE> tag. This will display a title in the top browser bar)
- HTML Body: allows defining HTML body elements. Those elements are added behind the <body> opening tag of all form pages (for each language). (Example: add a logo to the body of every page)
Example: Styleadvanced
properties
Style sheet: http://my_web_server/images/business.css
HTML Header:
<meta name="description" content="Form 1" />
<meta name="keywords" content="HTML,CSS,XML,JavaScript"
/>
<meta name="author" content="Form Author" />
HTML Body:
<div id="MyDiv">
<img src="http://www.mycompany.com/images/company_logo.gif"
alt="company logo" />
</div>
Using a custom template
In the Style properties, it’s possible to define common HTML code for all form pages. In addition , it’s possible to define custom content and layout for each language used in the form.
When selecting a Style, the 'Template' part is lists the templates defined for each language.
NOTE: only one template per language can be selected.
The basic HTML code of a template has to contain the following sections:
<body>
<DIV ID=MAHEADER></DIV>
<DIV ID=MAFORM></DIV>
<DIV ID=MAFOOTER></DIV>
</body>
These divs match the 'Header, Page and Footer' parts of each form page. You can put code between these divs. If one of the divs are missing in the template, the related content is not inserted on the page when displaying the form.
E.g. Add a copyright at the bottom of your form. In the template window, behind the MAFOOTER div enter: <div id="bottom">© Companyname</div>. Style the div with id "bottom" in the css-file linked to the style.
Defining a template for each language
1. The template panel is split in tabs per language. Define a template for each language.
2. Save the template and close the Style Manager.
3. In the form, the corresponding content is displayed depending on the selected language.
Applying a style to the form
To apply a style to the form, go to the properties of the form and select a style on the 'Structure' tab.
