Upon template creation, certain properties are already set. However, through the Properties tab in the message, you can still modify most of these properties after the template is created.

1. Click Properties'tab in the toolbar and the properties panel is displayed:
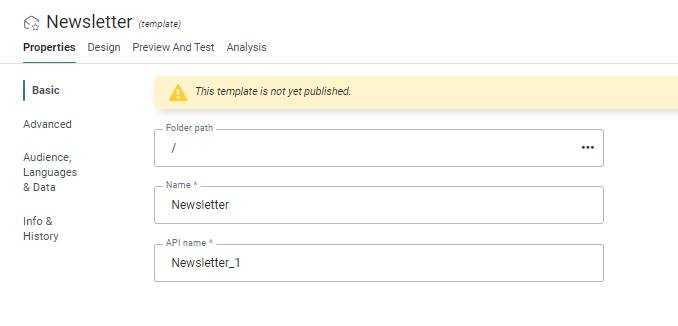
Basic Properties
- Folder Path — The folder where the template is stored.
- Name — This information is filled out during template creation. This name should be explicit to easily recognize the templates, especially when many templates may be available for multiple brands.
- API Name — The name of the template used when called from the API.
Advanced
- Default Storage Location — You can set a default folder to store the email created from this template. When nothing is filled out here, the email will be stored in the folder you were in when creating the email.
- Include List Unsubscribe — When creating a template, a List Unsubscribe link is added automatically to the header of the template. When this link is clicked, the contact is opted out for all communications over all channels. If you don't want this link in your message, you can de-activate the link here and no link will be added to the template. (more information on List Unsubscribe here).
- Send subscriber to a web page where he can unsubscribe — When the List Unsubscribe link is activated, it's possible to override the default behavior. In this case, a Custom Journey with Input Component is selected where the unsubscribe will be managed.
- Audience — You can select a different audience than the one selected when the template was created. Only audiences defined at the Organization level are available for use. Fields from the selected audience and profile extensions can be used to personalize the template. Note that the audience can be locked with the Lock icon. When this is the case, marketers creating emails from this template will not be able to change the audience. Unlocking the audience automatically unlocks the segment as well.Languages — Select the languages that must be available for the template. This list of available languages depends on the languages defined for the organization. Note that the template creator must enter language-specific content into each different version of the template.
- Default Segment — You can select a segment linked to the selected audience. When the segment is locked, the marketer will not be able to change the segment when creating an email from the template. Locking the segment automatically locks the audience as well.
- Languages — Select the languages that must be available for the template. This list of available languages depends on the languages defined for the organization. Note that the template creator must enter language-specific content into each different language version of the template.
Note: When adding an additional language after the template is created, you are prompted if the content of the selected source language needs to be copied to the new language. This is optional. By default only the layout is automatically copied to the new language.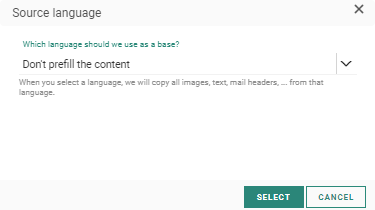
- Contacts without a language receive — Choose whether contacts for whom no language is defined will receive a language-specific email, or no email at all.
- Contacts with no match on language — Choose how to handle contacts who do have a language defined, but there is no version of the template in that language. In that case, choose whether they will receive a language-specific email, or no email at all.
- Data Selections (optional) — You can define subsets (selections) of data from your data sources that can be used as content for the items in a message. These data selections are typically used for repeaters, but can also be used in a subject line or Rich Text content, for instance. The available data sources to choose from depend on the organization configuration. For more details on how to configure data selections check out this topic.
Info and History
- Description — These should be explicit to easily recognize the templates, especially when many templates may be available for multiple departments, teams or even organizations.
- Labels — The label(s) assigned to this asset. Select one or more labels from the drop-down. (These labels are configured in the Admin configuration.) Users with the proper Access permissions can also create new labels here by typing the new label value in the field.
