New features in SMC
January 2023
Version 5.34
Local Download of Export Data
Previously, when creating a data export, it was always exported to an external location (such as an FTP, Cloud storage, ...). Now, it is possible to also download the exported data locally to a CSV file.
Note: This feature is available on request.
Therefore, upon creation of a new data export a new target has been added: Download link.
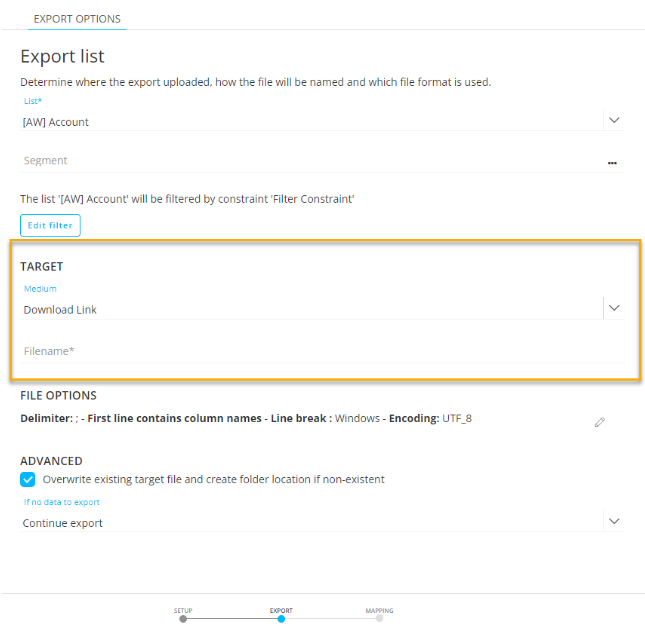
When this target is selected, a file name can be entered, manually or by using personalization fields.
This download link becomes available on the import/export dashboard after the export has been executed.

Without executing the export, no data would be available yet. Also, the Download link expires after 30 days. If you want to download the data after these 30 days, you need to re-execute the export.
Body in Web Custom Component
In one of the previous releases we introduced the ability to define a header for the Web Custom Component.
Now it is also possible to optionally define the body for a Web Custom Component. The body is used to define additional parameters that can be passed onto the endpoint, and is written in JSON format.
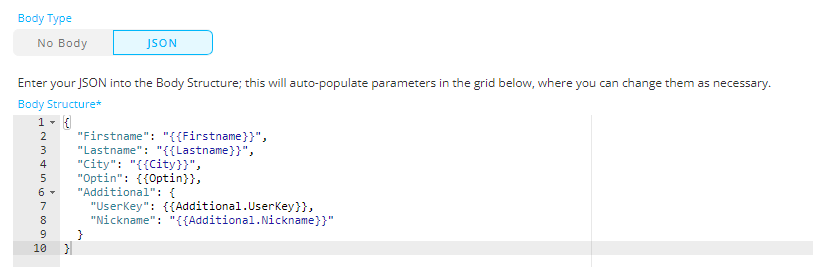
When creating a Web Custom Component, you can toggle between the body type ‘No Body’ and ‘JSON’.
When the user decides to use a JSON body, the body structure editor and parameters grid is displayed below.
Body Structure
When the user enters a JSON object sample in the Body Structure area (most likely copied and pasted), automatically the parameters grid below is filled out with the parameters, values and value types (see below in the section Body Parameters).
Also, any values inside the pasted JSON object in the Body Structure will automatically be replaced by placeholders (eg. “{{Firstname}}”).
For example :
When copy-pasting the following JSON into the Body Structure :
{
"Firstname": "Firstname",
"Lastname": "Lastname",
"City": "TestCity",
"Optin": false,
"Additional": {
"UserKey": 1000,
"Nickname": "Nick"
}
}
This results in the following to be shown :
The reasoning behind this is that the Body Structure section is designed to define the JSON 'structure'.
'Values' need to be changed in the Body Parameters grid underneath, and should not be touched in the structure area.
You can also update the JSON structure manually in this field.
Warning: Keep in mind that when manually editing content in the Body Structure field, updating parameter values won't have any effect on existing parameters in the Body Parameters grid !
The values linked to the existing JSON parameters will still be shown in the Body Parameters grid (the system keeps these in its memory).
As the purpose of the Body Structure is to define the JSON structure, it only makes sense to add / remove parameters in here, or update parameter names.
The user can then make changes directly in the grid, such as changing the type, values and options (editable - exposed and configurable at journey level, nullable - or empty string, sensitive - encrypted in the backend code).
The parameters and values that are in the grid will be the ones that are going to be saved.
Body Parameters
The body parameters grid offers the same functionality as for the Web Custom Component header parameters released earlier:
- ‘editable’ tick box - Makes the parameter editable in a journey (ticked by default)
- parameter ‘name’ - Each body parameter name is a read-only field that gets auto-populated with the name set in the Body Structure.
- parameter ‘value’ - Editable value.
- ‘sensitive’ - Encrypts the parameter in the journey

The body parameters additionally contain the following properties:
- ‘type’ – Can be boolean, text, numeric.
- ‘nullable’ – To allow NULL values for the parameter. Only applies to parameters of type ‘text’.
Note: The JSON parameters are shown in the Body Parameters grid with a particular format.
Some examples :
1. "password": { "value": "{{password.value}}" }
=> This will give the name “password.value” in the grid.
2. an array example :
"Pet": [ { "Name": "{{Pet.0.Name}}", "Species": "{{Pet.0.Species}}" }, { "Name": "{{Pet.1.Name}}", "Species": "{{Pet.1.Species}}" ]
=> This will give the name “Pet.0.Name, Pet.0.Species, Pet.1.Name, Pet.1.Species” in the grid.
Quick Start Enhancements
When creating a new email from within a Custom Journey, the Email Creation wizard is displayed. Now, the Quick Starts that are listed in there are limited to those with the same Audience List as defined for the journey.
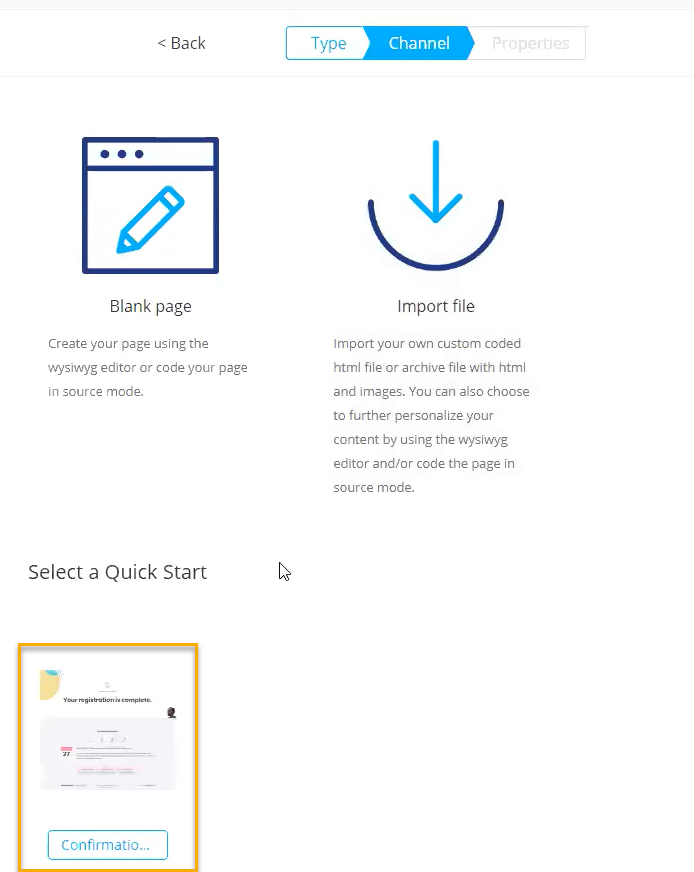
The reason for this is that the journey defines the target audience of your campaign, and any message used in that journey needs to have the same target audience. For this reason, when using a Quick Start to create a new email, only the ones with the same audience as the journey are listed, and when the email properties are displayed, the Audience field is already populated and non-editable.
Documentation
A new course expands on the previous Repeaters course and demonstrates how to create Repeaters that utilize data from Custom Events JSON arrays or one-to-many linked lists configured as Custom Journey Data.
In addition, some existing material has been updated:
- Double Optin Registration - Create a Custom Journey that manages a double optin registration. (previously 3 distinct courses, now consolidated in 1 single video)
- Create Subscription form
- Flyout menus
Corrections
- When performing a search without the necessary permissions to certain asset types, an error was returned. Now, assets for which no permissions are available are filtered out and a result is displayed
- Content block with data-head present can now be duplicated
- Labels in the Experiment option for Delivery optimization have been adapted to reflect correctly what happens
- Heatmaps are now working as expected for online archived journeys in SMC (state 5)
