Organizations are entities that may reflect a brand, department, or any other type of division within your company. With organizations, customers can separate contact data and interaction data for different organizations and give users rights only to assets linked to their organization. However, it is still possible to use one single audience and share all data across organizations. The Engage organization feature allows both.
Organizations have an impact on:
- Templates — Templates are always linked to an organization. Each organization can have multiple templates linked to it while organization controls the languages, audiences and data available in the template.
- Email messages — Emails, created from scratch or from a template are also linked to a specific organization.
- Mail domains — Every organization will have its set of mail domains and associated from and reply addresses.
- Trackers — Trackers are activated for a specific organization and will only track interaction on messages linked to that organization.
- Channel endpoints — The channel endpoints are defined on organization level as well. SMS, Mobile Push, Facebook Audience updates, Google Adwords lists, Snapchat audiences, and more all require endpoints to be activated. This is equally defined for each organization individually.
Example: Create
an organization for each of your product lines: Soda, Beer,
and Spirits.
For the Soda organization,
you could
for example have mail domains like soda.com,
soda.fr and soda.de.
For the Spirits organization,
you could have mail domains like spirits.com,
spirits.nl and spirits.uk.
The organization concept lets you define a set of basic properties for each organization that can be re-used over and over again for all related elements such as templates and messages.
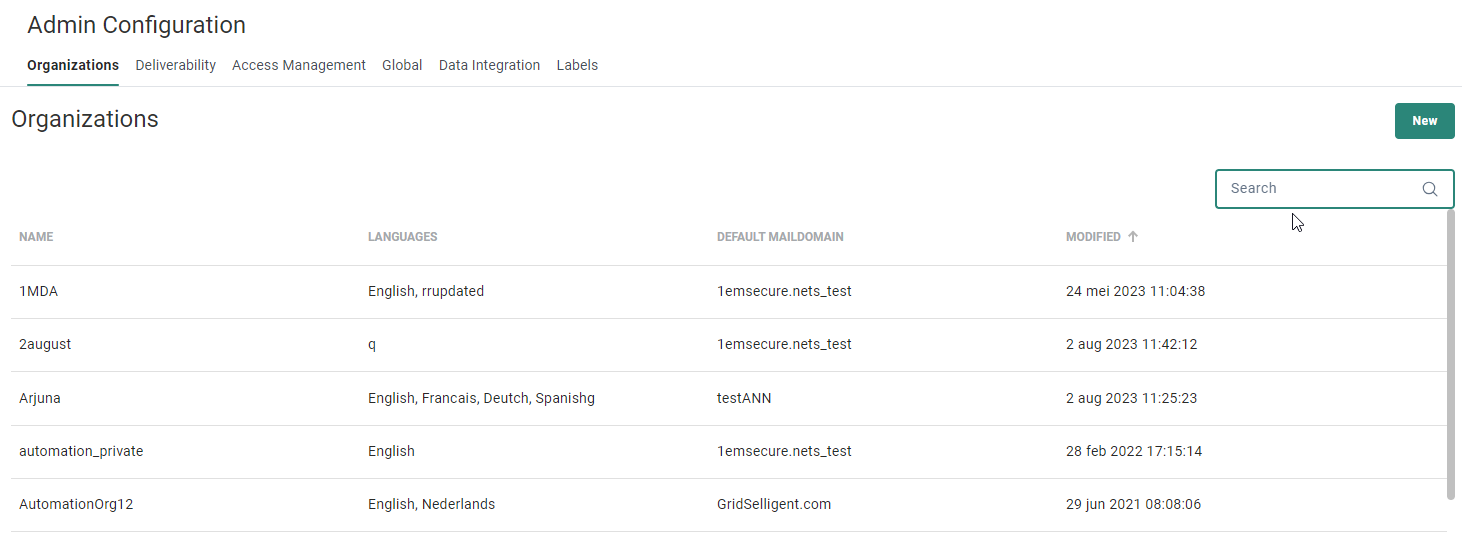
The Organizations overview shows all configured organizations, in alphabetical order (by name).
Each row contains the organization name, languages, the default maildomain, the last modified date/time and icons to delete the organization.
Note: Only organization administrators and system administrators have access to the Organizations tab.
The overview can be sorted by clicking on a column header.
The Search field at the top-right
allows searching in the list of organizations based on name.
From this overview you can
- Create a new organization — See below.
- Edit an existing organization — Click on an organization name. The properties are displayed in a right sliding panel.
- Delete an existing organization — Click on the bin icon. The active organization (visible on the top-right of the screen) can not be deleted.
Create an organization
To create a new organization, click on the New button
at the top-right.
The properties are shown in a right sliding panel.
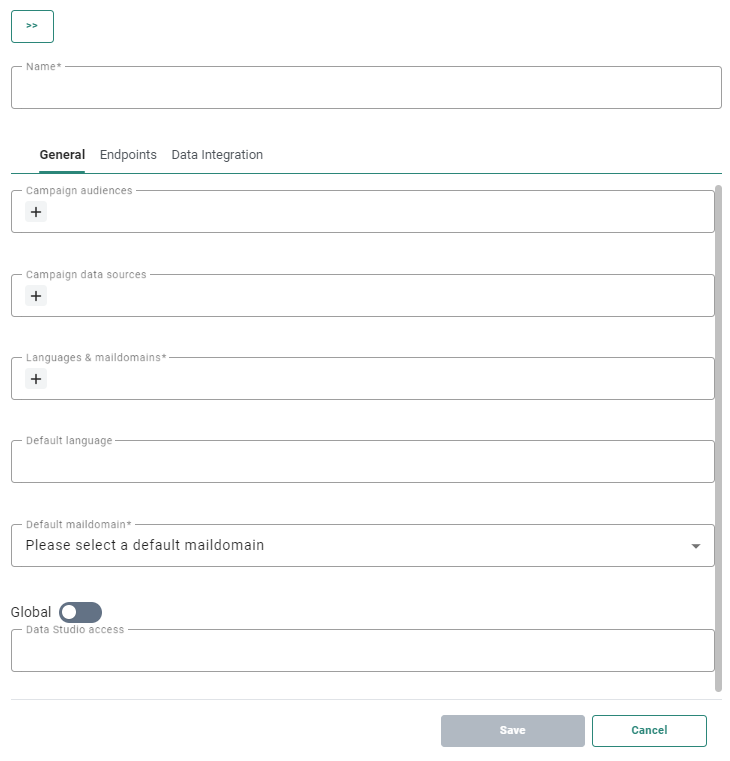
Enter an organization Name* — Set a unique name for the organization. Ensure it is a clear and representative name. The organization name is key when creating messages. It's also the name that is displayed in the toolbar and that lets you toggle from one organization to another if you have access to multiple organizations.
Underneath, several tabs are shown for specific configurations :
General
On the General tab, configure the following fields:
- Campaign audiences — Add one or more Campaign audiences by clicking on the
 button.
The audience contains the contacts that will be the target of the message. Fields in the audience can be used for personalization of the message. In here, you can only select Audience Lists created in Campaign and make them available in Engage as an Audience List.Note: This field is only available for customers who are using Campaign and Engage combined.

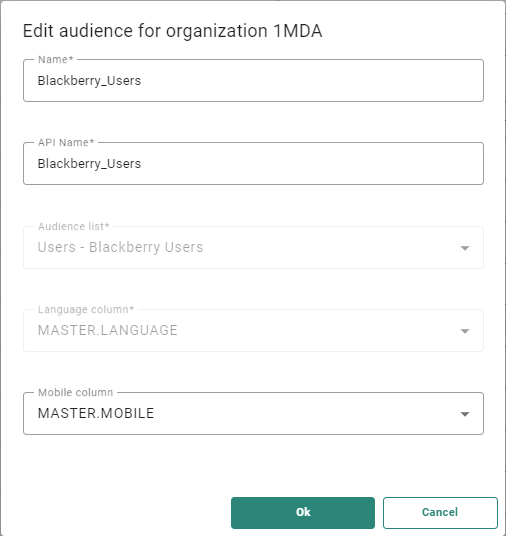
Fill out the following fields in the popup :- Name — Enter an audience name by which the selected list should be visualized in Marigold Engage. This means that you can use a different name for the Engage Audience List here than the one defined in Campaign.
- API Name — Enter an audience API name.
- Audience list — Select a Campaign Audience List or segment directly from the drop-down or start typing to see all matching lists/segments.
- Language column — The Language column appears once you've selected an Audience List above. By default the value is set to MASTER.LANGUAGE. The
language of the contact determines the language in which messages will
be sent. Language column is a read-only field.
- Mobile column — Mobile column appears once you've selected an Audience List above. Select the audience field that should be used as the mobile number
for messages.
Note: This field will be used when the SMS component is used in a journey.
Technical note: The Mobile column can be linked to a field in the main Audience List (for example MASTER.MOBILENBR) or in an extended list (for example EXT.MOBILENBR).
Example of a complete Campaign audience setup :

Click OK. The audience is now added to the Campaign audiences field.
Multiple Campaign audiences can be added (by clicking on the + button and executing the above steps for each one of them).Note: Audience Lists created in Engage are immediately available as audiences for the organizations to which they are assigned and do not need to be created as an audience in the Admin Configuration.
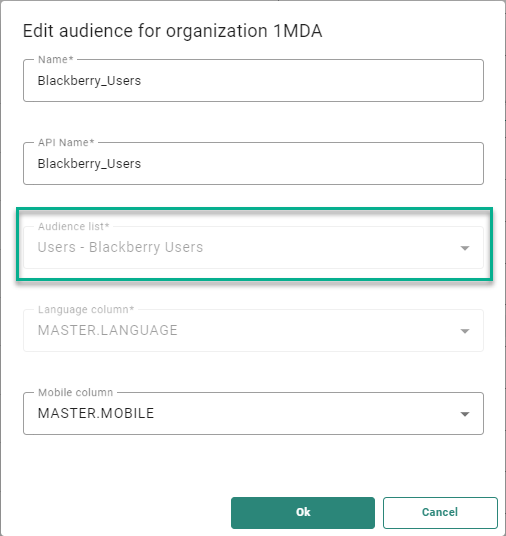
Note that when editing an existing (saved) Campaign audience, you can no longer change the 'Audience list' value. This field is read-only in edit mode.

To remove an audience, hover over it and click on the cross icon that appears.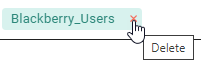
Confirm the removal by clicking 'Delete' in the popup.
When you do so, a warning appears to notify that this could impact message content and active journeys.
- Campaign data sources — Add one or more Campaign data sources by clicking on the button.
Data sources contain the items that are needed to fill the messages for this organization with data selection content. In here you can only select data sources (article lists) created in Campaign. Data selection lists created in Engage are immediately available as a data source for the organizations to which they are assigned at the time of creation of the data selection list.Note: This field is only available for customers who are using Campaign and Engage combined.

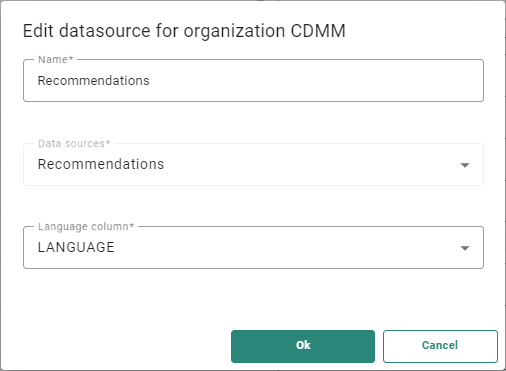
Enter/select values in the popup that is shown :- Name — Enter a data source name, by which the selected list should be available in Marigold Engage. This means that you can use a different name for the Engage list here then the one defined in Campaign.
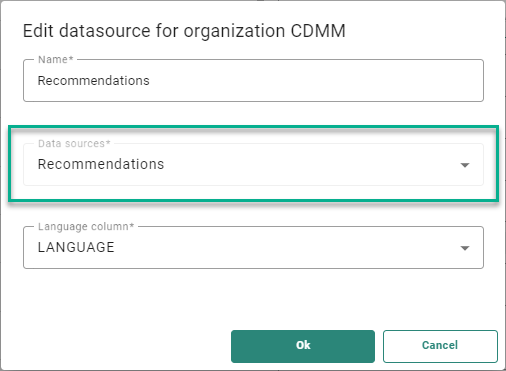
- Data sources — Select a Campaign article list to be used as data source from the drop-down or start typing to see all matching lists.
- Language column — Language column appears once you've selected a data source.
Note: Setting the language column is very important. When creating a template/email message in multiple languages, the items displayed in the message will have the same language as the template/email language.
Example of a complete Campaign data source setup :

Click OK. The data source is now added to the Campaign data sources field.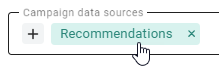
Multiple Campaign data sources can be added (by clicking on the + button and executing the above steps for each one of them).Note that when editing an existing (saved) Campaign data source, you can no longer change the 'Data source' value. This field is read-only.

To remove a data source, hover over it and click on the cross icon that appears.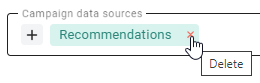
Confirm the removal by clicking 'Delete' in the popup.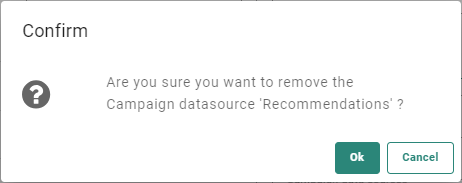
- Languages & maildomains — Add one or more languages that are required for messages built for
this organization, by clicking on the button.

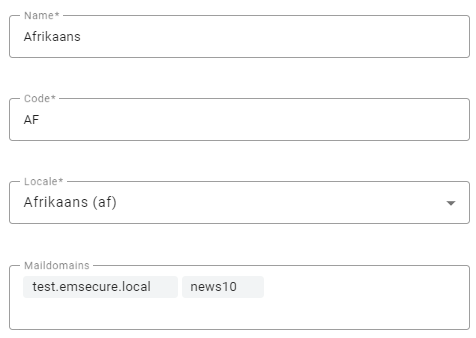
Enter/select values in the popup that is shown :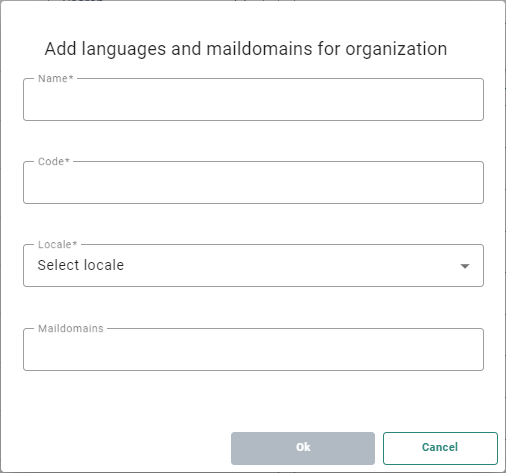
- Name — Enter a language name (eg. French, Français, Spanish, English)
- Code — Enter a language code.
The code is displayed alongside the language for Audience List records, so consider an abbreviation such as DE, EN, FR, etc.
All codes in the platform form option list columns, so consider refactoring codes across all organizations to have consistency and manage them centrally. Consider the impact of variations such as EN-US, EN-UK, FR-CA.
The language codes are also used for language specific conditions in Content Blocks.Note: The code cannot use reserved words such as Code or ID.
- Locale — Link the language to a locale. The locale is the language for a specific region, and can be selected from a drop-down list. (The locale is used for formatting purposes).
- Maildomains — Link the language to one or more mail domains. Select one from the drop-down list. All mail domains defined on the Deliverability tab are listed here.
Note: It is possible to use several mail domains for the same language. This will allow the marketer to choose from multiple mail domains when creating a message for that specific language or setting a condition on when a specific mail domains should be used for a language.
Mail domains are defined on the Deliverability tab. Mail domains are used to define from where the email will be broadcasted. For instance, customers with different organizations can use different mail domains to sent the emails from. When mail domains are configured, FROM and REPLY addresses are attributed. There can be multiple addresses per mail domain but there is always a default one.
Typically you would have the mail domain Marigold.be for Dutch and Belgian French language, Marigold.de for the German language, etc. The different languages can perfectly use the same mail domain as well.
Repeat the above process for all languages required.Note: If users try to do delete or modify languages that are already used in messages, templates or journeys, they're informed that this may cause problems.
They can ignore the warning and edit/remove the language anyway.
Note that the language code field of an existing configuration is read-only and can never be modified. - Default language — Once the languages and mail domains have been added for the organization, you have the possibility to define which of these languages should be added by default to any message created for this organization. This setting is optional.
To add default languages, click on the field. A drop-down list is presented from which you can select the default language(s). You can select multiple languages if required.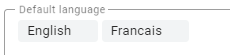
- Default maildomain* — A default mail domain has to
be selected as well. This default mail domain is used for languages for
which no specific mail domain has been defined.

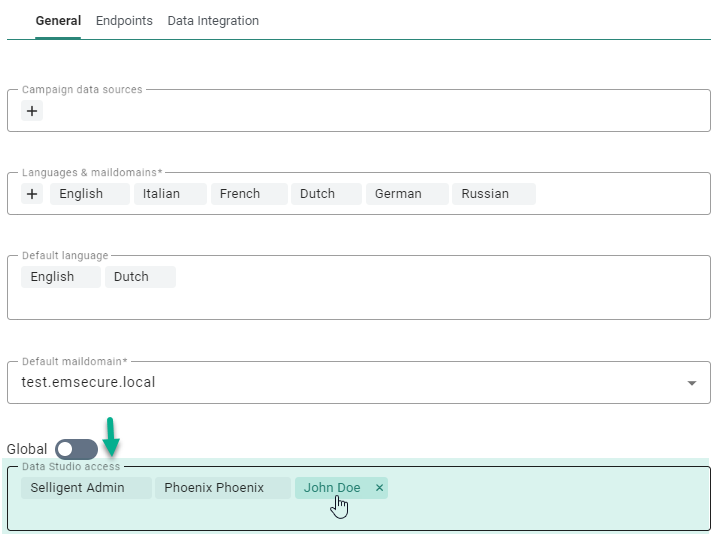
- Engage Data Studio access — The Marigold Engage users with access to Engage Data Studio are selected from a drop-down. A maximum of 10 users across all organizations can be given access. The user is informed upon Save when the maximum has exceeded.
Note: Only users with access to the organization are listed in the drop-down.
When users with access to Data Studio are removed from the organization, their access to Data Studio will be removed as well.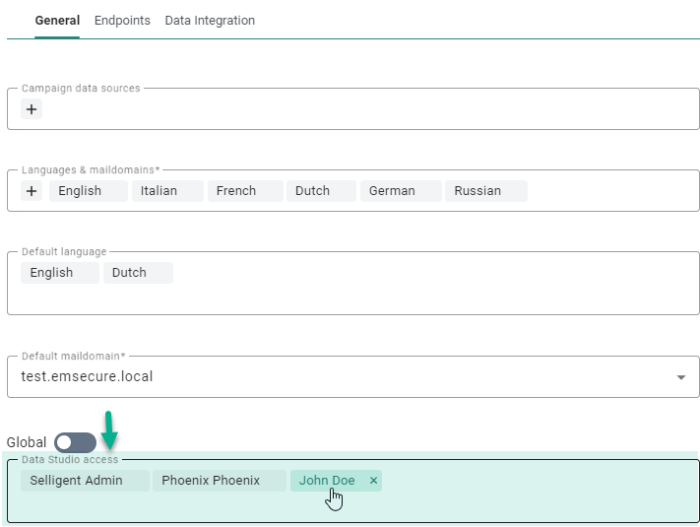
- Global — This option is used when multiple organizations (brands) exist on the environment. It allows setting one organization as the global one. As a result, dashboards available for the global organization will display information for all organizations giving marketers the ability to have an overview of all organizations at one location. Only one organization can be set as global. Also, dashboards created in the global organization can be published to other organizations as well. More information on this can be found in this topic.
Note: This option is only available for environments with the global concept activated. It needs to be activated on request.


Endpoints
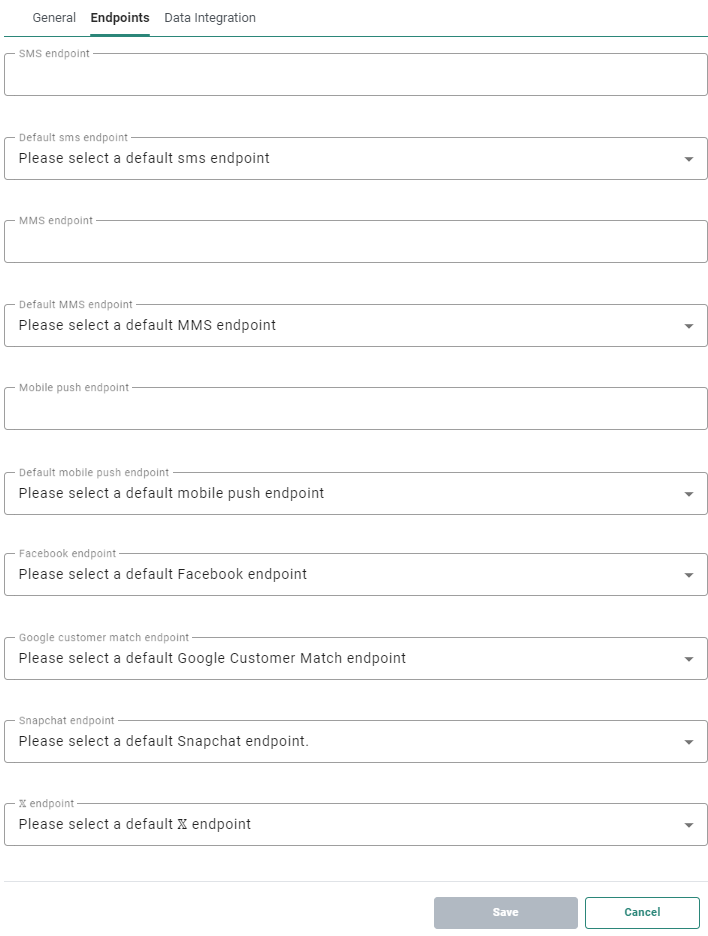
On the Endpoints tab, the following optional fields can be configured:
-
SMS endpoint — Select the SMS endpoints for this organization from the drop-down. More than one SMS endpoint can be selected.
The SMS endpoint defines which operator will be used to send out the SMS messages.
A default SMS endpoint needs to be defined as well.
Example: When companies operate in multiple countries with different operators, they often need different SMS providers (and thus endpoints) to send out the SMS messages. By defining multiple endpoints for one organization it is possible to send out SMS using different providers but all from the same organization. -
MMS endpoint — Select the MMS endpoints for this organization from the drop-down. More than one MMS endpoint can be selected.
The MMS endpoint defines which operator will be used to send out the MMS messages.
A default MMS endpoint needs to be defined as well.
Example: When companies operate in multiple countries with different operators, they often need different MMS providers (and thus endpoints) to send out the MMS messages. By defining multiple endpoints for one organization it is possible to send out MMS using different providers but all from the same organization. -
Mobile push endpoint — Select the mobile push endpoint for this organization from the drop-down.
Select the one from the list that should be used to send mobile push messages.
More than one Mobile endpoint can be defined per Organization.
A default Mobile push endpoint needs to be defined as well. -
Facebook endpoint — Select the Facebook endpoint for this organization from the drop-down.
Select the one from the list that should be used in this organization to send Engage contacts to a Facebook Custom Audience. -
Google customer match endpoint — Select the Google customer match endpoint for this organization from the drop-down.
Select the one from the list that should be used in this organization to send Engage contacts to a Google Customer Match list. -
Snapchat endpoint — Select the Snapchat endpoint for this organization from the drop-down.
Select the one from the list that should be used in this organization to send Engage contacts to a Snapchat Audience. -
'X' (formerly Twitter) endpoint — Select the 'X' (formerly Twitter) endpoint for this organization from the drop-down.
Select the one from the list that should be used in this organization to send Engage contacts to an 'X' (formerly Twitter) Audience.
Note: For all endpoint types, the list of available endpoints is based on the channel endpoints created in the Global > Channel Endpoints section.
Data Integration

On the Data Integration tab, configure the following optional fields can be configured:
- Trackers — Select the trackers that
should be used for all messages sent for this organization. Links used
in the messages will be completed with the necessary parameters to allow
tracking.
On message level it's still possible to deactivate the tracker for that particular message.
- Connector instances — Select the CRM connector instances that should be available for the organization. This allows exchange of data between the Engage platform and the external CRM.
CRM connector instances assigned to an organization, can be removed by hovering over the instance and clicking on the cross icon that appears on the right of the instance name.
If a connector instance is used in a data sync in that organization, it can not be removed. In that case, no cross icon appears when hovering over the instance name.Note: Connectors are configured on the Data Integration tab.
- Mediums — Select the mediums that should be available for import/export configurations created for this organization.
This lets you create data import/export configurations for the organization faster as you can use and re-use predefined mediums.Mediums are configured on the Global tab.
-
Note :
When saving an organization (either when creating a new one or editing an existing one), keep in mind that :
- identical data source names are not allowed
- deleting a data source in Campaign, does not remove it from a Marigold Engage organization, which can lead to inconsistencies
- (audience) API names can only contain alphanumeric characters and underscores
Therefore, changes in the Campaign tool (or through direct database changes or API calls) can cause Marigold Engage to show validation errors if inconsistencies are detected when saving the organization.
To avoid this, do not change or delete data sources and mandatory fields through Campaign or the back-end.
If you're already in a situation like above, all inconsistencies should be corrected before saving the organization.
